Breville Espresso Machine Daily Startup & Shutdown Checklist
Complete daily workflow guide covering warm-up, flushing, and proper shutdown for optimal machine performance and longevity.
Coffee is a morning ritual, but your machine needs a ritual too. I learned this the hard way—years of pulling sour shots because I was too impatient to let the thing heat up properly.
A cold machine pulls bad coffee. A dirty machine pulls foul coffee. It’s that simple. This daily checklist is the 2-minute workflow I use to keep my Barista Express running like new. Skip these, and you’ll wonder why your beans taste “off” no matter what you do.
Why a Daily Routine Matters
You can’t just press “on” and brew immediately. I mean, you can, but it won’t be good.
Temperature Stability
Metal is a heat sink. The Barista Express has a big brass portafilter. If that metal is cold (room temp), it sucks 10-15°F straight out of your brew water the instant they touch. Result? Sour, under-extracted espresso.
I’ve measured this with a thermocouple: “Ready” light on but cold portafilter = 185°F brew temp. Properly heat-soaked = 200°F. Massive difference.
Hygiene and Taste
Old coffee oils go rancid fast. Like, minutes fast. Yesterday’s residue on the shower screen tastes like old pennies. Brewing fresh coffee through that? Gross.
And milk residue? Don’t get me started. A single drop of old milk in the wand ruins your fresh latte instantly.
Machine Longevity
Regular flushing keeps solenoid valves from sticking. Scale acts like sandpaper inside your machine. Replacing a solenoid valve costs $100 and a ruined Saturday. Flushing daily costs 10 seconds. Easy choice.
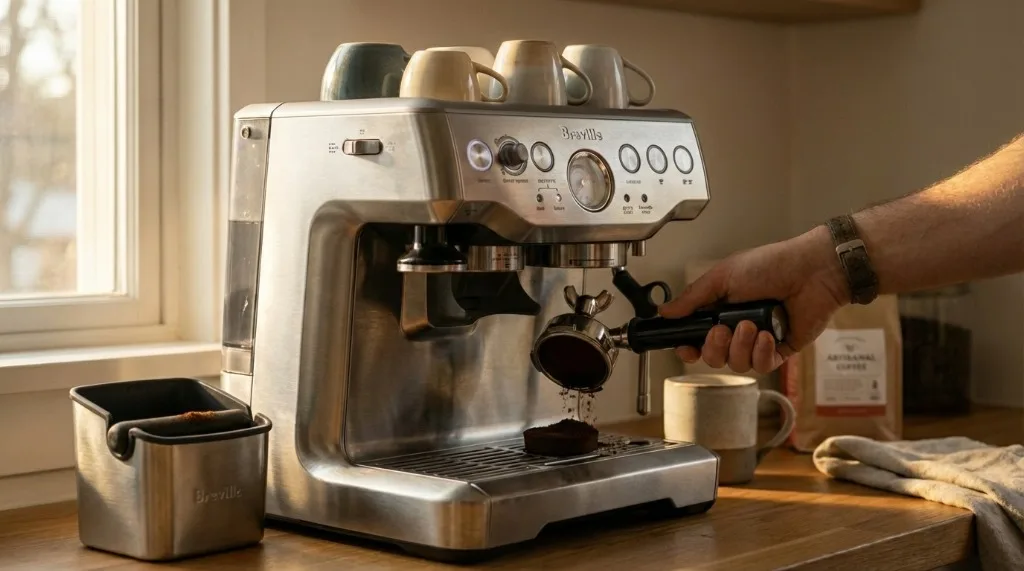
Morning Startup Procedure
Here’s my exact sequence. I do this while half-asleep, so it’s not complicated.
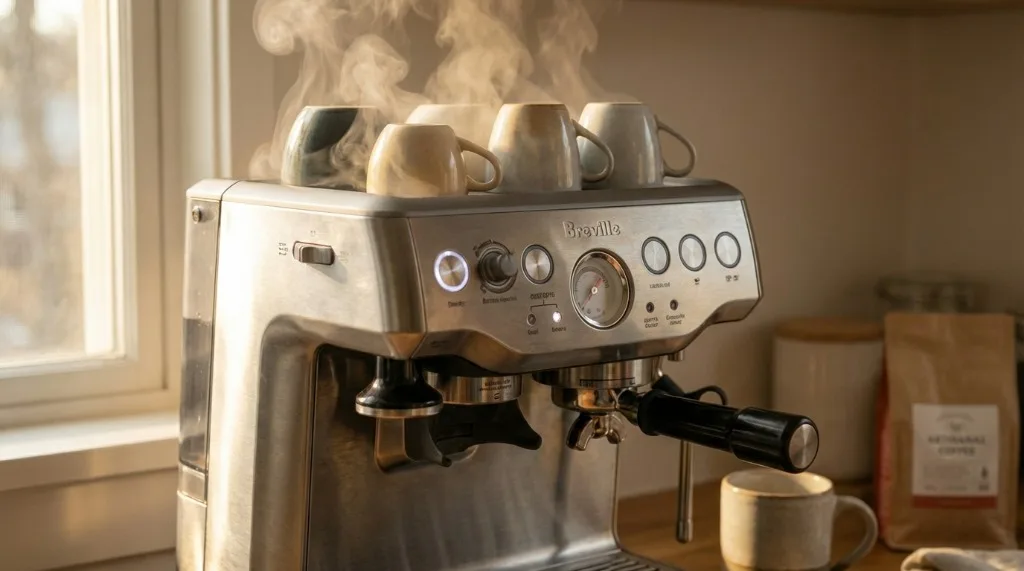
Step 1: Power On and Wait
Turn it on the second you walk into the kitchen. Before you find your beans, before you find your cup.
The “Ready” light stops flashing in 30 seconds, but that’s a lie. The internal boiler is hot, but the heavy metal group head is stone cold.
Pro tip: Leave the portafilter LOCKED IN while it heats. It absorbs heat directly from the group head. By the time you’re ready to tamp, the basket is toasty.
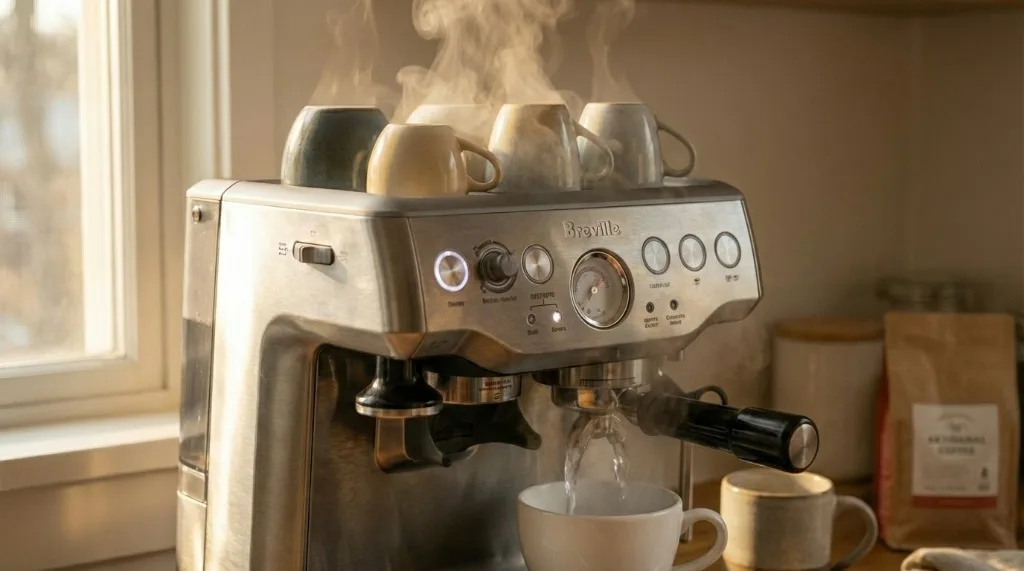
Step 2: The “Blank Shot” Flush
Once heated, remove portafilter, wipe dry, lock back in empty. Press Single Cup. Let hot water run through for 5-8 seconds.
Why do this?
- Heats your cup (if you catch the water)
- Super-heats the portafilter
- Flushes yesterday’s loose grounds
- Verifies flow (no weird blockages)
I call it the “blank shot.” It’s the MVP of thermal consistency.
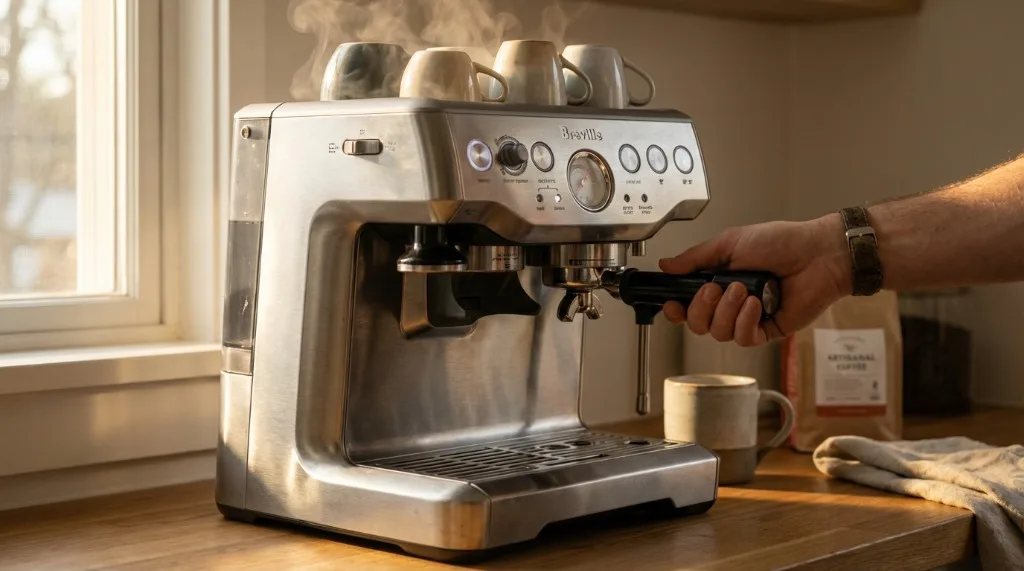
Step 3: Purge the Steam Wand
Point wand at drip tray, turn on for 3-5 seconds.
Condensation builds up overnight. If you don’t purge, your milk gets blasted with a teaspoon of hot water first. Watery milk = bad texture. Also confirms you have full steam pressure.
Step 4: Puck Prep and Pull
Now you actually make coffee. Grind, tamp, pull.
At this point:
- Group head is hot
- Basket is hot
- Shower screen is clean
- Steam is primed
You’ve eliminated variables. If the shot tastes bad now, it’s your grind size, not a cold machine.
Between Shots (If Making Multiple)
Making coffee for two? Don’t just reload immediately.
Knock and Flush
- Knock out puck ASAP. Don’t let it bake. Oils transfer to the screen.
- Quick flush: 1-second burst of water from group head. clear the screen.
- Wipe basket dry. Wet baskets cause channeling.
I used to skip this when rushing. My second shot was always more bitter than the first because it was brewing through the first shot’s dirty residue. Now I flush every time.
End of Day Shutdown
When the caffeine hits and you’re done, take 60 seconds to shut down properly.
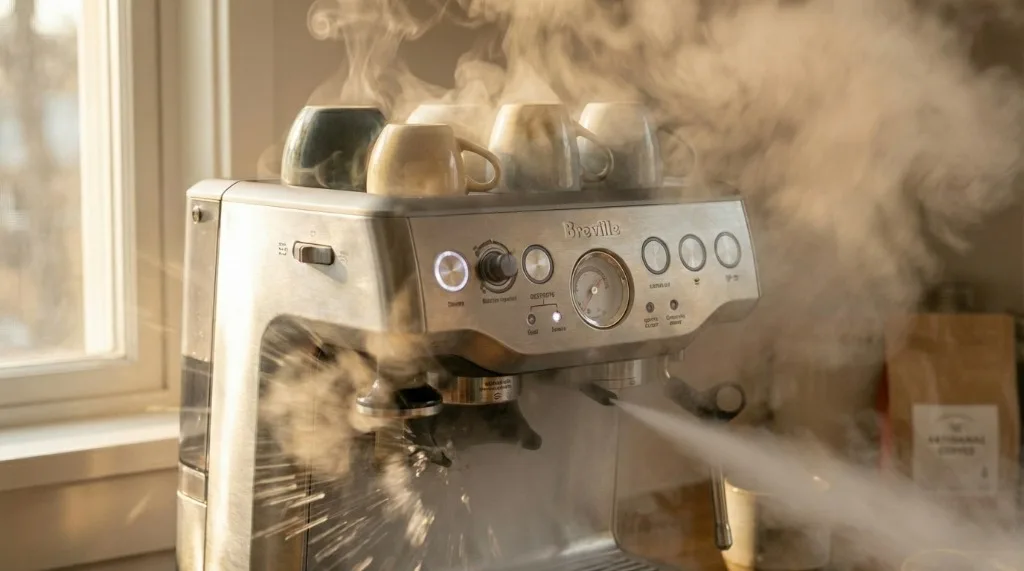
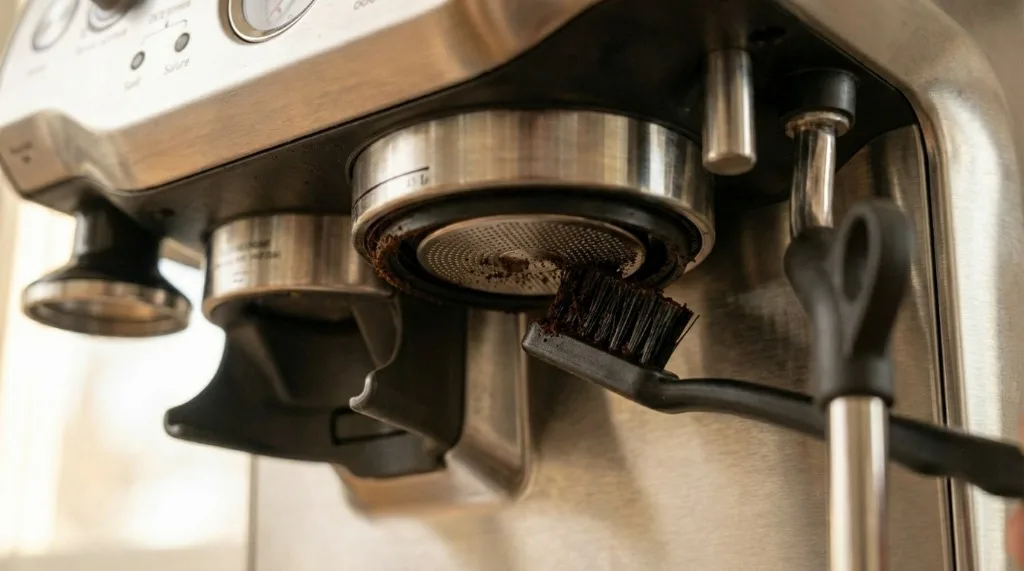
Step 1: Final Flush
Remove portafilter. Run a single shot of water. While flowing, use the cleaning brush to scrub the rubber gasket ring. Grounds love to hide there and harden into cement.
This flush washes away oils before they dry. Fresh oils rinse off; baked oils need chemicals.
Step 2: Steam Wand Purge and Wipe
Milk is the enemy.
- Purge 5 seconds to clear interior.
- Wipe wand thoroughly.
- Check tip holes. If you see white crust, use the pin tool.
Leaving milk in the wand overnight creates a bacteria farm. Next morning’s smell will be… unpleasant.
Step 3: Empty the Drip Tray
Don’t wait for the “Empty Me!” flag.
The drip tray soup is coffee + old milk + water. It smells like a dumpster if left overnight. Empty it, rinse it.
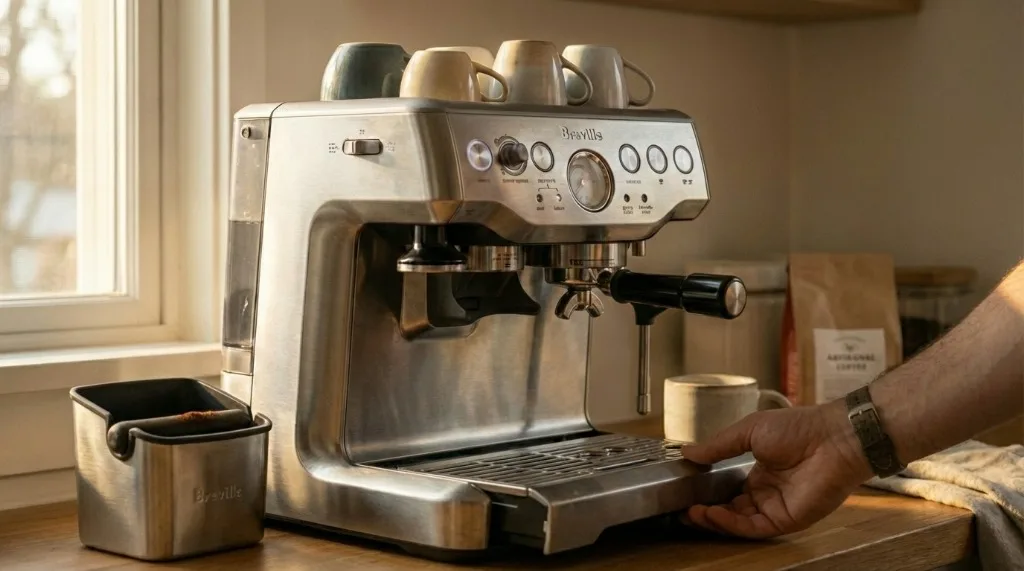
Step 4: Wipe Down
Quick wipe of the backsplash and housing. Crucial: Lock the clean portafilter back in LOOSELY. If you lock it tight 24/7, you compress the gasket permanently and it’ll start leaking in a year. Just turn it enough to hold it in place.
Model-Specific Considerations
Barista Express / Pro
Thermocoil machines heat fast but hold less heat. The “Blank Shot” is mandatory. The heavy brass portafilter needs that hot water bath.
Dual Boiler
These have heated group heads, so they’re more stable. You can use the “Auto Start” feature to have it hot when you wake up. Still need to flush for cleanliness though.
Bambino / Bambino Plus
These heat in 3 seconds. Amazing tech, but deceptive. You MUST run a blank shot. The water is instant-hot, but the cold portafilter will ruin it. I’ve tested this side-by-side: blank shot vs no blank shot on Bambino is a night-and-day flavor difference.
Common Mistakes to Avoid
Mistake 1: Skipping Warm-Up
“Lights are on, let’s go.” No. Boiler is ready, components aren’t. Wait 10 mins.
Mistake 2: Wet Portafilter
Dosing into a wet basket = channeling city. Dry it out.
Mistake 3: Ignoring Steam Wand
Rancid milk smell is impossible to remove once it sets in. Purge and wipe every single time.
Mistake 4: Leaving Grounds in Group
Brush that gasket. It takes 5 seconds and saves you from leaks later.
Related Guides:
Mikael
Home espresso enthusiast and Breville specialist. Helping you master the art of coffee brewing from your own kitchen.
Learn more about me →