How to Dial In New Coffee Beans in 5 Shots
Fast method to dial in any new coffee beans on your Breville. Get from bag to great espresso in under 15 minutes with this systematic approach.
Got a new bag of beans? That exciting moment quickly turns frustrating when your first shot tastes like battery acid. Every new coffee needs dialing in—but you don’t need to waste half the bag figuring it out.
I’ve refined a method that gets me from “fresh bag” to “delicious shot” in 5 attempts or less. Here’s the systematic approach I use on my Breville Barista Express.
Why New Beans Need Re-Dialing
Your espresso settings are calibrated to a specific coffee. Change the beans, and everything shifts:
| Factor | Why It Changes |
|---|---|
| Density | Light roasts are denser → need finer grind |
| Age | Fresh beans off-gas CO2 → more resistance initially |
| Origin | African vs Brazilian → different flavor extraction rates |
| Roast level | Dark roasts are more soluble → extract faster |
| Processing | Natural vs washed → affects puck structure |
Bottom line: Yesterday’s perfect grind setting is probably wrong for today’s new beans.
Before You Start: Know Your Target
The ideal espresso extraction follows a basic recipe:
| Parameter | Target | Acceptable Range |
|---|---|---|
| Dose (in) | 18g | 17-20g |
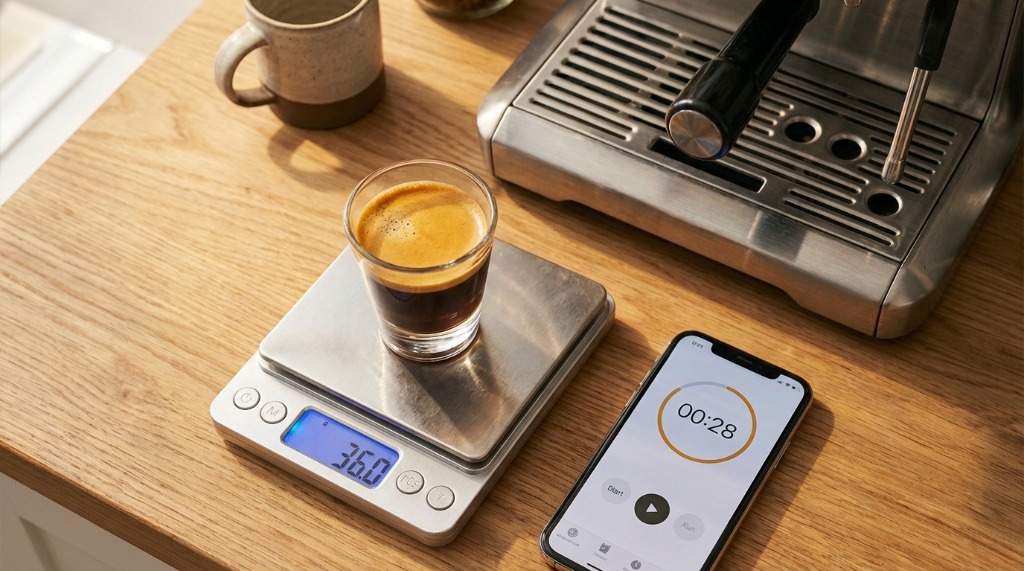
| Yield (out) | 36g | 32-40g |
| Time | 27 seconds | 25-32 seconds |
| Ratio | 1:2 | 1:1.8 to 1:2.2 |
My starting point: 18g in → 36g out → 27 seconds
If the shot finishes faster or slower than target, we adjust grind. If the taste is off at target time, we adjust ratio or look at other variables.
The 5-Shot Dial-In Method
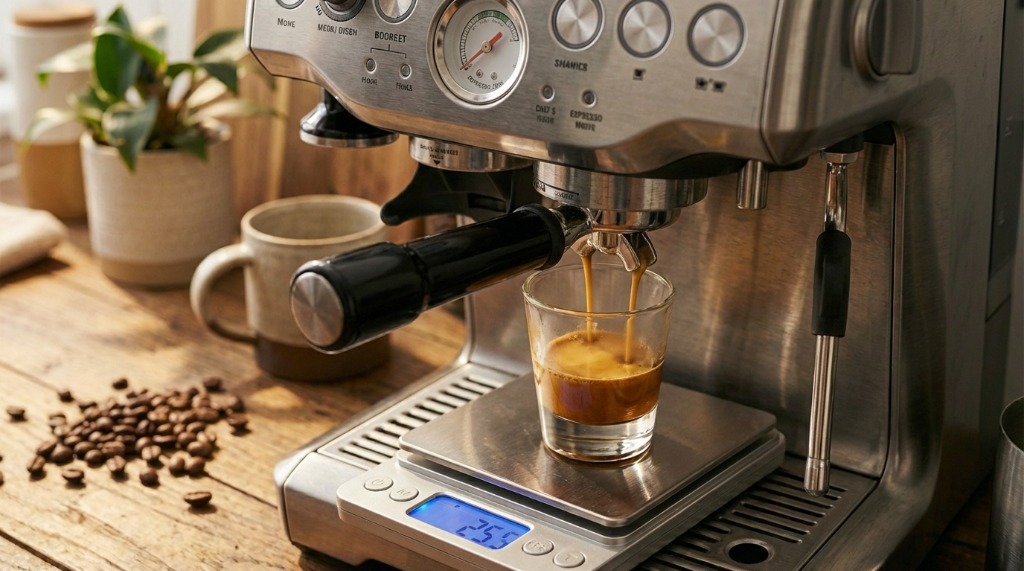
Shot 1: The Scout
This shot tells you where you are relative to target.
Setup:
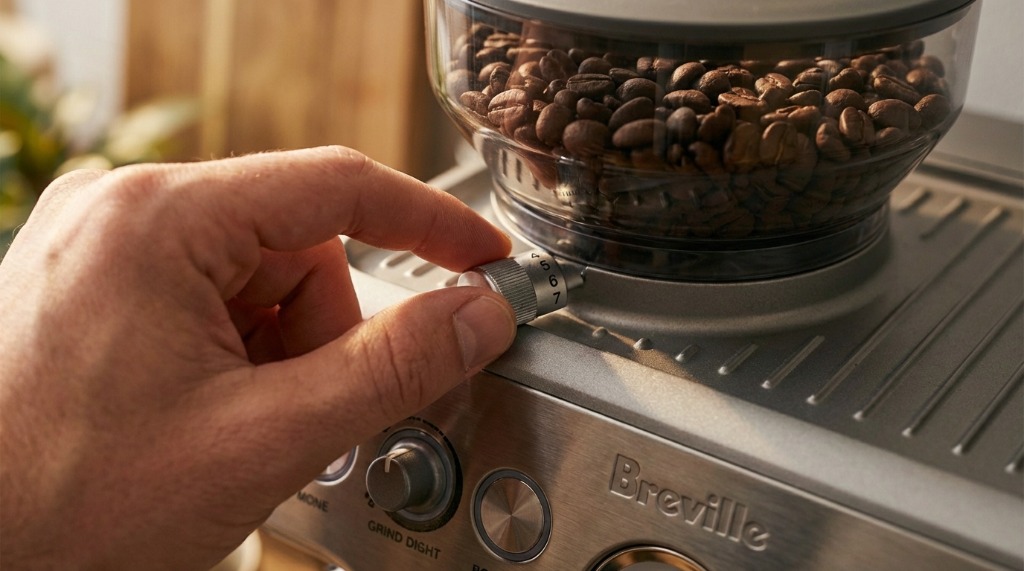
- Set grind to your “medium” baseline (setting 5-6 for medium roast on Breville)
- Dose exactly 18.0g
- Standard puck prep: WDT, level, tamp
- Start timer when you hit brew
- Stop when you hit 36g output
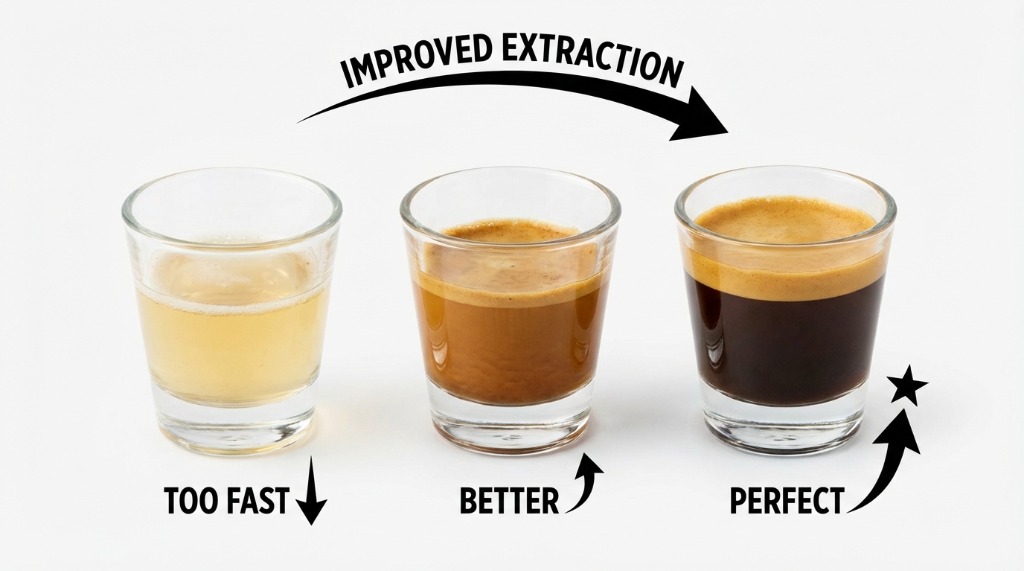
What to track:
- Extraction time
- Visual flow (steady stream? spurting? dripping?)
- Basic taste (sour? bitter? balanced?)
Expected result: Probably way off. That’s fine—it’s data.
Shot 2: The Adjustment
Based on Shot 1, make ONE change:
| Shot 1 Result | Problem | Fix |
|---|---|---|
| Under 20 seconds | Way too fast | Grind 3-4 clicks finer |
| 20-24 seconds | Too fast | Grind 2 clicks finer |
| 25-29 seconds | Close! | Hold or 1 click adjustment |
| 30-35 seconds | Slightly slow | Grind 1 click coarser |
| Over 35 seconds | Way too slow | Grind 2-3 clicks coarser |
Important:
- Only change ONE variable
- Purge 2-3g of grounds after adjusting dial
- Keep dose exactly the same
Shot 3: The Refinement
You should be getting closer. Make smaller adjustments now:
- If still too fast: 1-2 clicks finer
- If still too slow: 1-2 clicks coarser
- If time is on target: Taste and evaluate
Shot 4: The Taste Test
By now, you should be in the 25-32 second range. Time to focus on flavor:
| Taste | Diagnosis | Fix |
|---|---|---|
| Sour, acidic, sharp | Under-extracted | Grind 1 click finer OR extend ratio to 1:2.2 |
| Bitter, harsh, ashy | Over-extracted | Grind 1 click coarser OR shorten ratio to 1:1.8 |
| Balanced, sweet, complex | Dialed in! | Lock this setting |
Shot 5: The Confirmation
Pull one more shot with your final settings. If it tastes good—congratulations, you’re dialed in. Note your settings for this bag.
Quick Reference: Roast Level Adjustments
Different roasts need different starting points:
Light Roast
- Start grind: 3-4 (finer)
- Dose: 18-19g
- Expect time: 28-35 seconds
- Notes: Harder to extract, may taste sour even when dialed—that’s the origin character
Medium Roast
- Start grind: 5-6
- Dose: 18g
- Expect time: 25-30 seconds
- Notes: Most forgiving, good baseline for learning
Dark Roast
- Start grind: 6-7 (coarser)
- Dose: 17-18g
- Expect time: 22-27 seconds
- Notes: Extracts fast, very soluble, easy to over-extract
Common Dial-In Mistakes
Changing Multiple Variables
Wrong: “Shot was sour, so I ground finer AND dosed more AND tamped harder”
Right: Change ONE thing. If that doesn’t fix it, change one more thing. Otherwise you’ll never know what actually worked.
Not Purging After Adjustments
When you change grind settings, old grounds from the previous setting are still in the chute. Purge 2-3g to clear them before pulling your test shot.
Giving Up Too Early
If Shot 1 was way off (15 seconds or 45 seconds), Shot 2 probably won’t be perfect either. Trust the process—big moves first, then fine-tune.
Ignoring the Beans’ Age
Super fresh beans (2-5 days post-roast) are still off-gassing CO2. This creates extra resistance. You might need to grind slightly coarser for the first week, then dial back once they settle.
Expecting Same Settings for All Beans
“I dialed in the last bag at setting 4, why doesn’t this one work?”
Because it’s a different coffee. Different origin, roaster, roast date. Always expect to adjust 2-4 clicks between bags.
My Dial-In Tracking Template
![]()
I keep a simple note for each bag:
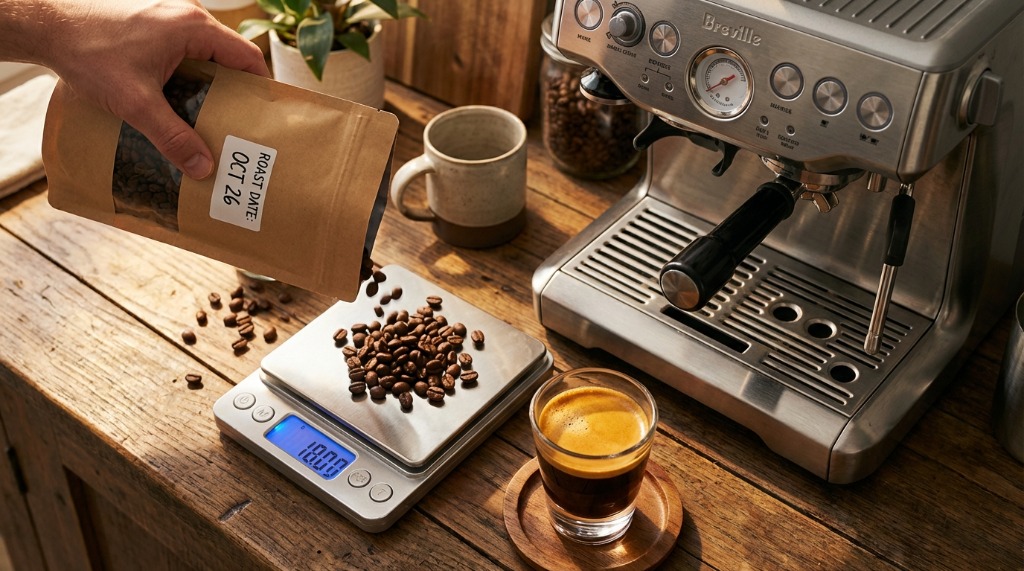
Bag: [Roaster] [Origin/Blend Name]
Roast date: [Date]
Roast level: Light / Medium / Dark

Settings:
- Grind: ___
- Dose: ___g
- Yield: ___g
- Time: ___s

Notes: [Flavor impressions, any quirks]
After 20+ bags, you start recognizing patterns—like “Ethiopians always need me at grind 4” or “this roaster tends to run fine.”
Speed Dial: When You’re Short on Time
Don’t have time for 5 shots? Here’s the abbreviated version:
- Grind at your last working setting (likely close enough)
- Pull and time
- Taste immediately
- Adjust 1-2 clicks if obviously off
- Move on—life’s too short for perfect espresso every morning
Sometimes “good enough” is actually good enough.
Dialing In for Milk Drinks vs Straight Espresso
For lattes/cappuccinos: You can tolerate slightly over-extracted shots because milk masks some bitterness. I often grind 1 click finer when I know it’s going in milk.
For straight espresso: You want balance. Any harshness shows up clearly without milk to hide it.
What If It Still Tastes Bad After 5 Shots?
If you’ve hit target time (25-30s) but still don’t like the flavor:
- Try a longer ratio: 1:2.5 (18g in → 45g out) to increase sweetness
- Try a shorter ratio: 1:1.8 (18g in → 32g out) for more intensity
- Check bean freshness: Past 30 days? Might be stale
- Check water: Hard water = bad extraction
- Accept the coffee: Some beans just don’t shine as espresso
Not every coffee works as espresso. That’s okay—use it for cold brew or drip French Press instead.
FAQs
How many grams of coffee do I waste dialing in?
About 90g (5 shots × 18g) in the worst case. Usually less since you’ll drink some of the test shots. Consider it the cost of great coffee for the rest of the bag.
Should I adjust grind or dose first?
Grind first. It has a bigger impact on extraction time. Only adjust dose if grind alone isn’t getting you there.
Do I need to re-dial when the bag ages?
Usually not dramatically. Beans do change over 2-4 weeks—you might need to go 1 click finer as they degass and lose some resistance. Make minor adjustments as needed.
Can I save my settings for next time I buy this coffee?
Yes, with caveats. Same roaster + same coffee + similar roast date = similar settings. But even then, expect to fine-tune by 1-2 clicks. Coffee is natural and varies batch to batch.
What if my Breville grinder doesn’t go fine enough?
Some beans need finer than setting 1. Options:
- Increase dose to 19-20g (more resistance)
- Use a pressurized basket (adds resistance)
- Consider the inner burr adjustment (advanced—check manual)
Key Takeaways
- Every new bag needs dialing in—don’t expect yesterday’s settings to work
- 5 shots is usually enough—follow the systematic approach
- Change ONE variable at a time—otherwise you’ll never know what fixed it
- Track your settings—patterns emerge over time
- Target: 18g in → 36g out → 27 seconds—adjust from there based on taste
- Not all beans are great for espresso—and that’s okay
The more you dial in, the faster you get at it. I went from “half a bag wasted” to “dialed in before my second cup” in about a month of practice.
Related Guides:
Mikael
Home espresso enthusiast and Breville specialist. Helping you master the art of coffee brewing from your own kitchen.
Learn more about me →