Best Milk Temperature for Steaming
Learn when to stop steaming milk using hand feel vs thermometer methods. Achieve perfect 60-65°C for silky microfoam and latte art.
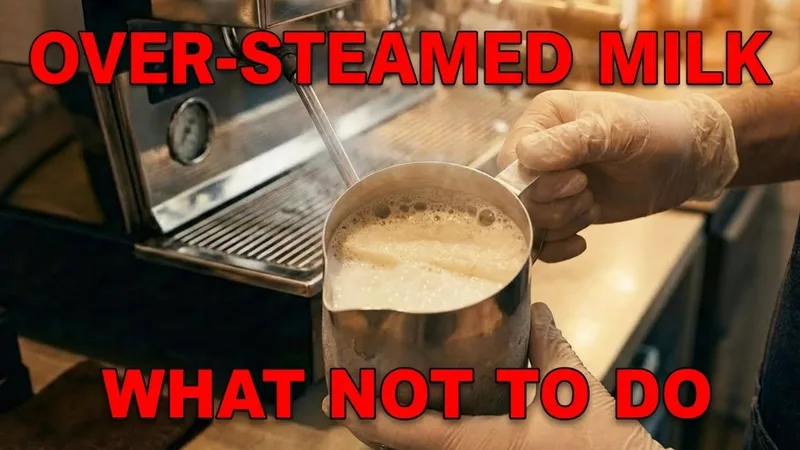
I once served a latte to a customer who took one sip and asked, “Did you boil this?” I was mortified. I had zonked out while steaming and let the milk hit 80°C. It tasted like burnt eggnog.
Temperature is the invisible killer of espresso drinks. Too cold, and it’s disappointing. Too hot, and you destroy the sweetness. You have to hit that Goldilocks zone every single time.
So, do you trust your hand or a gadget?
Why Temperature Matters
The Sweet Spot: 60°C (140°F)
Milk chemistry is wild. As it heats up, lactose becomes more soluble and sweetness increases—until you cross the line.
| Temperature | Taste Profile |
|---|---|
| < 50°C | Lukewarm. Raw milk taste. Unpleasant. |
| 55-60°C | The Sweet Spot. Creamy, rich, maximum sweetness. |
| 65°C | Still drinkable, but sweetness starts fading. |
| > 70°C | Scalded. Proteins break down. Sulphur smell. |
The Rule: You want to stop heating BEFORE you hit the target, because the heavy metal pitcher holds heat and carries the milk a few degrees higher after you cut steam.
The Hand Method (The Barista Way)
Walk into any specialty cafe. You won’t see thermometers. You’ll see baristas holding the pitcher.
How It Works
It relies on your pain threshold. (Sounds fun, right?)
- Hold the bottom/side of the pitcher with your palm.
- Start steaming.
- When it gets too hot to hold comfortably—like, you instinctively want to let go—STOP.
For most people, the “ouch, let go” reflex triggers around 60°C. It’s surprisingly accurate once calibrated.
Pros and Cons
| Pros | Cons |
|---|---|
| Fast. No lag time. | Your hands might be asbestos (high tolerance). |
| Looks pro. | Less accurate on cold/hot days. |
| One less tool to clean. | Risky for beginners. |
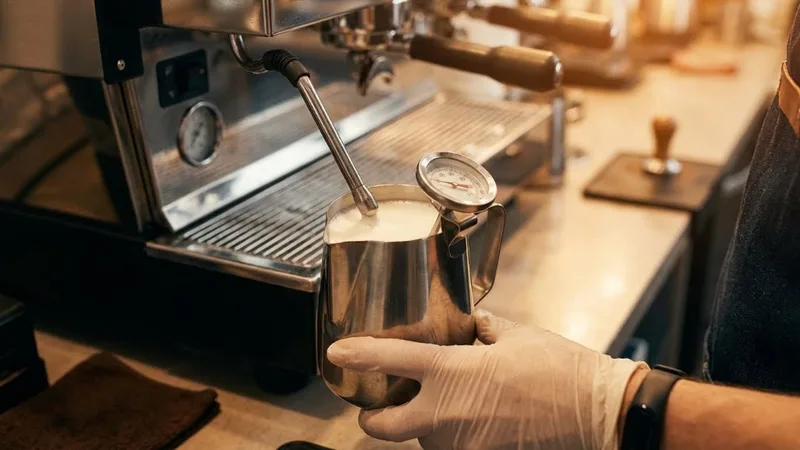
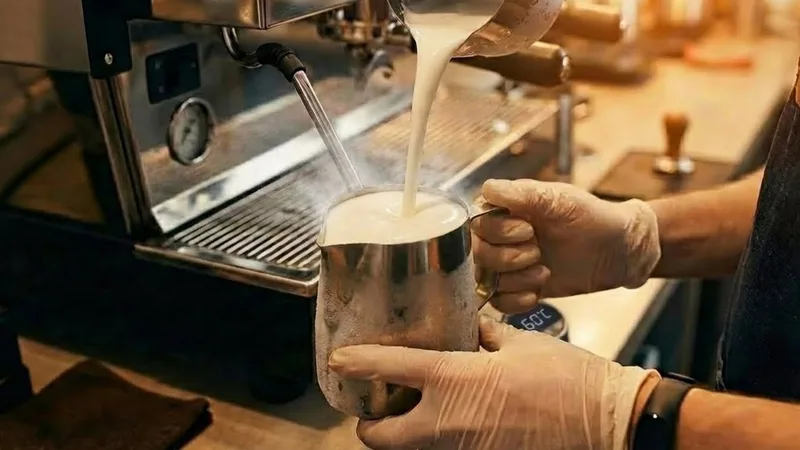
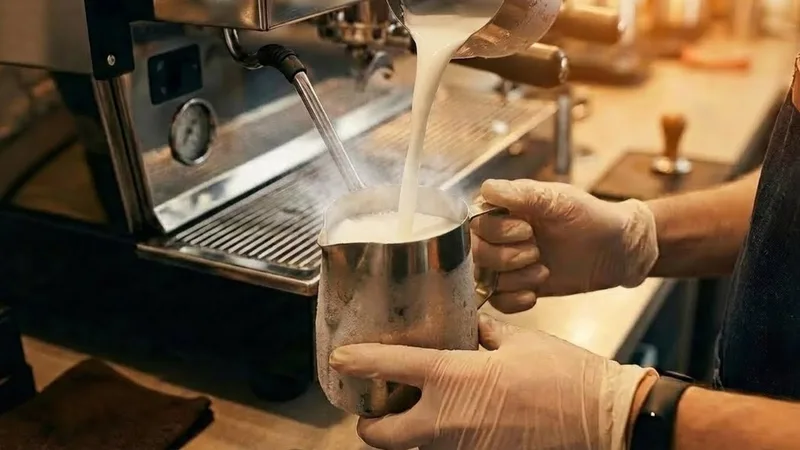
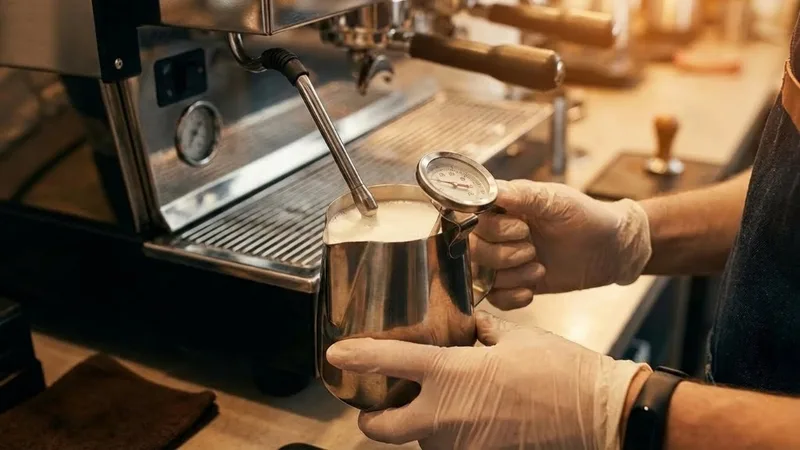
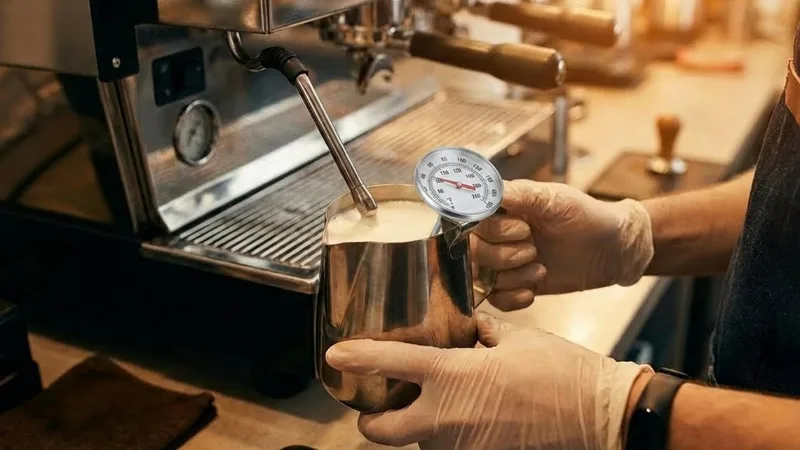
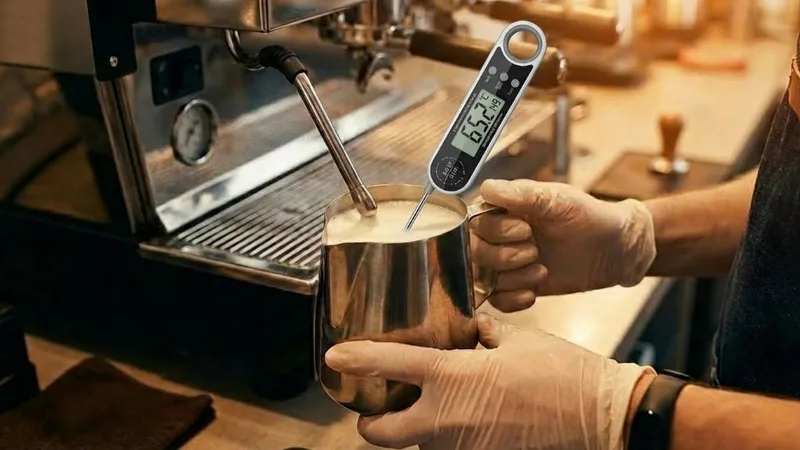
The Thermometer Method
Types of Thermometers
Clip-On Dial: Cheap, rugged, but slow. They have a 2-3 second lag. If you stop when the dial hits 60°C, your actual milk is probably 65°C.
Digital Instant-Read: Fast and accurate, but awkward to hold while managing a pitcher and steam wand.
How to Use Effectively
- Clip it on.
- Watch the needle.
- Stop 5-10 degrees early. If you want 140°F, cut steam at 130°F. The lag + residual heat will carry it the rest of the way.
Pros and Cons
| Pros | Cons |
|---|---|
| Objective data. | Lag can trick you. |
| Great for training. | Gets in the way of the wand. |
| Essential for cafes with turnover. | Another thing to wash. |
Hybrid Approach for Beginners
This is how I train people:
Week 1: The Training Wheels Use a thermometer AND your hand. Feel the heat building. Watch the dial. When your hand says “Too Hot!”, check the dial.
- Is it 140°F? Good, your hand is calibrated.
- Is it 120°F? You have sensitive hands. Push a bit longer.
- Is it 160°F? You have asbestos hands. Stop sooner.
Week 2: The Trust Fall Ditch the thermometer. Trust your hand. occasionally spot-check yourself.
Special Considerations
Plant Milks Burn Faster
If you drink Almond or Soy, throw the rules out. They curdle at lower temperatures. Oat Milk: Similar to dairy, but stop at 130°F (55°C) to be safe. Almond/Soy: Stop even earlier. If it separates, it was too hot.
Drinking vs. Art
For Latte Art: We prefer slightly cooler milk (55°C). It flows better. For Takeaway: Customers usually want “extra hot.” You have to sacrifice some texture for temperature.
Troubleshooting Temperature Issues
Burnt Taste (The Eggnog Effect)
Problem: You let it ride until the pitcher was screaming hot. Fix: Stop when it’s uncomfortable, not unbearable.
Thin, Watery Milk
Problem: You stopped too early because you were scared. Fix: If you can hold the pitcher bottom for more than 3 seconds, keep going.
Inconsistent Results
Problem: One day perfect, next day lukewarm. Fix: Your hands might be cold/warm. Use a thermometer to recalibrate.
Frequently Asked Questions
Can I re-steam milk if it’s too cold?
Technically yes, but it will taste gross and flat. The proteins are already cooked. Better to drink it lukewarm or start over.
Why does my thermometer say 140 but it tastes burnt?
Digital lag. Or your thermometer is touching the bottom of the pitcher (the hottest part). Clip it so the tip is suspended in the middle.
Does the pitcher material matter?
Yes. Thinner stainless steel transfers heat faster (better for feel). Thick ceramic or painted pitchers insulate, so by the time you feel heat, the milk is already boiling.
Why do baristas touch the side, not the bottom?
Preference. The bottom heats up first. I use the bottom. Just don’t articulate your fingers in a way that burns your knuckles.
Related Guides:
Mikael
Home espresso enthusiast and Breville specialist. Helping you master the art of coffee brewing from your own kitchen.
Learn more about me →