Razor Tool Guide: Trimming Your Puck for Perfect Headspace
Master the Breville razor tool for perfect puck headspace. Fix overdoses, improve extraction, and avoid channeling with this step-by-step guide.
I threw my Razor tool in a drawer on day one. I thought, “This looks like a cheap credit card, I don’t need this.”
Fast forward three months. I was struggling with wet, soupy pucks and inconsistent shots. I finally pulled the Razor out, used it once, and realized Breville actually knew what they were doing.
This weird little metal card is the cheat code for correct dosing. If you don’t have a scale, this is your only way to be consistent.
What is the Razor Tool?
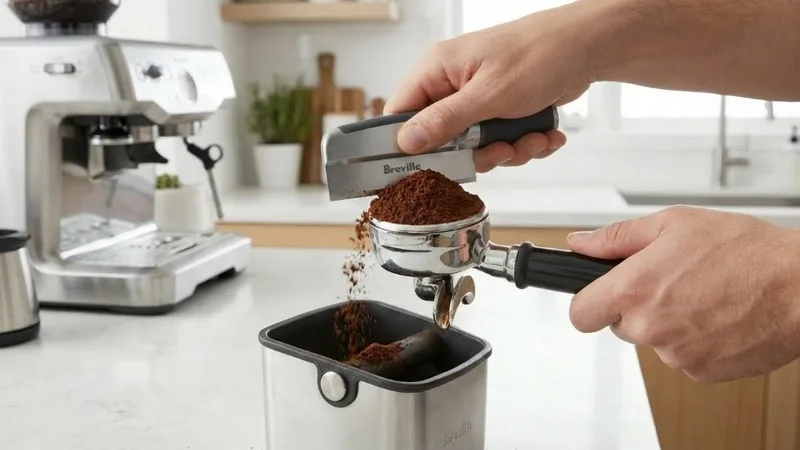
It’s a precision trimming tool. Dose coffee → Tamp → Insert Razor → Spin. It shaves off any coffee that is too high.
Why? To set the Headspace.
Why Headspace Matters
The Physics of Extraction
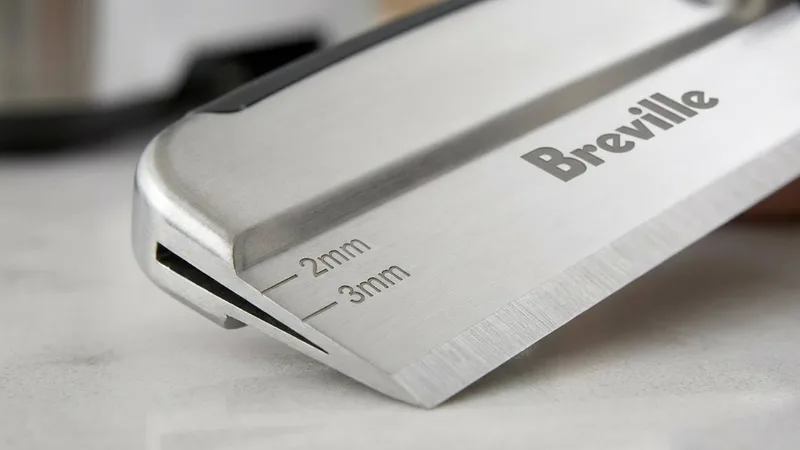
Your machine needs a gap (2-3mm) between the top of the coffee and the shower screen (where water comes out).
- Too much gap: Wet, soupy pucks. Water helps pool on top.
- Too little gap: The puck swells and hits the screen. This cracks the puck and causes channeling.
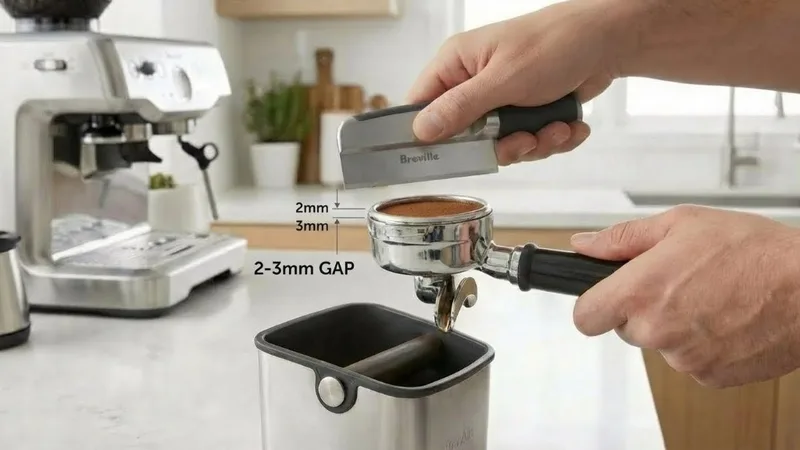
The Razor tool is hard-coded to create the exact perfect gap for your machine.
Step-by-Step: Using the Razor Tool
Step 1: Dose Your Coffee
Overfill it slightly. Seriously. Since you are going to trim it down, you need enough coffee to actually trim. If you under-fill, the Razor does nothing.
Step 2: Distribute & Tamp
Tap the sides to settle grounds. Tamp firmly. Don’t worry about being perfect yet.
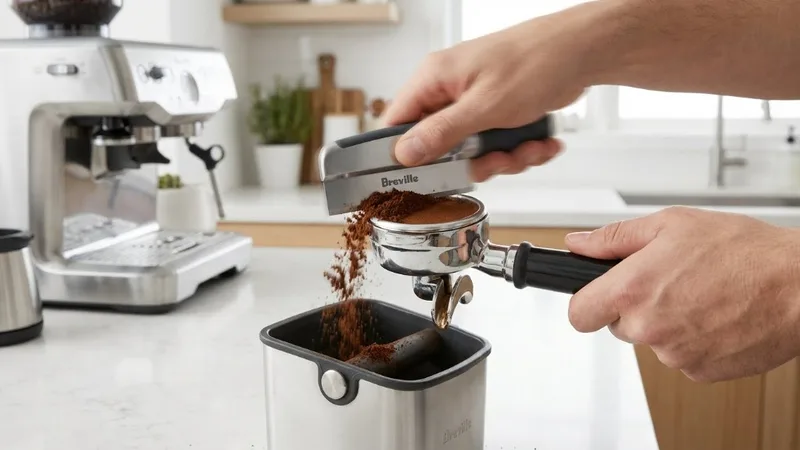
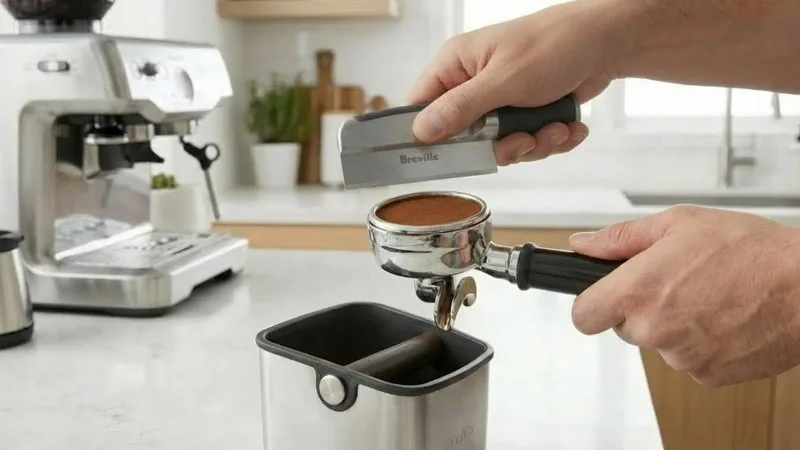
Step 3: Insert and Edit
- Rest the Razor on the rim of the portafilter.
- Spin it 360 degrees.
- The blade will scrape the top layer of coffee.
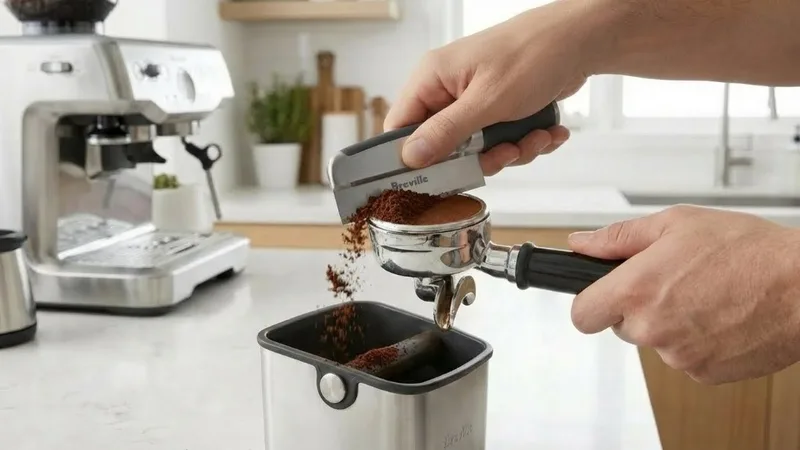
Warning: Do this over the knock box or sink. It makes a mess.
Step 4: Polish
Knock out the loose shavings. Give it one more light polish tamp if you want to be fancy.
Now you have a puck that is mathematically guaranteed to fit your group head.
When to Use the Razor Tool
Situation A: No Scale (The intended user)
If you are eyeing your dose, you are inconsistent. The Razor fixes this.
- Day 1: You grind too much → Razor trims it back to 19g.
- Day 2: You grind way too much → Razor trims it back to 19g. Result: Consistent shots every day.
Situation B: Troubleshooting Channeling
If your puck surface looks messy after a shot (screw prints from the shower screen), you are over-dosing. Use the Razor to verify the max capacity of your basket.
Situation C: New Beans
Different beans take up different volume. Dark roasts are fluffy; light roasts are dense. 18g of dark roast might spill over, while 18g of light roast sits low. The Razor helps you visualize volume.
Why I Eventually Stopped Using It
I’ll be honest—I stopped using it after about 6 months. Why?
- It’s messy. Cleaning coffee dust off the rim every time is annoying.
- I bought a scale. Once you weigh 18g every time, you know it fits.
- It wastes coffee. Grinding extra just to throw it away feels bad.
But: It was crucial for learning. It taught me what a full basket looks like.
Troubleshooting
Razor Drags the Puck (Spinning Puck)
Cause: Your tamp was too weak, or the basket is wet. Fix: Dry basket thoroughly. Tamp harder before razoring.
Razor Hits Nothing
Cause: You under-dosed significantly. Fix: Grind more beans. Or use the Razor to realize you need to up your dose timer.
Puck Sticks to Shower Screen
Cause: You aren’t using the Razor, and you over-dosed. Fix: Use the tool!
Frequently Asked Questions
Can I use it on a 58mm portafilter?
No. The stock tool is 54mm specific.
Does it ruin the tamp?
If you are gentle, no. It can actually help smooth out an uneven surface. But don’t press down hard—let the tool glide.
Should I tamp again after razoring?
I usually do a very light “polish” tamp just to seal the surface, but it’s not strictly necessary.
Is it better than a scale?
No. A scale is better. A scale + Razor is overkill. Razor is for people without a scale.
Related Guides:
Mikael
Home espresso enthusiast and Breville specialist. Helping you master the art of coffee brewing from your own kitchen.
Learn more about me →