Steam Wand Basics: Purging and Positioning for Vortex
Learn proper steam wand purging and positioning techniques for perfect microfoam. Create the ideal vortex for latte art quality milk.
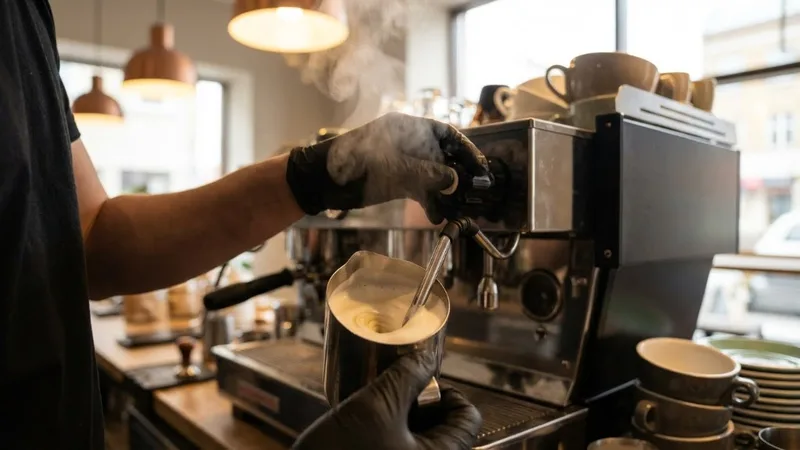
First few months with my Breville, I wondered why my milk looked like dishwater foam—big bubbles, uneven texture, impossible to pour any kind of latte art. Turns out I was doing basically everything wrong with the steam wand. Position, timing, technique—all of it.
Two habits changed everything: proper purging and finding that vortex position. Once those clicked, my milk went from embarrassing to actually silky. Here’s what I learned.
Why Purging Your Steam Wand Matters
Purging is simple but critical—do it before and after every steaming session. When you purge, you blast steam through the wand to clear condensation and leftover milk residue.
Benefits of Purging
- Removes condensation that dilutes your milk and kills steam power
- Prevents milk buildup inside the wand (that stuff goes rancid)
- Maintains consistent steam pressure for proper microfoam
- Extends equipment life by preventing gross residue accumulation
Here’s what happens if you skip it: each time you steam milk, a tiny bit gets pulled back into the wand when pressure changes. That residue builds up, goes bad, affects taste, and eventually chokes steam pressure. I learned this the hard way when my steam wand started smelling weird.
The Purging Routine
Make this automatic—takes literally 5 seconds.
Before Steaming
- Open steam valve for 2-3 seconds
- Let condensation blast out into drip tray or cloth
- Wait until you hear consistent, dry steam
- Close valve
After Steaming
- Immediately open steam valve after you’re done
- Purge for 2-3 seconds
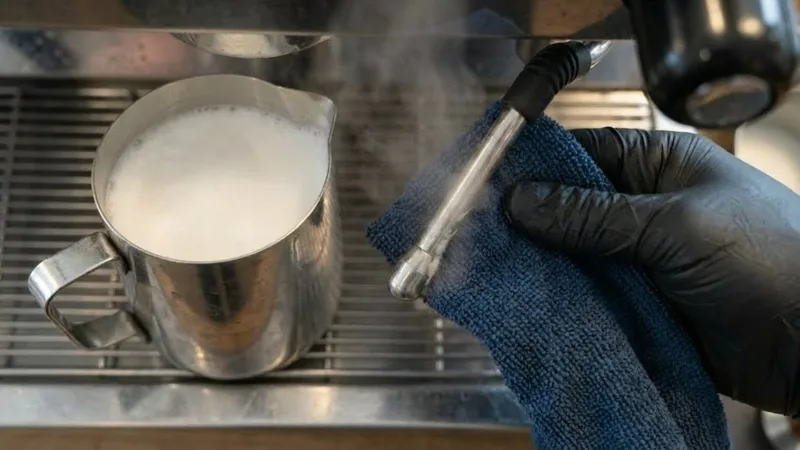
- Wipe wand with damp cloth—get all the milk off
- Purge briefly again to clear anything that seeped in
Critical: Never let milk dry on the steam wand. Clean within 10 seconds of finishing. Dried milk is stubborn and crusty and will eventually block your steam tip holes.
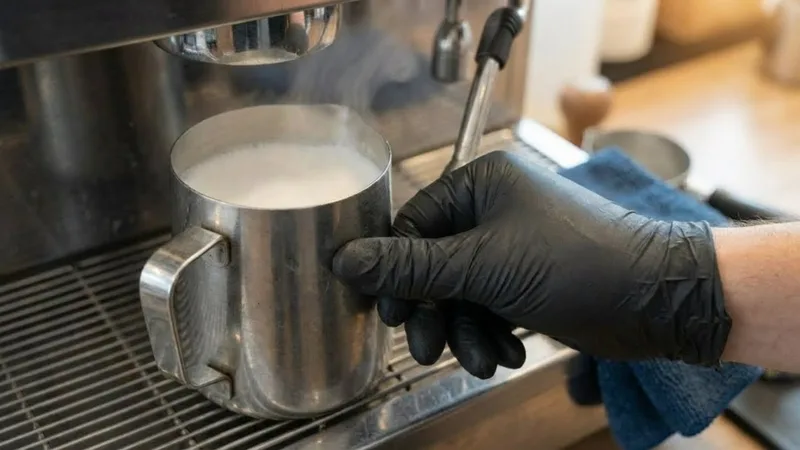
Positioning for the Perfect Vortex
The vortex is what turns big ugly bubbles into silky microfoam. It’s a spinning motion in the milk that:
- Incorporates air evenly throughout
- Breaks large bubbles into tiny ones
- Creates consistent texture
No vortex = no microfoam = no latte art.
Finding the Right Position
Step 1: Start Position
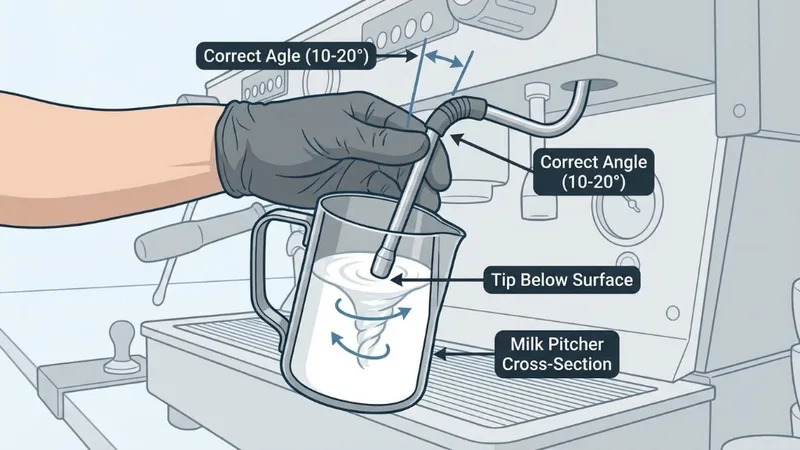
- Put steam tip about 0.5-1 cm below milk surface
- Position off-center, angled toward one side of the pitcher
- The angle is what creates the spin
Step 2: Angle the Pitcher
- Tilt pitcher slightly—about 15-20 degrees
- Helps establish that spinning motion
- Tip should be near the edge, not dead center
Creating the Vortex
- Open steam fully—you want maximum power
- Listen for “paper tearing” sound—that’s air incorporating
- Lower pitcher slowly as foam rises to keep tip just below surface
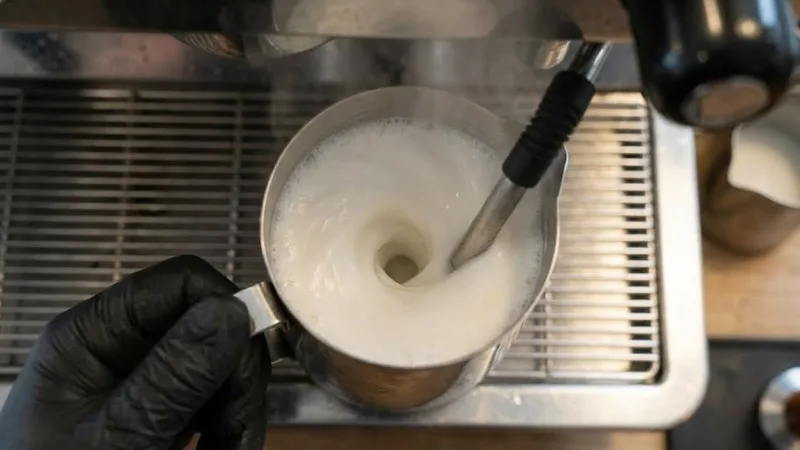
- Watch for spinning—milk should rotate like a whirlpool
- Once you have enough foam, submerge tip deeper to polish
The Two Phases of Steaming
Phase 1: Stretching (Air Incorporation)
- Tip at or just below surface
- You hear that paper tearing sound
- Milk volume increases
- Lasts 3-5 seconds for latte
- Longer for cappuccino (you want more foam)
Phase 2: Texturing (Polishing)
- Submerge tip deeper (1-2 cm)
- Maintain vortex but stop adding air
- No hissing sound—just the spinning whoosh
- Breaks up bubbles into microfoam
- Continue until you hit target temperature
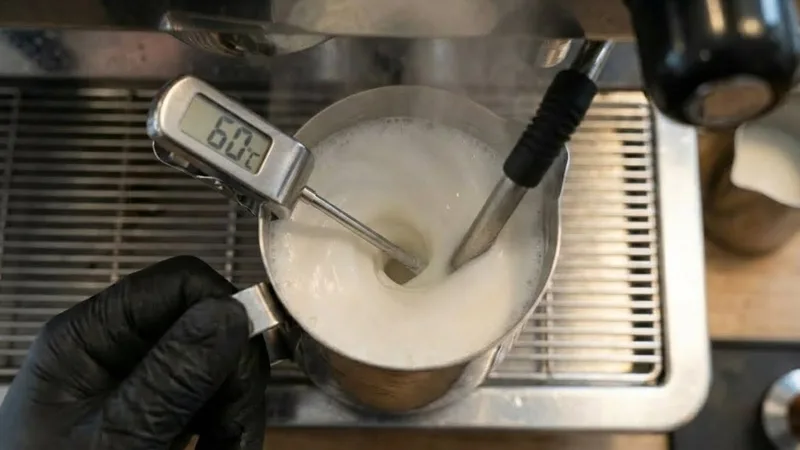
Temperature Control
Target Temperature
| Drink | Target Temp |
|---|---|
| Latte | 60-65°C (140-150°F) |
| Cappuccino | 60-65°C |
| Flat White | 55-60°C |
How to Judge Temperature
Without a thermometer:
- Warm to touch: About 40°C—keep going
- Hot but holdable: About 55°C—almost there
- Too hot to hold: About 65°C—stop now
The residual heat trick: Stop steaming when the pitcher becomes uncomfortable to hold. By the time you stop and pour, residual heat adds another 5°C. If you wait until it’s REALLY hot, you’ve overshot.
Common Mistakes to Avoid
Too Deep, No Air
The problem: Tip submerged too far from the start What you get: Hot milk with zero foam The fix: Start with tip barely under surface—you need that paper-tearing sound
Too High, Too Much Air
The problem: Tip at or above surface for too long What you get: Giant bubbles, soap-like foam The fix: Only add air for the first few seconds, then submerge
No Vortex
The problem: Tip centered or wrong angle What you get: Uneven texture, big bubbles that won’t break up The fix: Position off-center and angled toward pitcher wall
Overheating
The problem: Steaming past 65°C What you get: Burnt taste, thin texture, milk sugars destroyed The fix: Use thermometer until you develop the feel, stop when too hot to hold
Practice Routine
To develop your technique:
- Practice with water first—add a drop of dish soap to simulate milk behavior
- Steam 10 pitchers in a row—develop muscle memory
- Use a thermometer—until temperature becomes intuitive
- Watch the milk surface—you’ll learn to read foam quality visually
I wasted maybe 3 liters of milk learning this. Worth it—now I can steam consistently without thinking.
Key Takeaways
- Always purge before and after steaming—no exceptions
- Position off-center with pitcher tilted to create vortex
- Two phases: Stretch (add air) then texture (polish foam)
- Temperature target: 60-65°C for most drinks
- Stop when too hot to hold—residual heat adds more
- Clean immediately—never let milk dry on the wand
Related Guides:
Mikael
Home espresso enthusiast and Breville specialist. Helping you master the art of coffee brewing from your own kitchen.
Learn more about me →