Tamping Technique: How Hard Should You Press? (30lbs Myth)
Master espresso tamping technique. The 30lbs pressure myth debunked—learn why evenness matters more than force for consistent extraction.
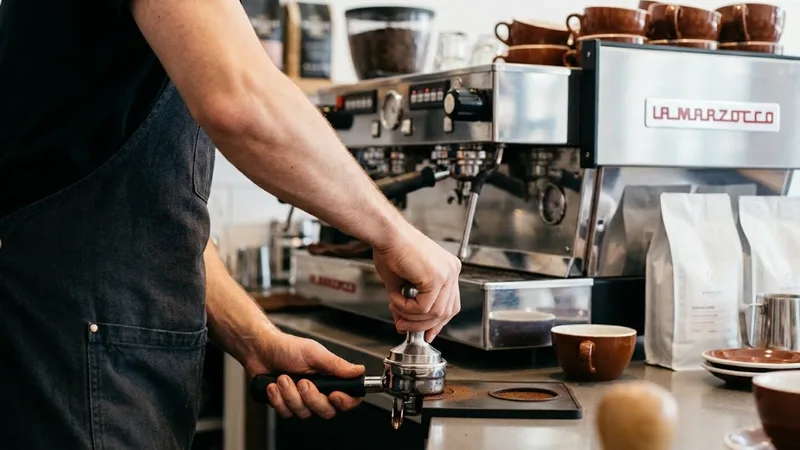
“Tamp with 30 pounds of pressure.” If you’ve researched espresso technique, you’ve definitely heard this. Probably multiple times. Here’s the thing though—it’s mostly useless advice. Let me explain what actually matters when tamping, and why obsessing over exact pressure is missing the point.
The 30lbs Myth Explained
Where It Came From
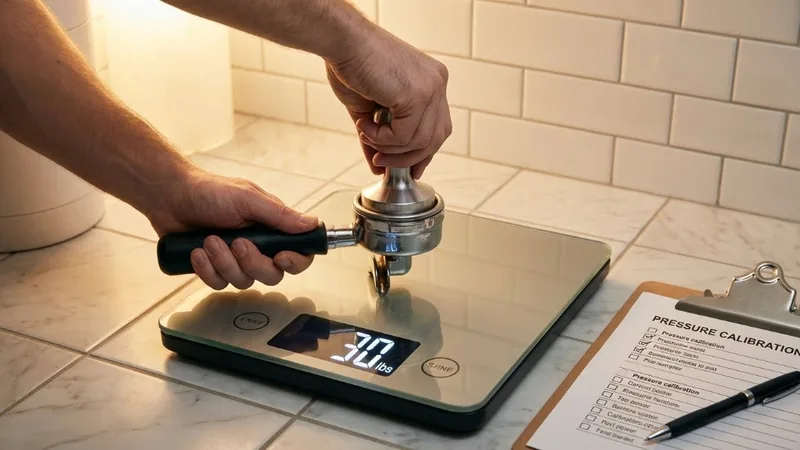
The “30 pounds” guideline started in barista training programs. The idea was simple: give new baristas a target number so their tamps are at least somewhat consistent.
Why It’s Misleading
Here’s the problem: coffee only compresses so much. After a certain point—roughly 15 lbs—additional pressure does almost nothing. The grounds physically can’t pack any tighter.
What actually changes with more pressure? Your risk of wrist injury. And inconsistency from pressing too hard and rocking.
What Matters Instead
Evenness beats force. Every time.
A perfectly level 10lb tamp produces better espresso than an uneven 40lb tamp. Water follows the path of least resistance—if one side of your puck is looser than the other, water rushes through that side. That’s channeling. That’s sour-bitter confusion in your cup.
What Actually Matters in Tamping
1. Level Tamp
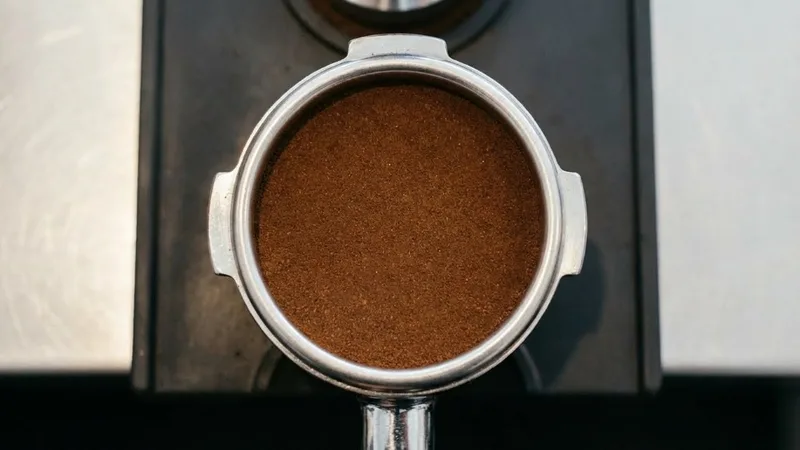
Your tamp must be perfectly horizontal. Any tilt creates a thin spot where water channels.
How to check: After tamping, look at the puck surface. Flat like a table? Or sloping to one side?
2. Consistent Pressure
While exact pounds don’t matter, applying the same pressure every time absolutely does. Your muscle memory should produce identical tamps shot after shot. Doesn’t matter if it’s 15lbs or 30lbs—just be consistent.
3. No Cracks or Gaps
Check the edges of your tamped puck. Any gaps between coffee and basket wall are channeling pathways. These usually happen from spinning while tamping.
Step-by-Step Tamping Technique
Body Position
Before you even pick up the tamper:
- Put the portafilter on a stable, flat surface
- Stand so your elbow can be at 90 degrees when pressing
- Keep wrist straight—never bend it
Poor ergonomics = uneven tamps and eventual wrist problems. Ask me how I know.
The Tamp
Step 1: Light Press Apply gentle pressure first—just to settle the grounds and push out air. This isn’t your real tamp, just setup.
Step 2: Full Tamp Now press down firmly using your arm and shoulder—not just wrist. Focus on keeping the tamper perfectly level.
Step 3: Check Levelness Remove the tamper and look at what you’ve got. Surface should be:
- Completely flat
- No cracks
- No gaps at edges
- Smooth, not bumpy
The Polish (Optional)

Some baristas add a slight twist at the end—the “polish.” This smooths the surface a bit.
The debate: Some say polishing creates a slick layer that water slides across. Others swear by it. I do a light polish and it works fine. Try both, see what you prefer.
Common Tamping Mistakes
Uneven Tamp (Most Common)
The problem: One side higher than the other.
What you’ll see:
- Channeling visible in bottomless portafilter
- Inconsistent extraction
- Pressure gauge jumping around
How to fix: Practice on a level surface. Watch your tamper from the side as you press. If you can’t get it level consistently, consider a leveling tamper—they’re worth it.
Spinning While Tamping
The problem: Rotating the tamper while pressing down.
What you’ll see:
- Gaps at basket edges
- Puck spins when you remove tamper
- Channeling around the perimeter
How to fix: Press straight down, lift straight up. No rotation needed.
Over-Tamping
The problem: Pressing with excessive force, often rocking side to side.
What you’ll see:
- Puck sticks to shower screen
- Super slow extraction
- Your arm hurts
How to fix: Moderate, consistent pressure. If extraction is too slow, adjust grind—not tamp force.
Under-Tamping
The problem: Barely pressing at all.
What you’ll see:
- Loose, crumbly puck
- Gushing extraction
- Weak, sour shots
How to fix: Press down with deliberate, firm pressure until the coffee stops compressing. You’ll feel when it stops.
Do You Need Tamping Accessories?
Tamping Mat
Worth it? Yes. Protects your counter and portafilter spouts, provides stable surface. Like $10. Just get one.
Tamper with Depth Gauge
Worth it? Nice for consistency but not essential. Focus on getting level first.
Distribution Tool
Worth it? Very helpful. Levels grounds before tamping, reducing channeling. I use one every shot now.
Self-Leveling Tamper
Worth it? Solves the #1 problem (uneven tamps). If you can’t achieve level tamps consistently after practice, this is the answer.
Frequently Asked Questions
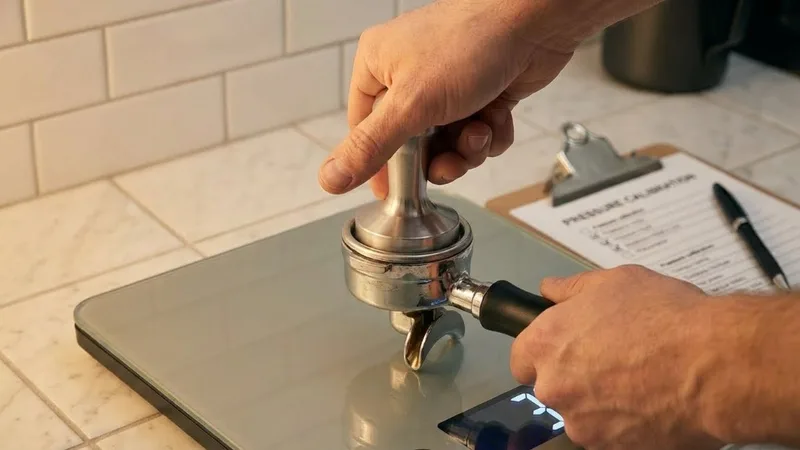
Do I need a tamping scale?
Not really. They’re training tools that can help you develop consistent pressure. After a few weeks, you won’t need one. Spend that energy on evenness instead.
Does tamper size matter?
Yes—your tamper should match your basket diameter with minimal gap. The included Breville tamper fits 54mm baskets correctly. Gaps around the edge cause uneven extraction.
What if my tamp is uneven?
Don’t try to fix it by pressing harder on the low side—that makes things worse. Knock out the grounds and start over. Seriously.
Should I twist when tamping?
Optional. If you do twist, do it after you’ve finished pressing, not during. Light 90° polish is plenty.
How do I know when I’ve tamped enough?
You’ll feel the coffee stop compressing. There’s a point where more pressure just doesn’t move the grounds further. That’s your stopping point.
Related Guides:
Mikael
Home espresso enthusiast and Breville specialist. Helping you master the art of coffee brewing from your own kitchen.
Learn more about me →