Weighing Espresso Output: Why a Scale Changes Everything
Learn why weighing your espresso output is the key to consistency. Master brew ratios and dial in faster with this practical scale guide.
The single upgrade that improved my espresso more than any other wasn’t a shiny new machine or buying $50 Geisha beans—it was a cheap, beat-up $25 coffee scale I bought off Amazon. Before I started weighing my shots, I was essentially gambling every morning. Sometimes the coffee was divine; other days it tasted like battery acid, and I had no idea why.
Weighing my output transformed my shots from “random acts of brewing” to consistently excellent. It also cut my dial-in frustration in half.
If you’re still eyeing your shots by volume or just hoping for the best with a timer, I’m about to annoy you by telling you that you need a scale. Here is why weight matters more than time, and how to use it to stop guessing.
Why Weight Matters More Than Time
When I first got my Breville, I followed the manual’s advice religiously: “Aim for 25-30 seconds.” I’d hit 28 seconds and celebrate, only to taste sour puckering juice. What went wrong? The timer lied to me.
The disconnect: A 27-second shot could yield 30g of liquid (Ristretto) or 60g of liquid (Lungo) depending on how hard I tamped or how fresh the beans were. Those two shots will taste completely different, despite the timer saying “Good job!”
Weight tells the truth. Your brew ratio (how much coffee in vs. how much liquid out) is the primary driver of taste. A 1:2 ratio (18g in → 36g out) tastes fundamentally different from 1:3 (18g in → 54g out). Time is just a speedometer; weight is the roadmap.
| What Time Tells You | What Weight Tells You |
|---|---|
| ”Something happened” | Exact extraction yield |
| Approximate flow rate | Precise brew ratio |
| General ballpark | Reproducible recipe |
Understanding Brew Ratios
The brew ratio is your recipe foundation. Think of it like baking: you wouldn’t eyeball the flour for a cake, right? Here’s what different ratios actually taste like:
Ristretto (1:1 to 1:1.5)
- Example: 18g dose → 18-27g yield
- Taste: Intense, thick, syrupy, heavy body.
- Best for: Dark roasts that might taste ashy if brewed longer, or for cutting through a lot of milk in a latte.
Normale (1:2)
- Example: 18g dose → 36g yield
- Taste: The Goldilocks zone. Balanced sweetness, acidity, and body.
- Best for: Most medium roasts and everyday espresso drinking. This is my default starting point for every new bag.
Lungo (1:2.5 to 1:3)
- Example: 18g dose → 45-54g yield
- Taste: Lighter body, more clarity, tea-like, highlights subtle floral notes.
- Best for: Light roasts and fruity single-origin coffees that need more water to open up.
In my experience, 1:2 is the safe harbor. Start there. If it’s too sour, pull it longer (1:2.5). If it’s bitter/dry, pull it shorter (1:1.5).

My Weighing Workflow
Here’s exactly how I use weight in my routine at 6:00 AM when I’m barely awake:
Before Brewing
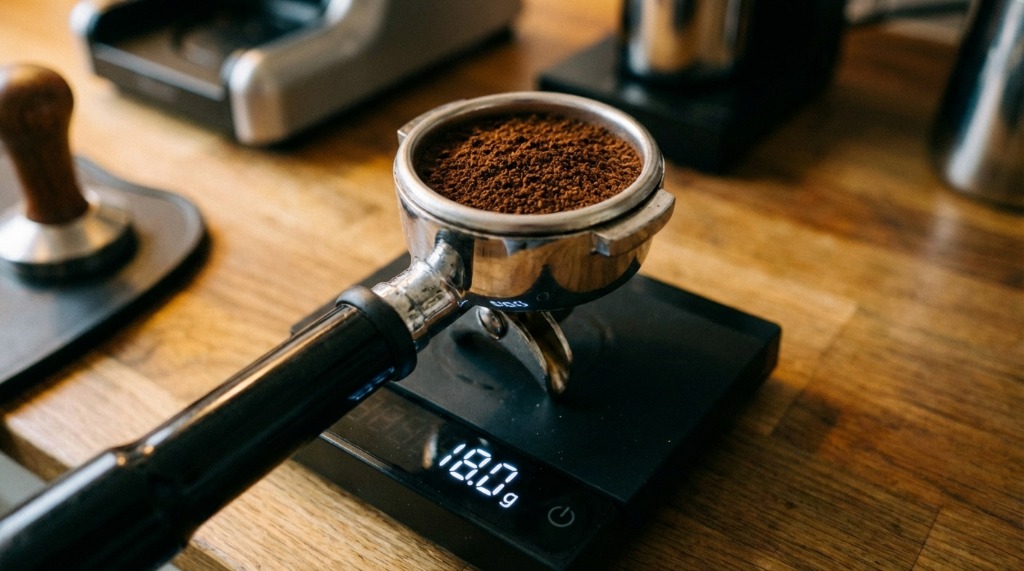
- Weigh dose: I set my grinder to give me exactly 18g. If it gives me 18.5g, I scoop a bit out. Precision at the input equals precision at the output.
- Tare portafilter: Actually, I usually tare the dosing cup.
- Prep the puck: WDT, tamp, lock it in.
During Brewing
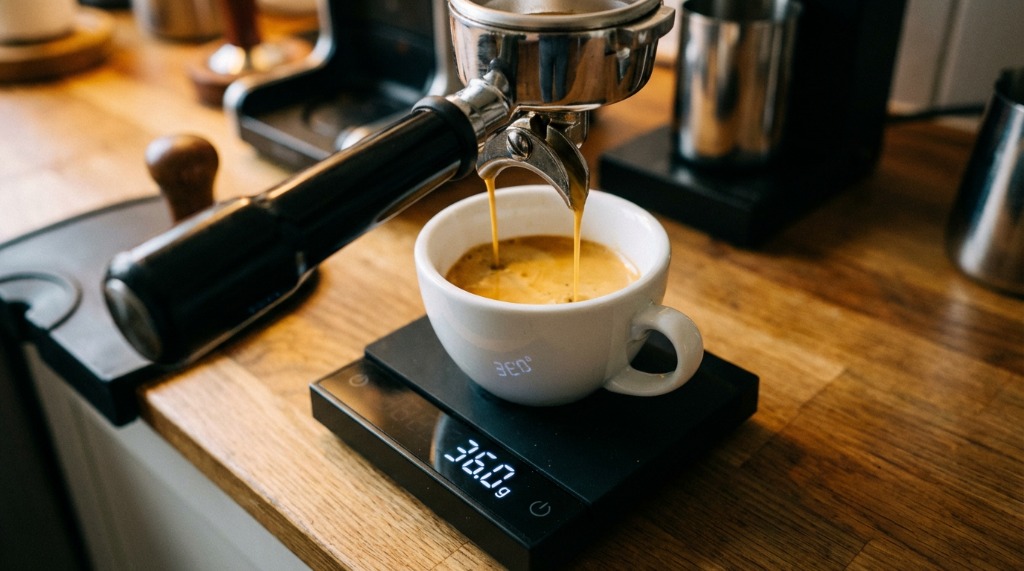
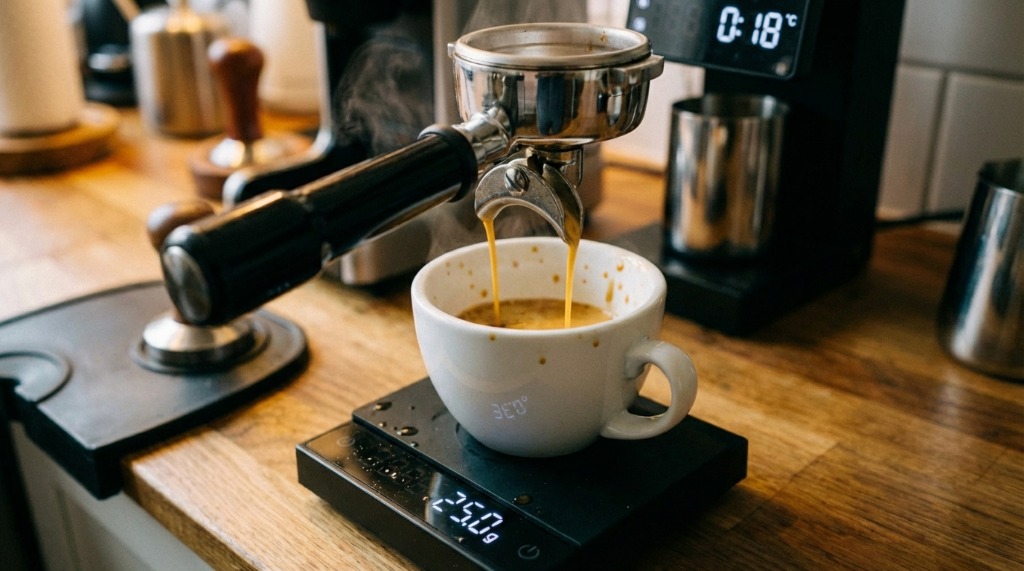
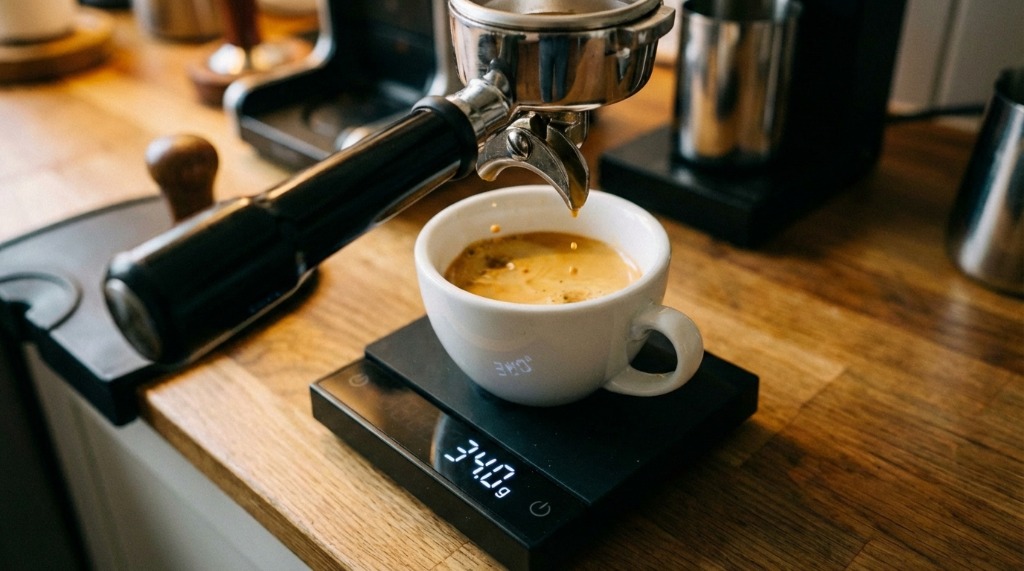
- Place my favorite cup on the scale.
- Tare that scale to zero. (I forget this 10% of the time and curse immediately).
- Start the shot and the timer simultaneously.
- Watch the weight climb. I ignore the volumetrics on the machine completely.
- Stop at target weight (usually 36g for my standard 1:2 ratio).
The Critical Detail
Stop the pump 2-3 grams before your target. I learned this the hard way. If I want 36g and I stop the button at 36g, the remaining drizzles will push it to 38g or 39g. Gravity works. If I want 36g, I stop the pump at 33g. It usually lands perfectly on 36g.
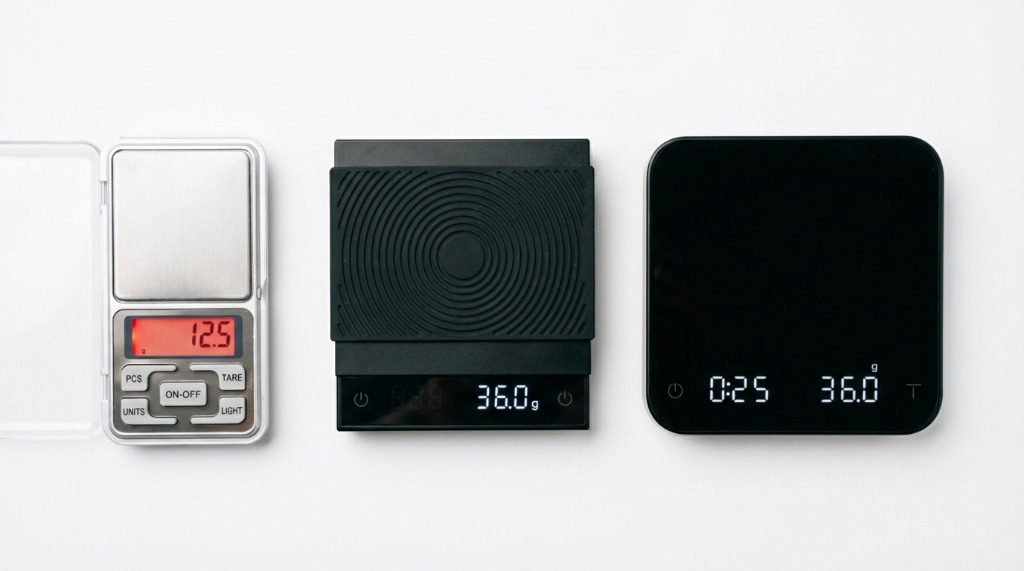
Choosing the Right Scale
You don’t need a $300 Bluetooth scale unless you’re a data nerd (guilty). But you do need something specific.
Essential Features
| Feature | Why It Matters |
|---|---|
| 0.1g precision | Kitchen scales with 1g increments are useless for espresso. 35g vs 35.9g is a big difference in taste. |
| Fast response | If the scale lags by 2 seconds, you’ll overshoot every shot by 10 grams. |
| Compact size | It needs to fit on the drip tray under your cup and portafilter spouts. |
| Water resistance | You will spill coffee on it. I guarantee it. |
My Recommendations
Budget option: Search “Jewelry Scale” on Amazon ($15-20). They are ugly and rarely water-resistant, but they are accurate enough to start.
Sweet spot: Timemore Black Mirror Basic 2 ($50-60). This is my current daily driver. It’s fast, rechargeable, looks sleek, and survives splashes.
Premium: Acaia Lunar ($250). The Ferrari of scales. Solid aluminum, waterproof, insanely fast. I want one, but my wallet says no.
I used a $15 jewelry scale for two years before upgrading. It looked ridiculous, but it made great coffee.
Common Mistakes When Weighing
1. Forgetting Afterdrip
As I mentioned, the “stop early” rule is crucial. Overshooting your ratio by 5g will make your espresso watery and dilute the body. Anticipate the lag.
2. Inconsistent Dose
If your input varies, your output target moves.
- 17g dose @ 1:2 = 34g output.
- 18g dose @ 1:2 = 36g output. If you just blindly aim for 36g but your grinder only spit out 16g, you’re now brewing a Lungo ratio (1:2.25) and it will taste thin. Weigh your input, every single time.
3. Chasing Arbitrary Numbers
The “perfect” 36g yield isn’t magic; it’s just a starting line. If 36g tastes sour, go to 40g. If it tastes harsh, stop at 32g. Listen to your tongue, not just the numbers.
4. Ignoring Visual Cues
Weight is king, but eyes are helpful. If the scale says 20g but the flow has turned completely blonde/clear and is wiggling all over the place, something is wrong (likely channeling). I’ll often kill a shot early if it looks ugly, regardless of weight.
How Weighing Speeds Up Dial-In
Before scales, my dial-in process was a frantic guessing game:
“That shot was too sour… did it run fast? Was it under-dosed? Did I tamp too light? I have no idea.”
Now, with a scale, it’s systematic:
- Shot 1: Standard recipe (18g → 36g). Result: Tastes incredibly sour.
- Analysis: Sour = Underextracted. I need to dissolve more stuff.
- Shot 2: Same dose (18g), generally same grind, but I simply let it run longer to 42g output.
- Result: Sweet, balanced, delicious. Dial-in complete.
I went from wasting 6 shots to dialing in within 2 shots. Over a year, the scale pays for itself in saved beans.
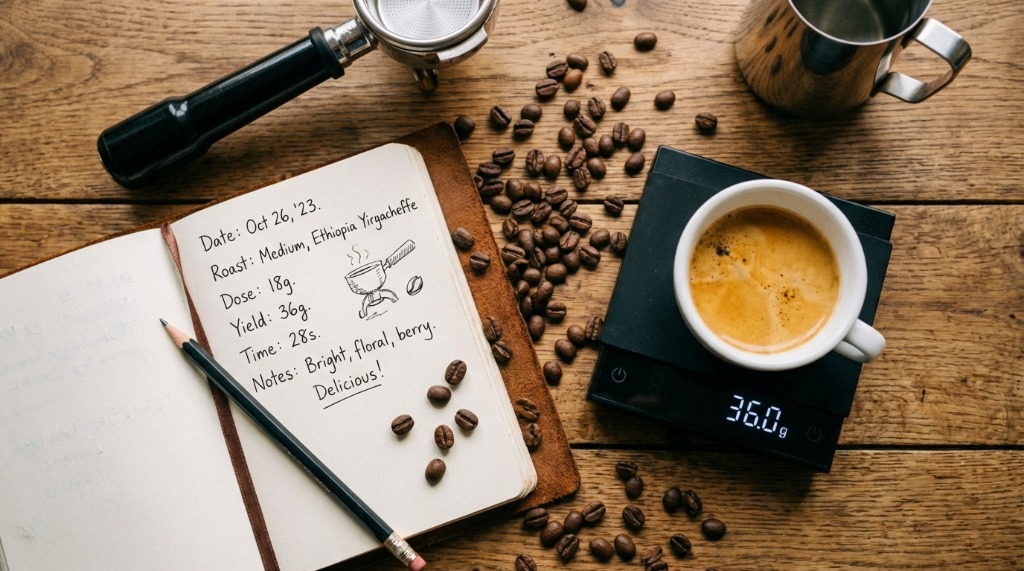
Tracking Your Recipes
I keep a small notebook (or just a note on my phone) for each bean bag:
Ethiopian Guji (Light Roast)
- Dose: 18.5g
- Yield: 45g (1:2.4)
- Time: ~32 sec
- Notes: Blueberry bomb, needs the longer ratio to kill the lemon acidity.
When I buy the same beans again 3 months later, I don’t start from scratch. I look up the recipe and nail it on the first try.
FAQ
Do I really need a scale, or is timing good enough?
Timing gets you 70% of the way there. The scale gets you the remaining 30% — which is the difference between “pretty good” and “wow.” If you’re serious about consistency, yes, you need a scale.
Can I just use my large kitchen scale?
Probably not. Most kitchen scales fluctuate by +/- 2 grams and take 3 seconds to update. By the time it registers “30g”, you’ve actually poured 45g. Plus, they usually don’t fit on the drip tray.
What if my yield is correct but the shot tastes bad?
Then the ratio is wrong for that specific bean.
- Sour/Salty? Increase the yield (more extraction).
- Bitter/Dry/Ashy? Decrease the yield (less extraction). The ratio is your flavor steering wheel. Grind size is just the gas pedal to get you there in reasonable time.
How does dose affect yield?
Bigger dose needs bigger yield to maintain the ratio. 20g in requires 40g out for a 1:2. If you switch baskets or dose size, you must recalculate your target weight.
Conclusion
A scale is the highest-impact, lowest-cost upgrade for any home barista. It transforms espresso from a dark art into a repeatable science.
- Weigh your dose — consistency starts at the grinder.
- Target a brew ratio — 1:2 is your home base.
- Stop by weight — ignore the timer, trust the scale
- Record what works — build your recipe database
Once you experience the control a scale provides, you’ll wonder how you ever brewed without one. My $25 scale has saved me more beans than any other piece of equipment.
Start weighing, and watch your consistency skyrocket.
Mikael
Home espresso enthusiast and Breville specialist. Helping you master the art of coffee brewing from your own kitchen.
Learn more about me →