Breville Backflushing Guide: Water & Chemical Method
Master backflushing your Breville espresso machine. Learn the difference between water and chemical backflush, when to use each, and step-by-step techniques.
Backflushing is hands down the most boring part of owning an espresso machine. It’s also the one maintenance task that, if you ignore it, will absolutely wreck your coffee’s flavor. It removes coffee oils, fine particles, and residue from the grouphead, three-way valve, and dispersion screen—places your daily “wipe it with a towel” routine simply can’t reach.
In this guide, I’ll explain the difference between clear water backflushing (the daily chore) and chemical backflushing (the weekly deep clean), and I’ll walk you through the process for every Breville model so you don’t have to hunt for your manual.
What Is Backflushing?
Backflushing is essentially force-feeding water backwards through your espresso machine’s plumbing to scrub it out.
How It Works
- A blind filter (the rubber cleaning disc that came with your machine) blocks water from flowing out.
- When you activate the pump, pressure builds up.
- The three-way solenoid valve opens to release that pressure.
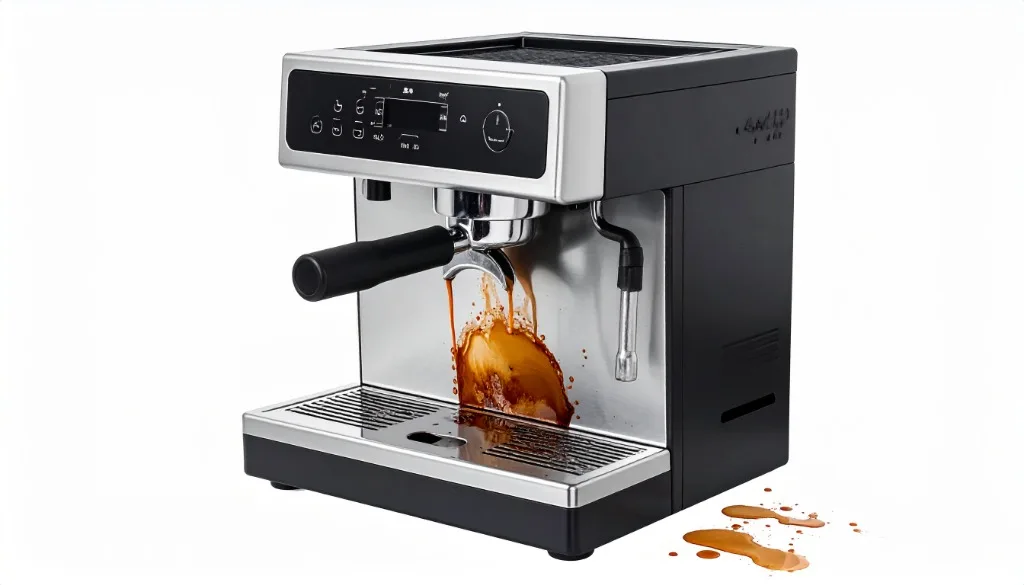
- Whoosh! Water, oils, and sludge are violently expelled through the discharge tube into your drip tray.
- The pulsing action acts like a dishwasher for the internal parts you can’t see.
Why It’s Essential
I learned this the hard way: I didn’t backflush my first machine for three months. My shots started tasting bitter and ashy, no matter what beans I used. When I finally ran a cleaning cycle, the water that came out looked like soy sauce.
Without regular backflushing:
- Coffee oils go rancid (old coffee smell).
- The three-way valve gets sticky or clogged.
- Extraction becomes uneven.
- Your machine’s lifespan drops significantly.
Clear Water vs Chemical Backflush
There are two types of backflushing. Think of them like brushing your teeth vs. going to the dentist.
Clear Water Backflush
What it is: Backflushing with plain water. No tablets.
Purpose:
- Daily maintenance.
- Flushing out today’s coffee grounds.
- Keeping the shower screen clear.
When to do it:
- At the end of every single day.
- When switching between very different beans (like switching to decaf).
Time required: ~30 seconds (super fast).
Chemical Backflush
What it is: Backflushing with a specialized espresso detergent tablet.
Purpose:
- Dissolving hardened oils.
- Deep cleaning the internal valve.
- Removing that stubborn brown film.
When to do it:
- Weekly: If you pull 3-5 shots a day like me.
- Every 2 weeks: If you only make one morning coffee.
- When the “Clean Me” light turns on: Though honestly, I advise doing it before the light tells you to.
Time required: 10-15 minutes (mostly waiting).
Comparison Table
| Aspect | Water Backflush | Chemical Backflush |
|---|---|---|
| Cleaning power | Light maintenance | Deep cleaning |
| Frequency | Daily | Weekly |
| Chemicals needed | None | Cleaner tablets |
| Time required | 2-3 minutes | 10-15 minutes |
| Rinse cycles needed | 1 | 3-4 |
| Machine wear | Minimal | Slightly more |
What You’ll Need
For Clear Water Backflush
- Blind filter (that little grey rubber disc).
- Single-wall 1-cup basket (it fits best).
- Fresh water in the tank.
For Chemical Backflush
- All of the above, plus:
- Breville cleaning tablets or a generic equivalent like Cafiza.
- A large bowl (optional, but keeps the drip tray from overflowing).
- Grouphead brush for scrubbing the screen.
Where to buy:
- Breville tablets are fine, but expensive.
- Pro Tip: Buy a bottle of Urnex Cafiza tablets. You get 100 for like $25, whereas Breville sells 8 for $15. They work exactly the same.
Clear Water Backflush: Step-by-Step
Do this before you turn the machine off for the night.
Step 1: Prepare
- Knock out your last puck.
- Insert the single-wall 1-cup basket.
- Pop the rubber cleaning disc into the basket.
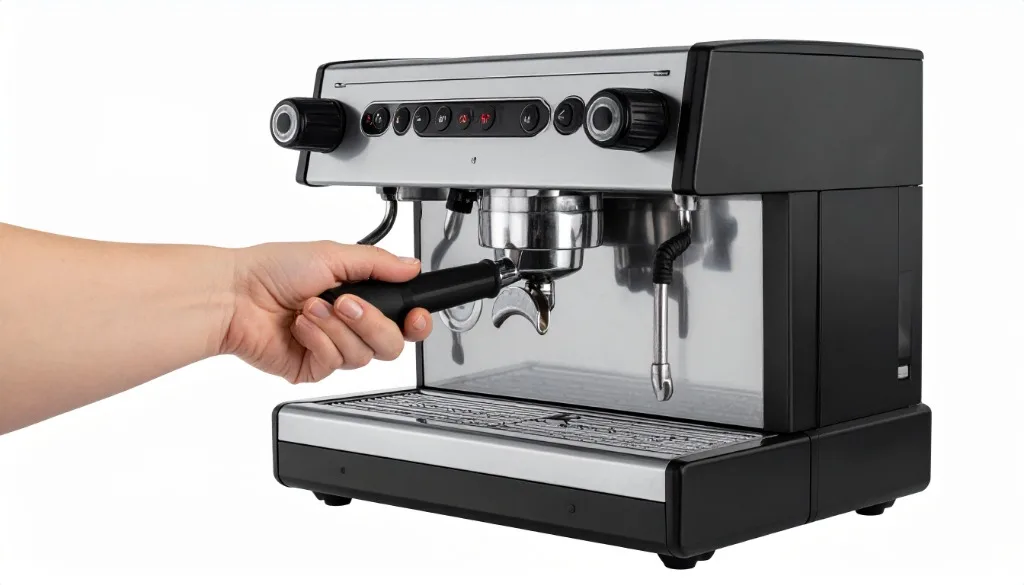
- Lock the portafilter into the grouphead.

Step 2: Run Backflush Cycles
- Press the 2-cup button (manual mode works too, but this is easier).
- Let pressure build for about 5-10 seconds.
- Stop the shot.
- Whoosh. Hear that noise? That’s the valve discharging water into the drip tray.
- Repeat this 3-5 times.
Step 3: Finish
- Unlock the portafilter.
- Dump the water from the basket.
- Give the grouphead a quick wipe with a damp cloth.
- Run water freely for 3 seconds to rinse. Done.
Total time: Maybe 45 seconds.
Chemical Backflush: Step-by-Step
This is the “Saturday Morning” deep clean.
Preparation
- Empty your drip tray! The cleaning cycle dumps a lot of water; you don’t want an overflow mess.
- Fill water tank to the max line.
- Grab your supplies.
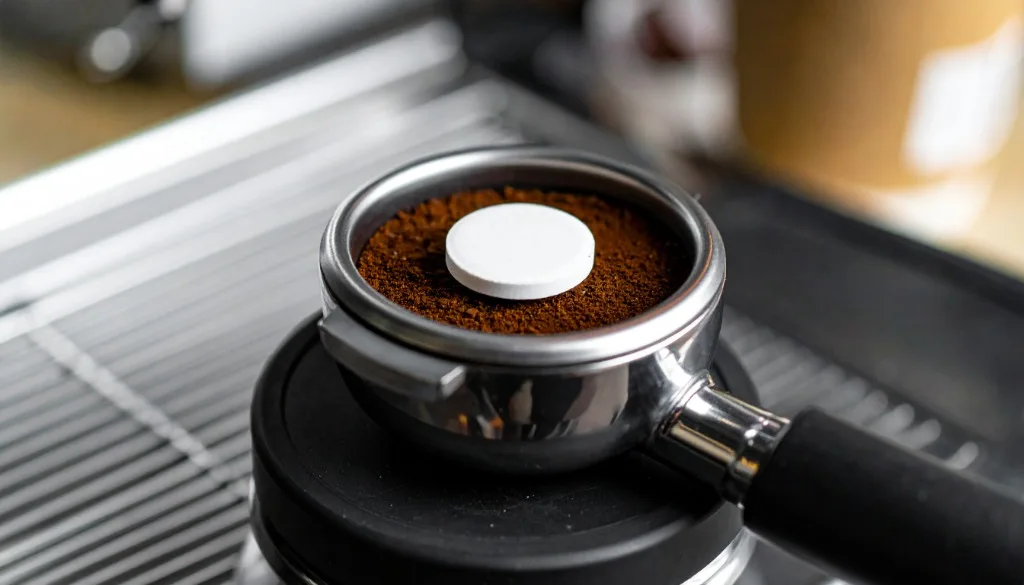
Step 1: Insert Cleaning Disc and Tablet
- 1-cup basket in portafilter.
- Rubber disc in basket.
- Place one cleaning tablet right in the center of the disc.
- Lock it in tight.
Step 2: Enter Cleaning Mode (Model-Specific)
This is the tricky part because every machine has a different secret handshake.
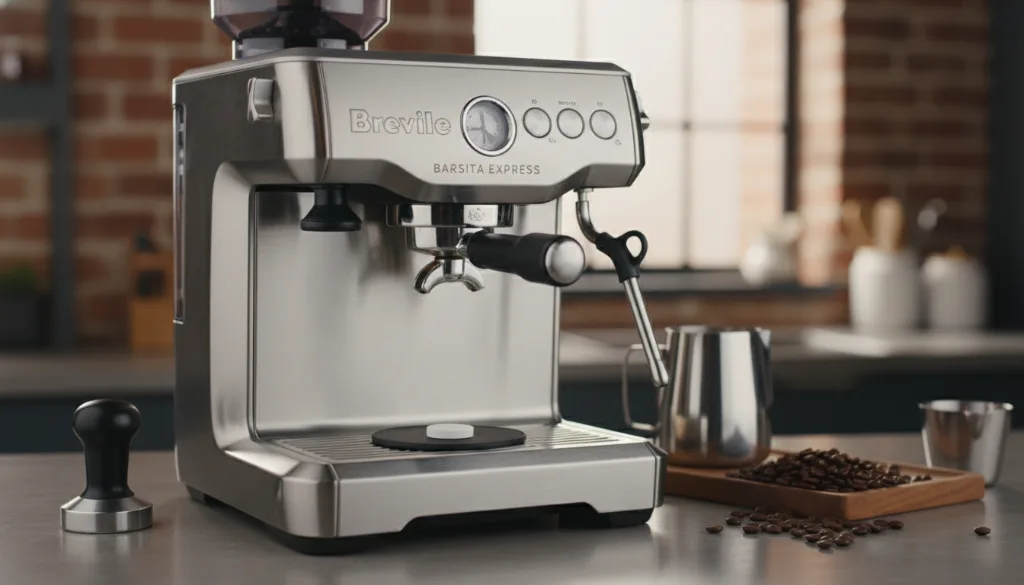
Barista Express / Barista Pro:
- Turn machine OFF.
- Press and HOLD: 1-Cup + 2-Cup + Power buttons all at once.
- Keep holding for 3-5 seconds until the machine flashes.
- It should start automatically.
Barista Express Impress:
- Turn machine OFF.
- Press and HOLD: Grind + 1-Cup + Power.
- Wait for the light show.
Bambino / Bambino Plus:
- These require a specific button sequence that changes per manual version, but usually:
- Fill tank, hold 1-Cup and 2-Cup for 5 seconds to enter mode.
- Press a button to confirm cleaning. (Check your specific user manual guide for the Bambino, it’s finicky).
Oracle / Oracle Touch:
- Easy mode: Menu → Settings → Maintenance → Clean Cycle. Follow the screen.
Step 3: Run the Cleaning Cycle
- Once the cycle starts, walk away.
- The machine will pulse: pump on… pump off… pump on…
- You’ll hear the discharge valve firing repeatedly.
- It takes about 5 minutes.
- Don’t touch it until it stops beepng.
Step 4: Check Tablet Dissolution
- Unlock the handle (Careful! It’s hot).
- Look at the disc. Is the tablet gone?
- If yes: Great.
- If no: It happens. Just break it up and run another cycle, or manually backflush until it dissolves.
Step 5: Rinse Cycles (The Important Part)
Please don’t skip this. You do not want to drink detergent.
- Remove rubber disc from the basket.
- Put the portafilter back in (empty).
- Pull a blank shot (run water) for 10 seconds.
- Repeat this 4-5 times to flush clean water through the whole system.
- Smell the water coming out—it shouldn’t smell like chemicals.
Step 6: Final Cleaning
- Scrub the shower screen with your brush.
- Wipe the gasket area.
- Rinse your drip tray (it will be full of soapy sludge).
Verification
Before I pull my first real espresso:
- Visual check: Is the water clear?
- Taste check: I usually sacrifice a tiny bit of coffee or just taste the hot water. No chemical taste? You’re clear.
Troubleshooting Backflush Issues
Problem: Tablet Won’t Dissolve
Why? Old tablets, or the cycle wasn’t long enough. Fix: Crush the tablet slightly before putting it in. Or use powder (Cafiza powder dissolves instantly).
Problem: Water Shoots Out Around Portafilter
Why? You didn’t lock it in hard enough, or your gasket is dying. Fix: Crank that handle harder. If it still sprays, you need a new silicone gasket ($8 part).
Problem: Machine Won’t Enter Cleaning Mode
Why? You didn’t hold the buttons long enough, or the machine wasn’t OFF first. Fix: Unplug the machine, plug it back in, and try the “secret handshake” again. Timing matters.
Problem: Bitter or Chemical Taste After Cleaning
Why? You rinsed lazily. Fix: Flush a full tank of water through the group.
Problem: Pump Sounds Weird
The pump sound should pulse (on/off) during the auto-cycle. That’s normal. If it creates a horrific grinding noise, stop immediately—your pump might be failing or airlocked.
Backflush Schedule Recommendations
I stick to this simple routine:
| Usage Level | Clear Water | Chemical Backflush |
|---|---|---|
| Light (1-2 shots/day) | Every 2-3 days | Every 2 weeks |
| Medium (3-5 shots/day) | Daily | Weekly |
| Heavy (6+ shots/day) | After each session | Every 3-4 days |
Signs You Need to Backflush
- Shots taste muddy or harsh.
- Water flow looks uneven or sputters.
- The “Clean Me” light is staring at you giudgingly.
- You realized it’s been a month since you last did it.
Impact on Espresso Quality
Regular backflushing is night and day for flavor clarity.
Before Cleaning:
- Shots taste “dull.”
- Lack of sweetness.
- Crema looks dark and mottled.
After Cleaning:
- Bright acidity returns.
- Distinct flavor notes (like fruit or chocolate) are visible again.
- The machine just feels happier.
Advanced Backflushing Tips
The “Wiggle” Technique: While backflushing with just water, some baristas loosely lock the portafilter and wiggle it back and forth while water flows. This cleans the gasket area. Warning: Hot water will spray everywhere if you mess this up. Wear a towel over your hand.
Pre-Soak the Screen: If I’m doing a deep clean, I unscrew the shower screen (it’s just one screw) and soak it in a cup of hot water + tablet while the machine runs its cycle. This gets it cleaner than backflushing alone.
Combining with Other Maintenance
Don’t overcomplicate it. Just stack your habits:
| Day | Task |
|---|---|
| Daily (PM) | Water backflush + Wipe wand |
| Sunday AM | Chemical backflush + Rinse tank |
| Monthly | Check filter + Deep clean grinder |
Key Takeaways
- Water flush daily. Takes 30 seconds. Saves flavor.
- Chemical flush weekly. Keeps the plumbing healthy.
- Use the rubber disc. It creates the pressure needed to clean.
- Rinse, rinse, rinse. Detergent coffee is bad.
- Save money. Use generic Cafiza tablets instead of brand name ones.
Treat your machine well, and it won’t die on you. Happy brewing!
Related Guides:
Mikael
Home espresso enthusiast and Breville specialist. Helping you master the art of coffee brewing from your own kitchen.
Learn more about me →