Clean Breville Drip Tray: Remove Stains & Overflow
Step-by-step guide to cleaning Breville drip trays, grids, and float sensors. Prevent overflows, eliminate odors, and keep your machine hygienic.
The drip tray is the part of the machine everyone ignores until it starts smelling like a swamp. I get it—it’s hidden, it’s gross, and it doesn’t directly affect your espresso… until it does.
I once ignored my drip tray for three weeks during a busy month. When I finally pulled it out, there was a thin film of green mold floating on top of brown sludge. The smell hit me like a wall. Never again.
This guide covers how to clean your drip tray properly, including the float sensor (that little thing that’s supposed to warn you before disaster).
Why Drip Tray Maintenance Matters
Your drip tray collects more than you’d think:
What accumulates daily:
- Waste water from backflushing
- Overflow from overfilled cups
- Condensation from steam wand purges
- Stray coffee drips and grounds
- Milk residue from steaming
Consequences of neglect:
- Bacterial and mold growth (legitimately a health hazard)
- That distinctive “old coffee” smell wafting through your kitchen
- Float sensor malfunction (no overflow warning, then… flood)
- Coffee stains that become permanent
- Overflow onto your counter or, worse, into the machine’s internals
Understanding Your Drip Tray Components
Before you start cleaning, know what you’re working with:
Main Tray Body
The plastic or metal container that holds waste liquid:
- Capacity varies by model (typically 300-500ml)
- Usually has a slight slope so water drains to one corner
- Slides out the front with a simple pull
Drip Grid (Grate)
The perforated cover sitting on top:
- Lets drips pass through so you don’t see the horror underneath
- Keeps your cups from sitting in nasty water
- Hides the contents for a “cleaner” appearance (out of sight, out of mind)
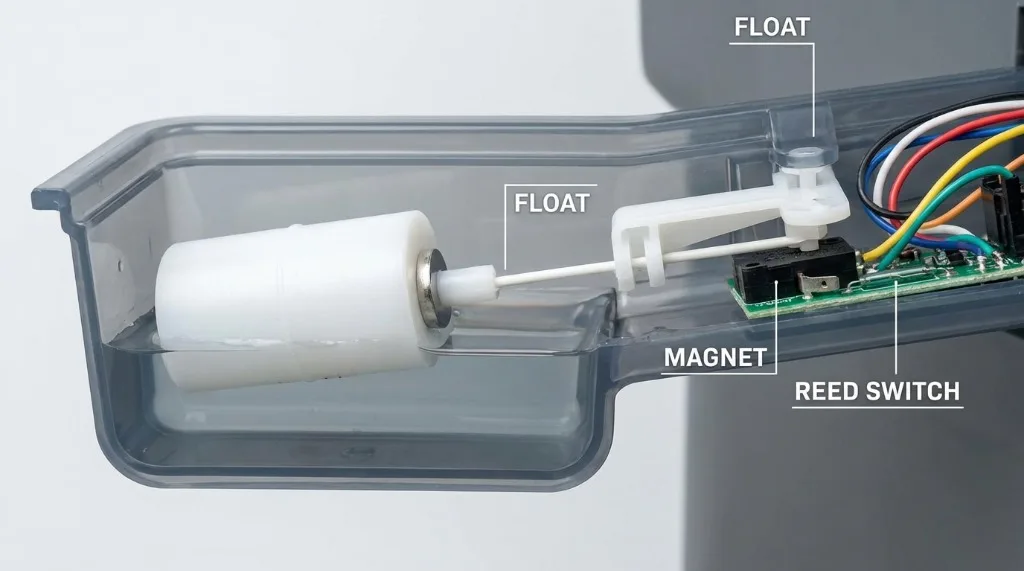
Float Sensor
This is the thing most people don’t know exists until it fails:
- Small plastic float mechanism in the tray
- Rises with the water level
- Triggers the “Empty Drip Tray” indicator light
- If it gets stuck from coffee oil buildup? No warning. Just overflow.
Drip Tray Housing
The cavity in the machine where the tray sits:
- Needs to stay dry to prevent corrosion
- Coffee splashes and accumulates here more than you’d expect
- Almost everyone forgets to clean this part
Daily Drip Tray Maintenance (30 Seconds)
Honestly, this is the bare minimum. If you do nothing else:
End-of-Day Routine
- Glance at the water level through the front indicator
- If it’s more than half full? Pull it out and dump it
- Quick rinse under the tap
- Shake dry and slide it back in
When to Empty
| Your Usage | Empty Frequency |
|---|---|
| 1-2 shots/day | Every 2-3 days |
| 3-5 shots/day | Daily |
| 6+ shots/day | Twice daily |
| After backflushing | Immediately (it fills FAST) |
Don’t Wait for the Float Warning: By the time that light turns on, the tray is already at 90% capacity. One more backflush and you’re mopping the counter.
Weekly Deep Cleaning Process
Once a week, give your drip tray the attention it deserves:
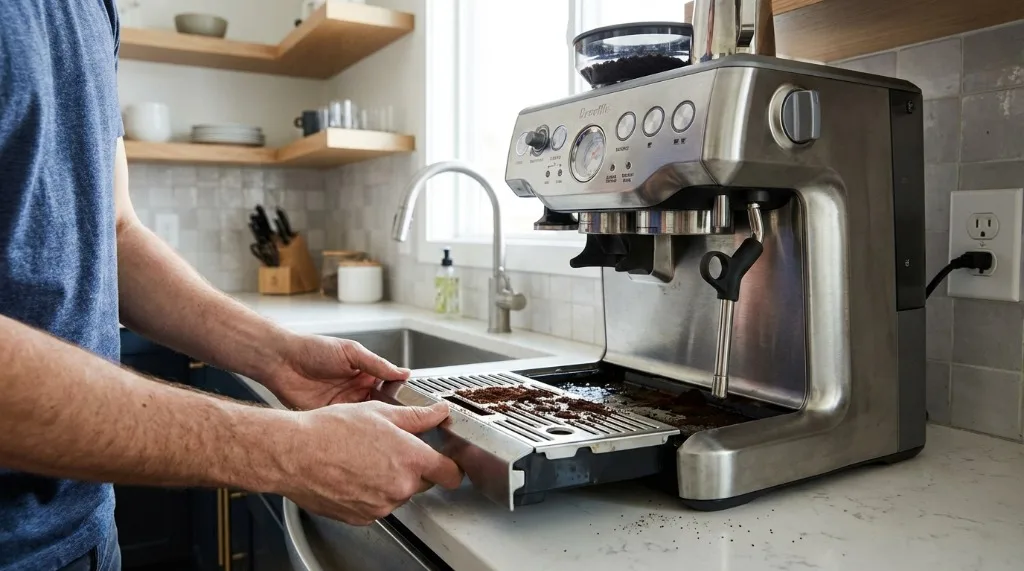
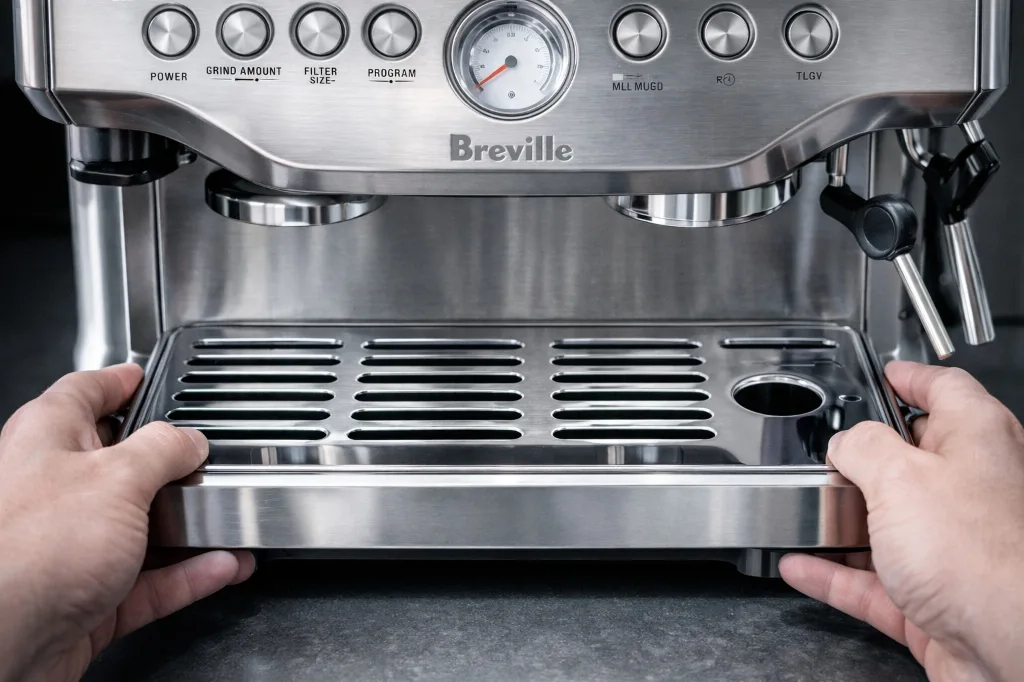
Step 1: Remove and Disassemble
- Slide the drip tray straight out
- Lift off the drip grid (prepare yourself mentally for what’s underneath)
- If your model has a removable float sensor, take that out too
- Note which way the float was oriented so you can put it back correctly
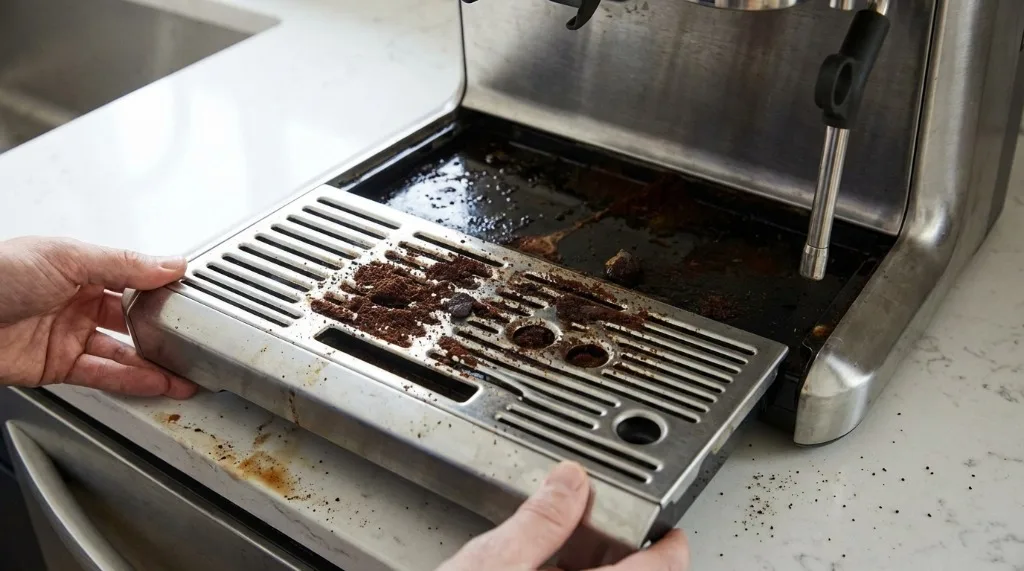
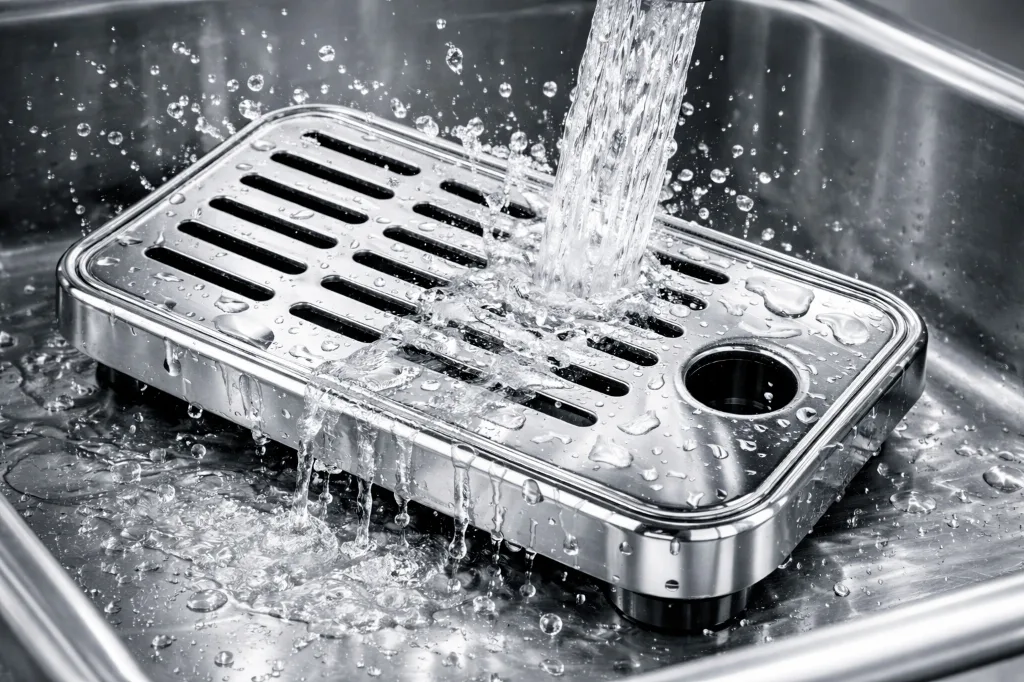
Step 2: Empty and Rinse
- Pour the contents into the sink (try not to gag)
- Rinse the tray under warm running water
- Check the corners for any stuck grounds or mystery debris
- Use your finger to feel for slime along the edges—yes, it’s gross, but necessary
Step 3: Clean the Float Sensor
This step prevents the “surprise overflow” scenario:
- Check for buildup—coffee oils coat everything, including the float
- Manually lift and lower the float—it should move freely
- Wash with warm soapy water (dish soap is fine here)
- Rinse thoroughly and confirm it bobs up and down smoothly
- Dry completely before putting it back
Quick Test: After cleaning, push the float down and let go. It should spring back up immediately. If it’s sluggish, there’s still residue.
Step 4: Deep Clean the Tray
For stubborn stains and that lingering “eau de vieux café”:
- Fill your sink with warm water + 1 tablespoon white vinegar
- Submerge the tray and grid for 10-15 minutes
- Scrub with a soft brush or non-abrasive sponge
- Attack stained areas with a baking soda paste if needed
- Rinse thoroughly—you don’t want your drip tray smelling like salad dressing
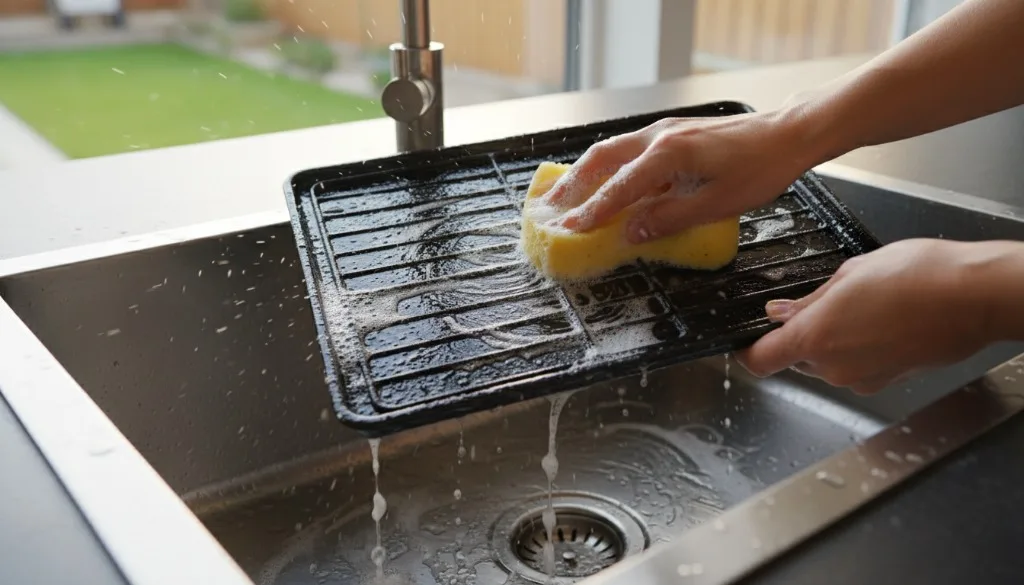
Step 5: Clean the Grid
The drip grid is deceptively dirty:
- Hold it up to the light—are the holes clogged with gunk?
- Scrub both the top and bottom surfaces
- Rinse under running water
- Shake dry or use a cloth
Step 6: Clean Drip Tray Housing
This is the part everyone skips:
- Use a damp cloth to wipe out the cavity where the tray sits
- You’ll probably find dried coffee splashes and forgotten grounds
- Dry it completely before sliding the tray back in
- Check for any water stains that might indicate a leak above
Step 7: Sanitize (Optional but Recommended Monthly)
For the germaphobes among us (myself included):
- Mix 1 tablespoon white vinegar with 1 cup water
- Spray or wipe all surfaces
- Let it sit 5 minutes
- Rinse thoroughly
- Dry completely before reinstalling
Removing Stubborn Coffee Stains
Coffee tannins stain like nobody’s business. Here’s how to fight back:
Light Staining
- Make a paste of baking soda + a little water
- Apply it, let it sit 10 minutes, scrub and rinse
Medium Staining
- White vinegar soak for 15-20 minutes
- Scrub with a soft brush
- Repeat if the ghost stains remain
Heavy Staining
- Drop a denture cleaning tablet into warm water
- Submerge the tray overnight
- Scrub in the morning (satisfying results, I promise)
Permanent Discoloration
- Some staining becomes permanent after years of use
- Consider it “character” rather than dirt
- Or just order a replacement tray if it bugs you ($15-30)
Float Sensor Troubleshooting
A malfunctioning float sensor leads to either constant false alarms or zero warning before a flood.
Problem: “Empty Drip Tray” Light Won’t Turn Off
Why it happens:
- Float stuck in the raised position
- Coffee oil or gunk underneath the float
- Magnet displaced or dirty
What to do:
- Remove float and clean it thoroughly
- Check for debris where the float sits
- Make sure it moves up and down freely
- Clean the sensor magnet area in the housing
Problem: No Warning Before Overflow
This is the scary one. I learned this lesson the hard way when brown water started dripping down my cabinet doors.
Why it happens:
- Float stuck in the down position (thinks the tray is always empty)
- Coffee oils making the float too sticky to rise
- Float is damaged or cracked
What to do:
- Clean the float with a degreaser or dish soap
- Test the movement after cleaning—it should float freely
- Replace the float if it’s physically damaged
- Double-check that it’s oriented correctly
Problem: Intermittent False Alerts
Why it happens:
- Float moving too freely (oversensitive)
- Weak or displaced magnet
- Random debris causing inconsistent readings
What to do:
- Clean everything
- Make sure the magnet is attached securely
- Ensure proper installation orientation
- If it persists, the float mechanism may need replacement
Model-Specific Tips
Barista Express (BES870/BES875)
- Drip tray slides out the front
- Float sensor is on the right side
- Capacity is around 400ml
- Clear front indicator shows water level (when it’s not too stained to see through)
Barista Pro (BES878)
- Same basic design as the Express
- LCD may show a specific “Empty Tray” message
- ThermoJet heater means faster warmup but more condensation dripping
Oracle / Oracle Touch
- Larger capacity tray
- May have multiple drainage points
- On-screen cleaning reminders (actually helpful)
- Don’t forget the bean grounds container—that gets funky too
Bambino / Bambino Plus
- Smaller, more compact tray
- Fills faster because of the reduced capacity
- Check it more frequently than you think necessary
- Same cleaning process applies
Preventing Common Drip Tray Issues
Overflow Prevention
- Empty when half full—don’t push your luck
- Always check before a cleaning cycle—backflushing fills it rapidly
- Use appropriately sized cups—overflow from espresso landing on a demitasse rim is common
- Purge the steam wand over the tray—not over your cups or counter
Odor Prevention
- Empty daily—stagnant water stinks within 24 hours
- Let it dry completely once a week—bacteria hate dry environments
- Sanitize monthly—kills the odor-causing microbes
- Leave the tray out overnight occasionally—airing it out helps
Stain Prevention
- Empty immediately after using extra-dark roasts
- Rinse daily rather than just dumping and reinserting
- Use a paper towel liner under the grid (some people swear by this)
- Clean spills immediately—fresh stains are 10x easier than baked-on ones
Advanced Tips
Drip Tray Liners
Some people line their trays with paper towels:
Pros:
- Easier cleanup—just toss the liner
- Absorbs liquid, less sloshing when you remove the tray
- Reduces direct staining on the plastic
Cons:
- Can block the float sensor (then you have no overflow warning)
- Needs replacement every day or two
- May trap moisture underneath and create a mold habitat
If using liners: Cut them to fit, make sure the float can still move freely, and replace often.
Upgrading Your Drip Tray
For heavy users or aesthetics:
- Aftermarket metal trays are available for some models (look way nicer)
- Deeper trays mean less frequent emptying
- Color options exist if you want to match your kitchen
Integration with Other Maintenance
Combine drip tray cleaning with your other tasks:
| Day | Maintenance Task |
|---|---|
| Daily | Empty drip tray |
| Weekly | Deep clean drip tray + backflush |
| Monthly | Sanitize tray + descale machine |
| Quarterly | Inspect float sensor mechanism |
Hygiene and Health Considerations
Your drip tray is a potential petri dish if you let it become one:
Bacterial Growth
- Warm + wet + organic matter = bacteria party
- Empty and dry regularly to prevent colonization
- Sanitize monthly with diluted vinegar
Mold Prevention
- Black or pink spots = mold (clean immediately!)
- If you see mold, increase your cleaning frequency
- Make sure everything is completely dry before reassembling
Food Safety
- Never let liquid sit more than 24 hours (seriously)
- Don’t use a visibly dirty tray
- Keep your cleaning supplies food-safe
- Rinse thoroughly after using any cleaner
Key Takeaways
- Empty daily for light use, twice daily for heavy use
- Clean the float sensor weekly—it’s your overflow protection
- Deep clean weekly with vinegar or baking soda for stains
- Sanitize monthly to prevent bacterial growth
- Dry completely before reinserting to prevent mold
- Always check before cleaning cycles—backflushing fills the tray fast
The drip tray works in the background so you don’t have to think about it. But a little weekly attention prevents overflows, bad smells, and health concerns. Your future self will thank you.
Related Guides:
Mikael
Home espresso enthusiast and Breville specialist. Helping you master the art of coffee brewing from your own kitchen.
Learn more about me →