Breville Drip Tray Filling Up Too Fast: Causes and Solutions
Is your Breville drip tray overflowing? Learn the common causes of rapid drip tray filling and how to fix leaks, clogs, and drainage issues.
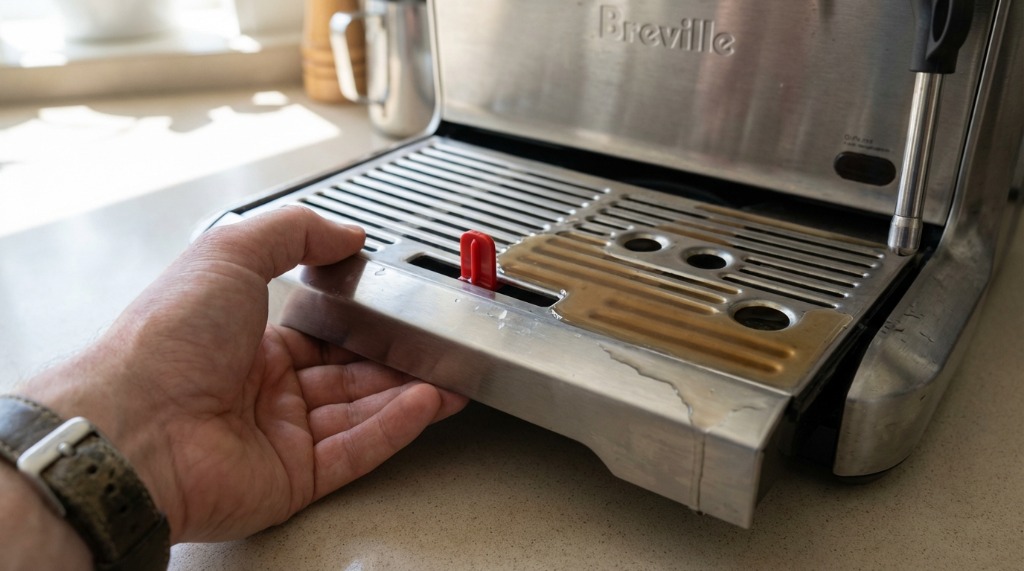
The first time my Breville’s drip tray overflowed onto the counter, I genuinely panicked. Was my machine dying? Was there some horrific internal leak? I stood there staring at the brown puddle creeping toward the edge, imagining repair bills.
Turns out, the cause was way simpler than I thought—but figuring it out took some detective work. If your drip tray is filling faster than it should, this guide will help you identify what’s going on and fix it before your counter (or floor) becomes a casualty.
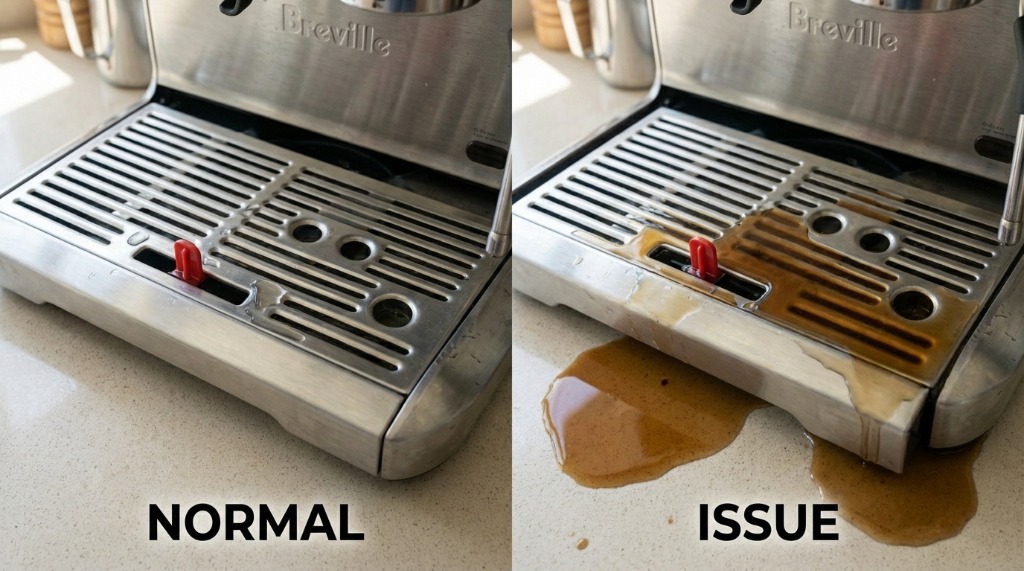
Normal vs. Abnormal Drip Tray Fill Rates
First things first: your drip tray WILL collect water. That’s literally its job. The question is how fast.
Normal Fill Rates
| Activity | Expected Drip Tray Volume |
|---|---|
| Per espresso shot | 10-30ml |
| After backflushing | 100-150ml |
| After steaming milk | 20-50ml |
| Idle overnight | None to minimal |
If you’re pulling 4-6 shots a day with occasional milk steaming, emptying the drip tray every 2-3 days is completely normal. That’s just how the machine works.
Abnormal Signs
Something is actually wrong if you notice:
- Tray fills 200+ ml during a single session without heavy steaming
- Water appears when the machine is just sitting there doing nothing
- Tray overflows in the middle of pulling a shot
- Water tank empties way faster than your coffee output explains
- Continuous dripping even when the machine is off
If any of these sound familiar, keep reading.
Common Causes of Rapid Drip Tray Filling
Cause #1: Backflush Residue
This is the #1 cause for Barista Express owners, and it terrified me the first time. After running a cleaning cycle with tablets, water continues draining into the tray for longer than you’d expect.
How to tell: Tray fills rapidly right after backflushing, then goes back to normal within 10-15 minutes.
The fix: This is actually normal behavior. Don’t panic. After backflushing, run 2-3 blank water cycles through the grouphead without any portafilter. The dripping should stop within a few minutes. If it doesn’t, then you might have a different problem.
Cause #2: Steam Wand Condensation
If you steam milk regularly, you’re generating a lot of condensation.
How to tell: Tray fills noticeably faster on days you make lattes vs. straight espresso.
The fix:
- Purge the steam wand into a cup (not the tray) before and after steaming
- Wipe the wand immediately after use—residual water drips down
- Make sure the wand tip isn’t hanging directly over the tray opening
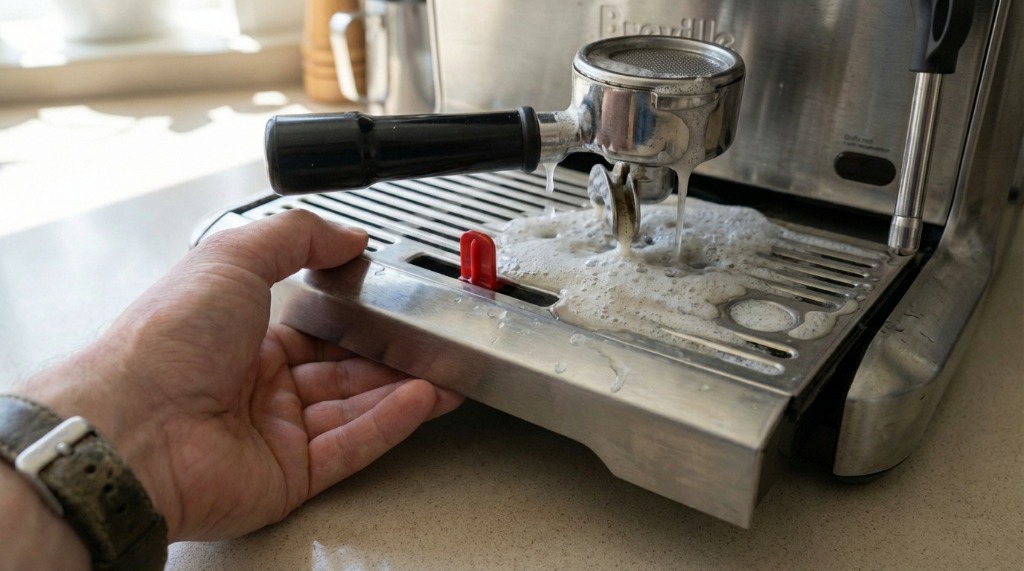
Cause #3: Over-Pressure Valve (OPV) Draining
The OPV releases excess pressure during extraction. Some water gets diverted to the drip tray—this is by design. It’s how the machine protects itself from dangerously high pressure.
How to tell: You see water appearing in the tray specifically during shot extraction.
What’s normal: 10-30ml per shot. If you’re getting way more than that, check “Internal Leaks” below.
Cause #4: Internal Leaks
Now we’re getting into more serious territory. Worn seals or gaskets can allow pressurized water to bypass where it shouldn’t.
Common leak points:
- Group head gasket (most common)
- OPV seal
- Steam wand connection
- Internal tubing connections
How to tell:
- Water accumulates even when the machine is idle
- You hear unusual dripping sounds during warm-up
- Water appears from unexpected places under the drip tray area
The fix: See the “Diagnosing the Source” section below.
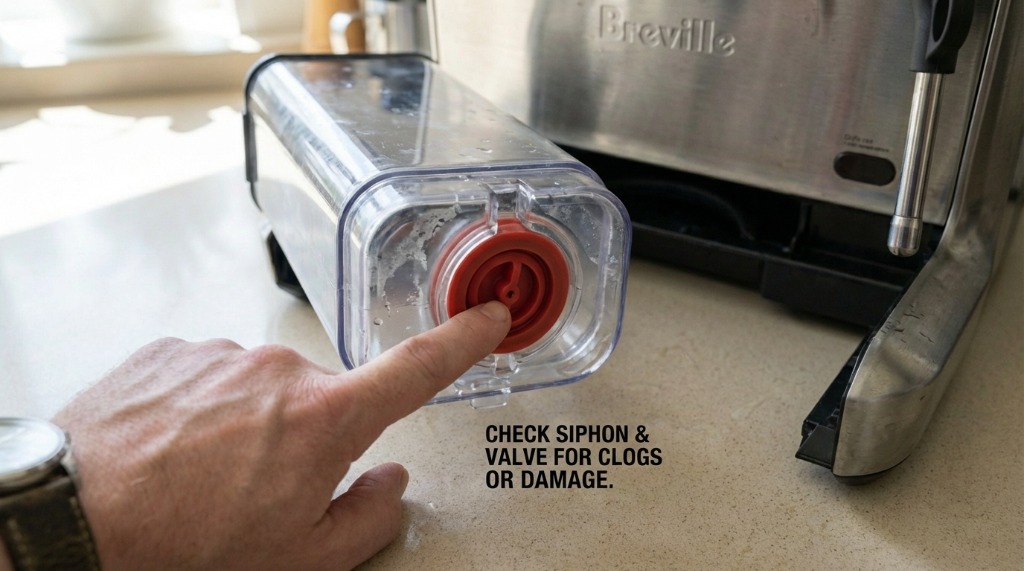
Cause #5: Water Tank Siphoning
A damaged or improperly seated water tank can siphon water directly into the drip tray—gravity doing its thing.
How to tell:
- Tank empties overnight with zero use
- More water in tray than you’ve actually brewed
- The tank valve looks stuck or dirty
The fix:
- Remove and inspect the water tank
- Check the silicone valve at the bottom—it should be clean and flexible
- Make sure the tank seats properly when you reinstall it
- If the valve is damaged, order a replacement tank
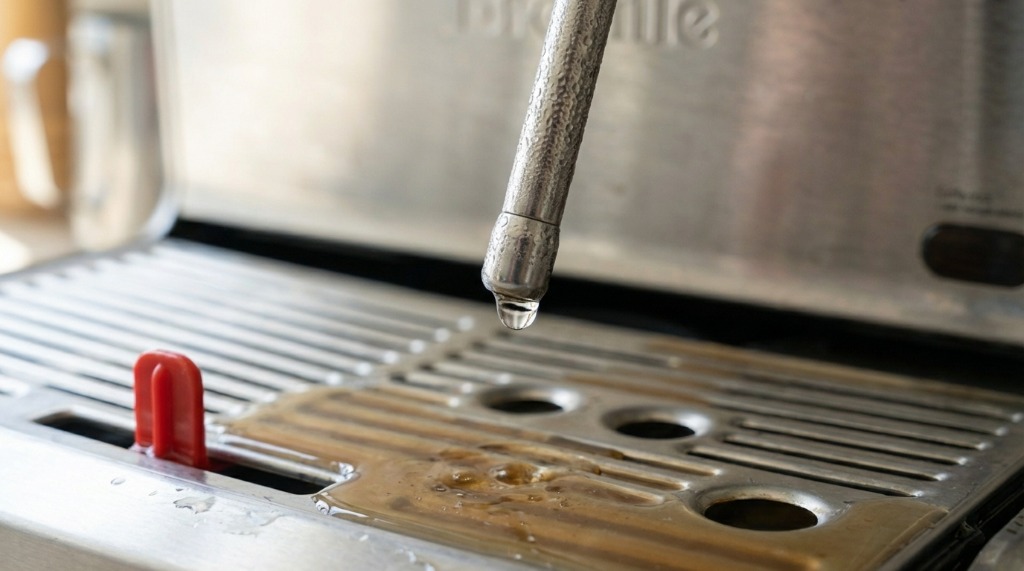
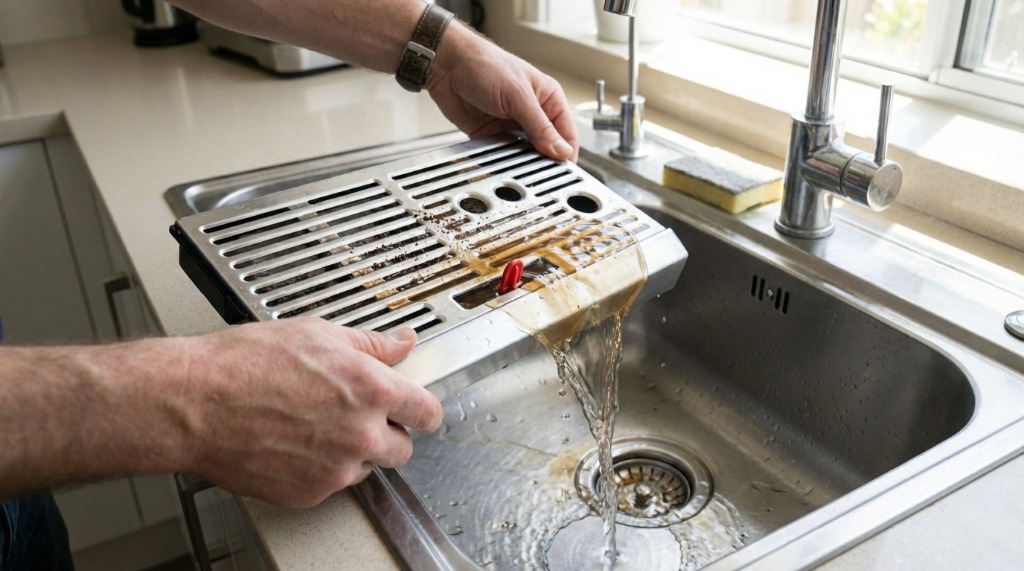
Cause #6: Clogged Drainage Path
Coffee grounds, scale, or random debris can partially block the drainage, causing water to back up.
How to tell:
- Water pools in weird places inside the machine
- Slow drainage after backflushing
- Gurgling sounds from the drainage area
The fix: Descale thoroughly. Use a toothpick or pin to clear any visible blockages in the drip tray drainage holes.
Diagnosing the Source
Time to play detective. Follow this process:
Step 1: Empty and Observe Idle
- Empty the drip tray completely
- Leave the machine ON but idle for 30 minutes
- Check the tray
Result: If water accumulated during idle, you have an internal leak or siphon issue. Skip to Step 4.
Step 2: Test During Extraction
- Empty the tray again
- Pull a single shot (no portafilter resistance if possible—just water)
- Measure how much water is in the tray
Result: 10-30ml is normal. 50+ ml suggests OPV issues or grind-related problems causing excessive back-pressure.
Step 3: Test During Steaming
- Empty the tray
- Steam for 30 seconds
- Measure the water
Result: 20-50ml is normal condensation. Anything significantly more suggests the wand has a seal problem.
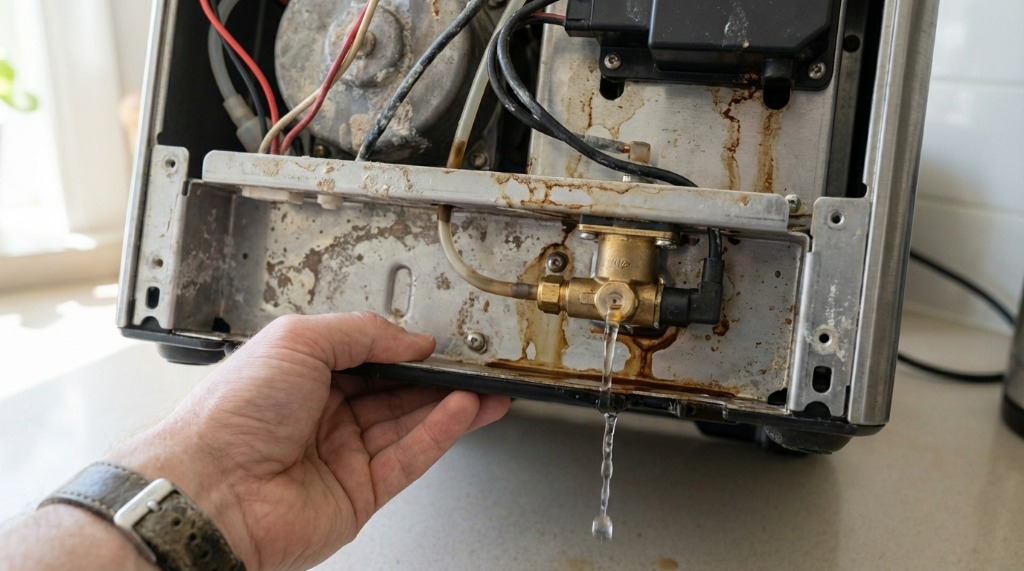
Step 4: Inspect for Visible Leaks
- Unplug the machine first!
- Remove the bottom panel if possible
- Look for water stains, mineral deposits, or active dripping
- Check tubing connections and seals
Result: Any visible water inside the machine = seal or connection problem.
Step-by-Step Fixes
Fix: Post-Backflush Dripping
- After backflushing, run 3-4 water-only cycles through the portafilter
- Wait 5 minutes for residual draining
- Empty the drip tray before going back to normal operation
Fix: Steam Wand Condensation
- Always purge the wand into a cup before steaming
- After steaming, purge again for 2-3 seconds
- Wipe the wand immediately with a damp cloth
- Position the wand so drips land in a cup, not the tray
Fix: Water Tank Siphon
- Remove the water tank
- Check the bottom valve—should be clean, flexible, and NOT stuck open
- Clean the valve with warm water if dirty
- If the valve is physically damaged, order a replacement tank from Breville
- Reinstall carefully, ensuring proper seating
Fix: Scale/Clog Issues
- Run a full descale cycle following Breville’s instructions
- After descaling, run 3-4 fresh water cycles to flush everything
- Check drip tray drainage holes—clear with a toothpick if blocked
- Consider descaling more frequently (every 2-3 months with hard water)
Fix: Worn Group Gasket
If you’ve identified a leak from the grouphead area:
- Order a replacement gasket from Breville (~$5-10)
- Remove the shower screen and group head cover
- Pry out the old gasket (it might be rock-hard after years of use)
- Install the new gasket with the beveled edge facing outward
- Reassemble and test
This is totally a DIY-friendly repair that takes about 15 minutes. Check out my group gasket replacement guide for the full walkthrough.
When to Contact Breville Support
Some problems are beyond home repair:
Call support if:
- None of the above fixes work
- You see water actively leaking inside the machine
- Any electrical components got wet
- Your machine is under warranty (opening it may void coverage)
- You’re just not comfortable doing repairs
Before you call:
- Document symptoms with photos or videos
- Write down your model and serial number
- List the troubleshooting steps you’ve already tried
Breville’s support is generally pretty good. Machines under warranty often qualify for free repair or replacement.
FAQ
How often should I empty the drip tray?
For typical home use (2-4 drinks daily), every 2-3 days is normal. At minimum, empty weekly to prevent mold growth.
My Barista Express drip tray fills faster than my friend’s Dual Boiler. Why?
Single boiler machines like the Barista Express cycle more water during operation. The Dual Boiler has separate brewing and steam systems, often resulting in less tray drainage. Your experience may vary based on usage patterns.
The tray fills when the machine is off. Is this normal?
No. Water should not accumulate when the machine is unplugged or powered off. This indicates a siphon from the water tank or a stuck valve. Check your tank valve immediately.
Can I use my machine if the drip tray fills too fast?
If it’s just post-backflush draining or normal condensation, yes—just empty the tray more frequently. If it’s an internal leak, stop using the machine until you fix it to prevent water damage or electrical issues.
Why did this start happening suddenly?
Common triggers: post-descaling (temporary drainage surge), worn gasket (develops after 1-2 years of use), dirty tank valve (buildup over time), or accidental damage during cleaning.
Conclusion
A rapidly filling drip tray is usually one of these issues:
- Normal post-backflush drainage — just flush and wait
- Steam condensation — purge and wipe the wand
- Tank siphon — check and clean the valve
- Internal seal issue — may need gasket replacement
Most causes are totally fixable at home. Document your symptoms, work through the diagnosis, and address the specific cause. Your Breville should give you years of reliable service with proper maintenance.
If the dripping doesn’t stop after these fixes, don’t ignore it. Water damage to internal electronics is expensive. Contact Breville support before things get worse.
Mikael
Home espresso enthusiast and Breville specialist. Helping you master the art of coffee brewing from your own kitchen.
Learn more about me →