Breville Espresso Leak: Find & Fix Water Leaks
Diagnose and fix common water leaks in Breville espresso machines. Step-by-step guide to identifying leak sources, tightening fittings, and when to call a professional.
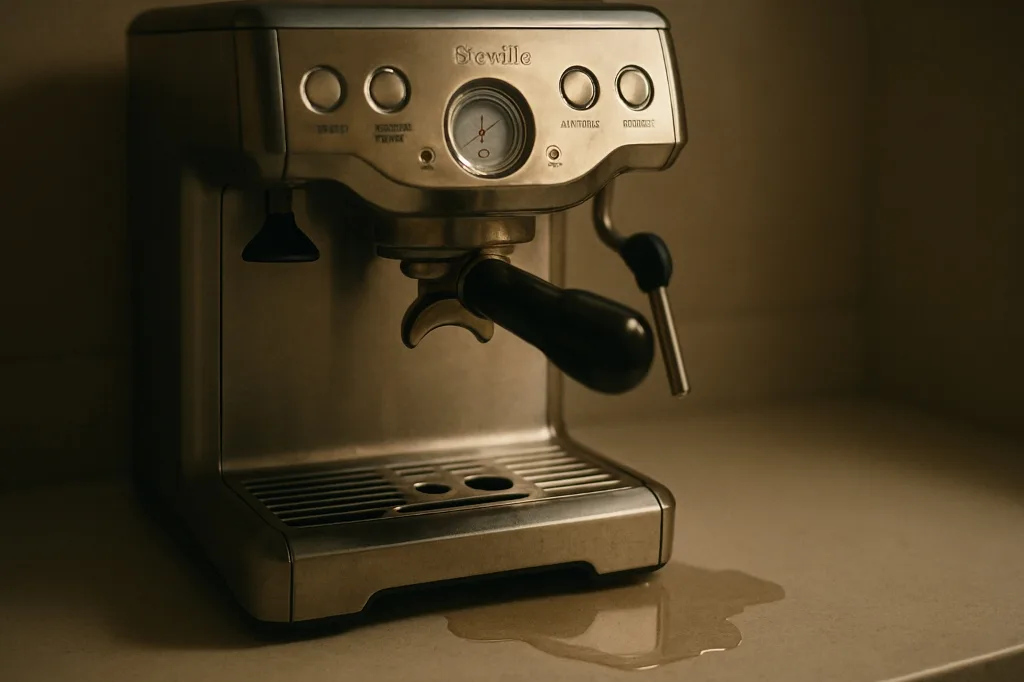
Finding a puddle of water under your espresso machine is one of those “oh no” moments. Is it a minor drip or the beginning of a catastrophic failure? The good news: most Breville leaks have simple causes and straightforward fixes. The bad news: ignoring them can lead to much bigger problems.
I’ve dealt with my share of unexplained water appearances. This guide will help you figure out where your leak is coming from, what’s causing it, and how to fix it yourself—or at least know when it’s time to call in the pros.
Safety First
Before you start poking around:
Immediate steps:
- Turn off the machine and unplug it
- Don’t tip the machine—water inside can reach electrical components
- Keep water away from outlets
- Wait for the machine to cool before touching anything
Never operate an actively leaking machine. Even small drips can become electrical hazards or cause internal rust and damage.
Identifying Leak Types
Different leak locations point to different problems:
External Leaks (Visible Outside)
Grouphead area:
- Drips from where the portafilter inserts
- Water around the shower screen
- Leaks only during extraction
Steam wand area:
- Drips from the steam knob
- Water from the wand tip when you’re not using it
- Leaks around the wand base
Drip tray area:
- Overflow from a full tray (embarrassingly common)
- Leak from under the tray housing
- Discharge tube issues
Water tank area:
- Leak from the tank connection
- Drips under the tank
- Seal failure points
Internal Leaks (Under the Machine)
More serious—water pooling underneath indicates:
- Internal hose failure
- Pump seal deterioration
- Boiler connection issues
- Three-way valve problems
Common Leak Causes and Solutions
Leak 1: Water Around Portafilter (Most Common)
This is the #1 leak I see, and it happened to me when my gasket was about 14 months old.
Symptoms:
- Water sprays or drips during extraction
- Leak stops when you’re not pulling a shot
- Gets worse over time
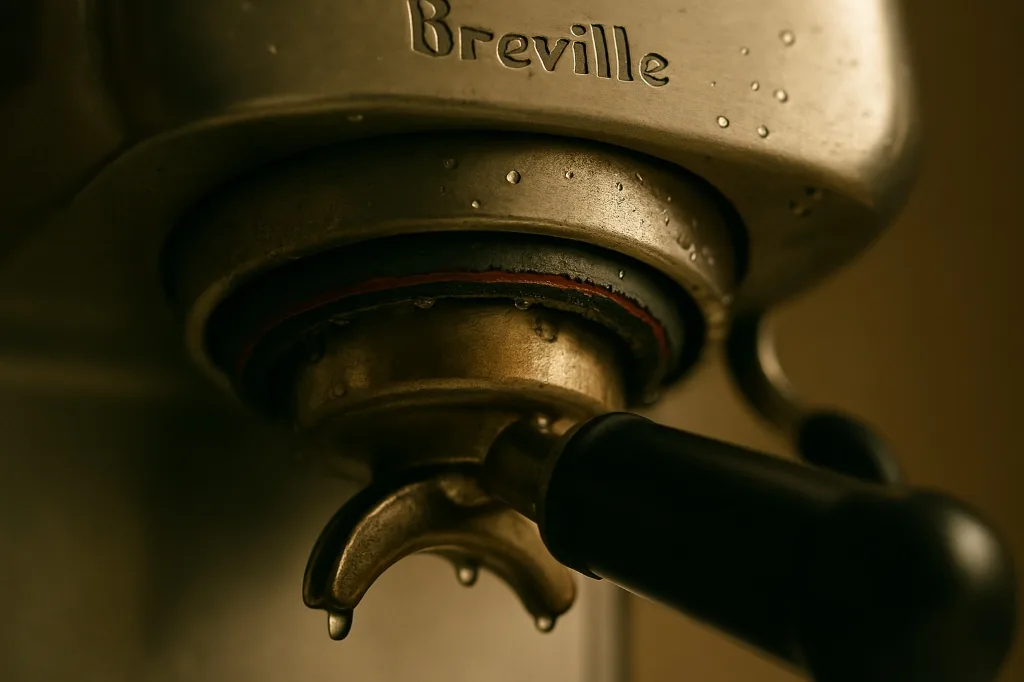
Primary cause: Worn grouphead gasket
How to check:
- Remove the portafilter
- Look up into the grouphead
- Inspect the rubber gasket ring
- Check for cracks, hardening, or compression (it should be pliable, not rock-hard)
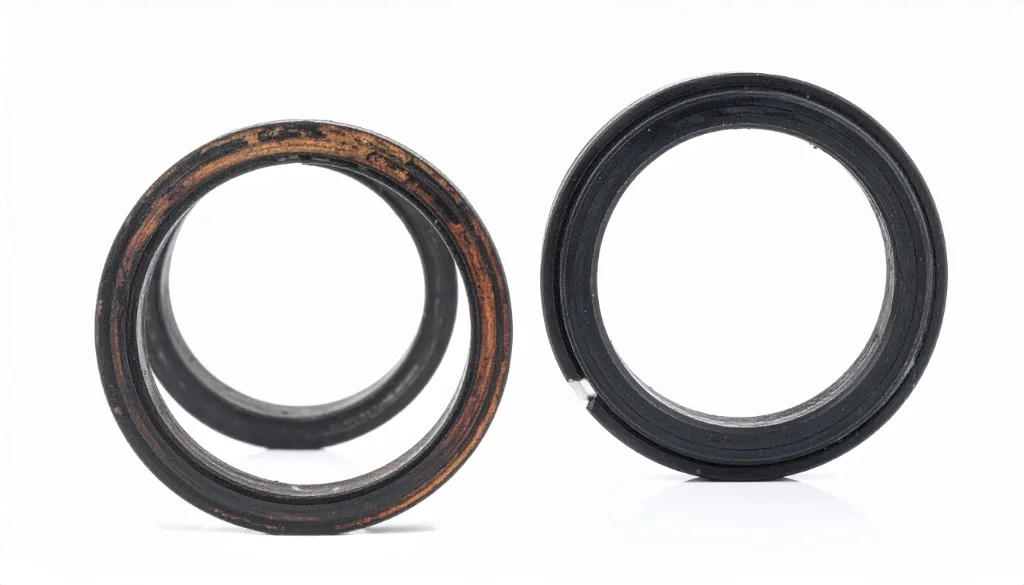
Solution: Replace the Grouphead Gasket
- Order a replacement gasket (Breville-specific, about $5-10)
- Remove old gasket:
- Use a flat-head screwdriver
- Carefully pry out without scratching the metal
- Clean any residue from the groove
- Install new gasket:
- Press the new gasket into the groove
- Make sure it’s fully seated and flat
- Lock/unlock the portafilter several times to help seat it
Prevention: Replace the gasket every 6-12 months with regular use.
Leak 2: Drips from Steam Wand
Symptoms:
- Water drips from the wand tip constantly
- Steam leaks around the knob
- Reduced steam pressure
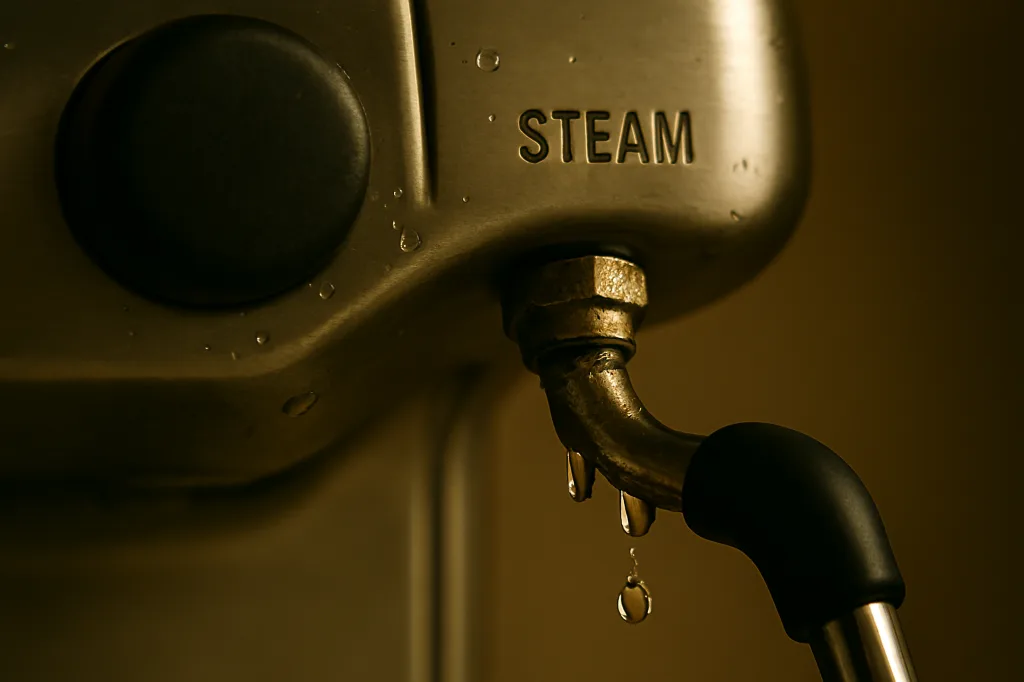
Causes:
- Calcium buildup blocking the valve
- O-ring failure inside the wand
- Valve seat deterioration
Solutions:
For drips from the tip:
- Open the steam valve fully for 10 seconds
- Close completely
- If it persists, you may need to descale
- Severe cases require valve replacement
For leaks around the knob:
- Check if the knob is loose—tighten if possible
- May require internal O-ring replacement
- Usually requires partial disassembly
For reduced pressure with leaks:
- Descale the machine first
- Clear any blockages in the wand
- If it persists, the steam valve may need service
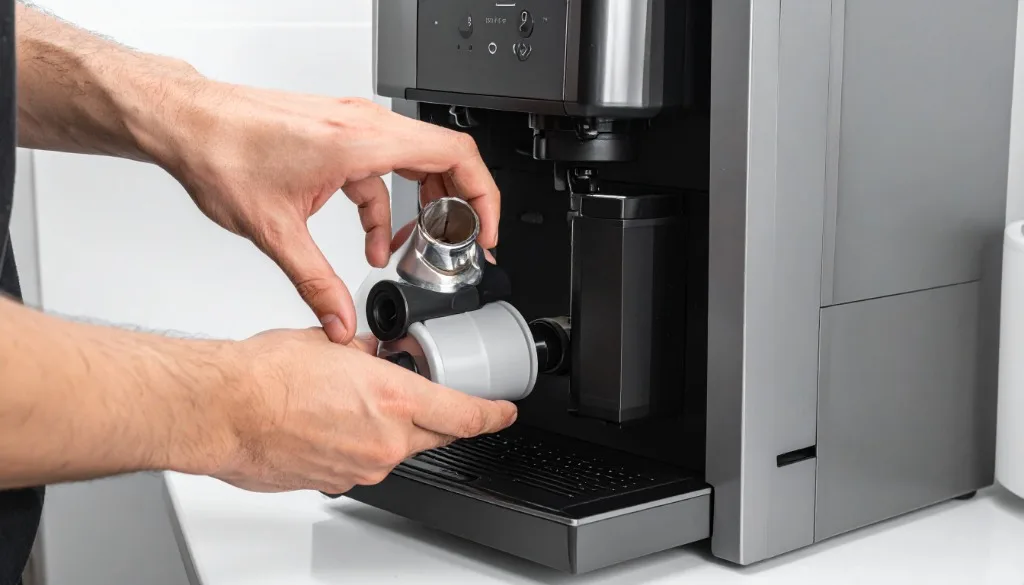
Leak 3: Water Under the Machine
This is the scary one. I once noticed water under my machine and immediately assumed the worst.
Symptoms:
- Puddle forms under the machine
- Leak may not be visible from above
- Can happen during or after use
Causes:
- Internal hose disconnection
- Pump seal failure
- Boiler connection issue
- Cracked water tank
Diagnosis:
- Unplug and let the machine cool completely
- Remove water tank and check for cracks
- Carefully tilt the machine (if safe) to look underneath
- Look for mineral deposits—white trails indicate the leak path
- Note WHEN the leak occurs—during pumping, heating, or standing
Solutions:
If the tank is cracked: Replace the water tank (easy fix)
If the leak is internal:
- This usually requires professional service
- Internal hose, pump, or boiler issues need expertise
- Don’t attempt boiler repairs yourself—it’s pressurized and hot
Leak 4: Discharge Tube/Drain Leaks
Symptoms:
- Water pools at the back of the machine
- Leak happens during backflushing
- May see water during extraction relief
Causes:
- Discharge tube disconnected
- Tube cracked or damaged
- Drip tray overflow
Solutions:
- Check the drip tray—it may simply be full (this is embarrassing but common)
- Inspect the discharge tube connection at the back
- Make sure the tube is seated properly
- Replace the tube if it’s cracked (easily available, cheap fix)
Leak 5: Water Tank Connection
Symptoms:
- Leak where the tank meets the machine
- Water pooling around the tank area
- May fill slowly or have pressure issues
Causes:
- Tank not seated properly
- Valve seal worn
- Tank connection damaged
Solutions:
- Remove and reseat the tank firmly
- Check the tank valve (spring mechanism)
- Inspect the machine’s tank connection point
- Clean both connection points
- Replace the tank if the valve is damaged
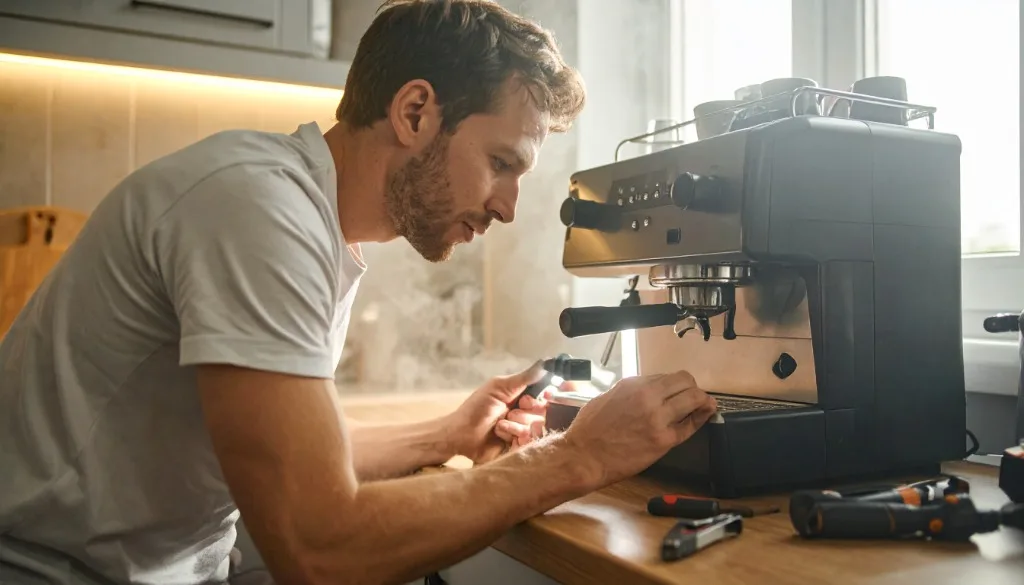
Step-by-Step Leak Diagnosis Process
Follow this systematic approach:
Step 1: Observe and Document
-
When does it leak?
- During heat-up only
- During extraction
- During steaming
- All the time
- Only when idle
-
Where specifically?
- Front (grouphead area)
- Rear (tank/discharge area)
- Side (steam wand)
- Underneath
-
How much?
- Occasional drips
- Steady dripping
- Continuous flow
Step 2: Remove External Causes
- Empty and clean the drip tray
- Check the portafilter seal
- Inspect the steam wand tip
- Verify the tank is seated properly
Step 3: Test Systematically
Test 1: Idle leak test
- Fill the tank, plug in but don’t turn on
- Wait 10 minutes
- Check for leaks
Test 2: Heat-up test
- Turn on the machine
- Watch during warm-up (2-5 minutes)
- Note any new leaks
Test 3: Extraction test
- Pull a water shot (no coffee)
- Watch for leaks around the grouphead
- Check pressure gauge behavior
Test 4: Steam test
- Activate steam
- Check the wand and knob area
- Listen for unusual sounds
Step 4: Address Identified Issues
Based on your observations, tackle the most likely cause first.
DIY Fixes vs Professional Service
You Can Fix Yourself
| Issue | Difficulty | Parts Cost |
|---|---|---|
| Grouphead gasket replacement | Easy | $5-10 |
| Portafilter seal cleaning | Easy | Free |
| Discharge tube reconnection | Easy | Free or $5 |
| Water tank replacement | Easy | $15-30 |
| Steam wand tip cleaning | Easy | Free |
| Descaling for minor blockages | Easy | $5-10 |
Call a Professional For
| Issue | Why |
|---|---|
| Internal hose leaks | Requires disassembly |
| Pump seal replacement | Specialized tools needed |
| Boiler connection issues | High temperature risk |
| Electronic component exposure | Electrical hazard |
| Pressure relief valve problems | Safety critical |
| Anything involving the boiler | Burns and complexity |
Preventing Future Leaks
Regular Maintenance Schedule
| Task | Frequency | Prevents |
|---|---|---|
| Clean grouphead gasket | Weekly | Premature wear |
| Descale machine | Every 2-3 months | Mineral blockages |
| Replace grouphead gasket | Every 6-12 months | Grouphead leaks |
| Inspect steam wand O-rings | Quarterly | Steam leaks |
| Check water tank seals | Monthly | Tank connection leaks |
| Clean discharge tube | Monthly | Back drainage issues |
Best Practices
Water quality:
- Use filtered water to reduce scale
- Empty the tank if not using for days
- Don’t overfill the tank
Handling:
- Don’t over-tighten the portafilter (this wears the gasket faster)
- Turn the steam knob gently
- Make sure the tank is fully seated
Storage:
- If storing long-term, drain completely
- Keep in a dry environment
- Cover to prevent dust
Model-Specific Leak Points
Barista Express (BES870/BES875)
Common leak areas:
- Grouphead gasket (most common)
- Water tank valve seal
- Steam wand O-rings
Specific tips:
- Gasket should be replaced annually with regular use
- Tank valve can get stuck—clean it regularly
Barista Pro (BES878)
Common leak areas:
- Similar to Express
- ThermoJet can drip during initial heat (often normal)
Specific tips:
- Initial drip during heat-up is often normal—don’t panic
- Same gasket as Express
Oracle / Oracle Touch
Common leak areas:
- More complex with dual boilers
- Automatic milk system connections
- More potential leak points overall
Specific tips:
- More likely to need professional service
- Follow the on-screen maintenance prompts
- The milk system requires regular cleaning
Bambino / Bambino Plus
Common leak areas:
- Smaller grouphead gasket
- Water tank connection
- Drip tray overflow (smaller capacity)
Specific tips:
- Compact design means less accessible internals
- Professional service often needed for internal issues
Emergency Leak Response
If you discover a significant leak:
- UNPLUG IMMEDIATELY—don’t touch if water is near the outlet
- Turn off water if the machine has an external connection
- Move the machine away from the water pool (when safe)
- Don’t turn it on until the cause is identified
- Document with photos for repair reference
- Let the machine dry 24-48 hours before testing
Key Takeaways
- Most common leak: Worn grouphead gasket—easy $5 fix
- Diagnose systematically: When, where, and how much
- Safety first: Always unplug before investigating
- DIY-friendly: Gaskets, seals, and connections are manageable
- Call professionals: For internal, boiler, or pump issues
- Prevent with maintenance: Regular descaling and gasket replacement
Water leaks are frustrating, but they’re usually solvable. With this guide, you can identify most issues and fix the common ones yourself—keeping your Breville brewing perfectly for years.
Related Guides:
Mikael
Home espresso enthusiast and Breville specialist. Helping you master the art of coffee brewing from your own kitchen.
Learn more about me →