Breville Winter Storage Guide
Properly store your Breville espresso machine for extended periods. Step-by-step winterizing guide to protect boilers, pump, and internal components.

Whether you’re heading on an extended vacation, storing a seasonal machine at your holiday home, or preparing for months without use, proper storage is essential to protect your Breville investment. I’ve stored my own machines multiple times when traveling long-term, and I’ve learned that the right preparation prevents costly repairs later.
I once came back from a 6-week trip to find mold growing in my drip tray because I’d skipped the cleaning steps. Lesson learned the hard way. This guide covers everything from short-term storage (2-4 weeks) to full winterizing for cold climates.
Why Proper Storage Matters
Leaving an espresso machine unused without preparation can cause serious problems:
Risks of Improper Storage
Water damage:
- Stagnant water grows bacteria and mold (trust me, it’s disgusting)
- Mineral deposits harden inside and become nearly impossible to remove
- Freezing water can crack boilers and lines
Component damage:
- O-rings and gaskets dry out and crack
- Pump seals deteriorate without use
- Coffee oils become rancid and coat everything
Electrical issues:
- Moisture from condensation can cause problems
- Dust accumulates on everything
- Pest damage in storage (yes, really—bugs love coffee residue)
Benefits of Proper Preparation
- Machine ready to use immediately on return
- No mold or bacteria concerns
- Extended component lifespan
- Peace of mind during absence
Short-Term Storage (2-4 Weeks)
For vacations or temporary non-use:
Basic Preparation
Day before leaving:
-
Pull final shot and clean:
- Use up the last of your fresh beans
- Run a backflush with cleaning tablet
- Complete a full rinse cycle
-
Clean steam wand:
- Purge and wipe thoroughly
- Clear any milk residue completely
- Leave the wand clean and dry
-
Empty drip tray:
- Remove and wash the tray
- Dry completely
- Reinstall or leave it out
Water Tank Decision
Option A: Empty tank (recommended for 2+ weeks)
- Remove the tank completely
- Rinse and dry thoroughly
- Store separately
Option B: Leave water (for up to 1 week only)
- Only fresh, filtered water
- Risk of stagnation increases daily
- Less convenient on return
Portafilter Care
- Remove the coffee puck
- Clean the basket thoroughly
- Leave portafilter unlocked (not seated in grouphead)
- This allows the gasket to relax and last longer
Before Leaving
- Turn off the machine
- Unplug from power
- Wipe exterior clean
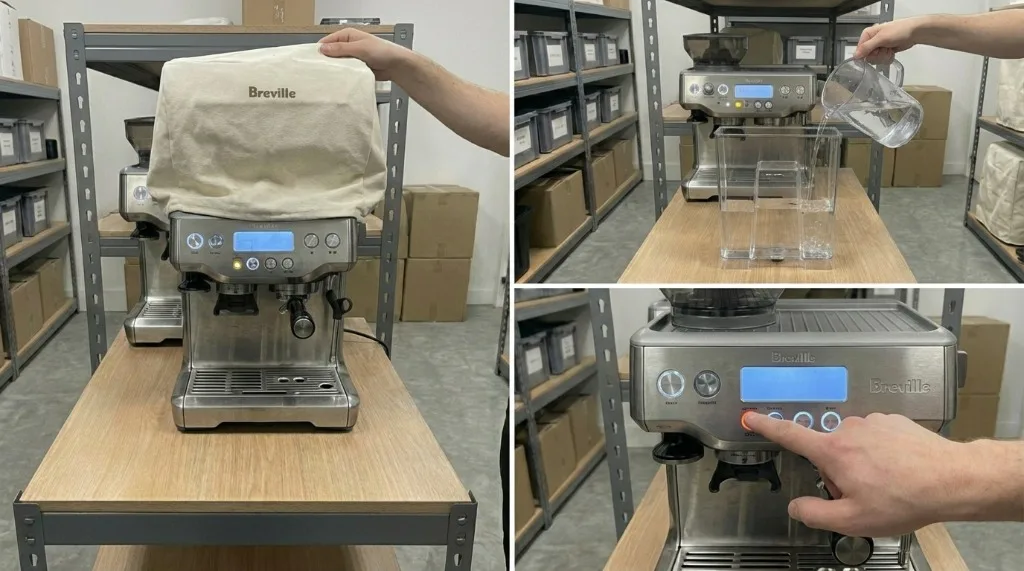
- Light cover (cloth, not plastic—plastic traps moisture)
On Return (2-4 weeks later)
- Inspect for any issues
- Fill the water tank
- Power on and prime
- Run water through grouphead
- Flush steam wand
- Pull and discard the first shot
- Ready to brew!
Long-Term Storage (1-6 Months)
For extended absence or seasonal storage:
Full Cleaning Protocol
Before anything else, complete thorough cleaning:
-
Chemical backflush:
- Run a full cleaning cycle with tablet
- Multiple rinse cycles afterward
- Make sure there’s no chemical residue
-
Descale:
- Full descale cycle
- Complete fresh-water rinse
- This is important for long-term storage
-
Deep clean all parts:
- Remove and soak the shower screen
- Clean portafilter and basket
- Wipe down all surfaces
Draining the System
For storage over 1 month, you need to drain internal water:
Step 1: Empty the water tank
- Remove the tank
- Clean and dry completely
- Store separately
Step 2: Drain the boiler(s)
- Turn the machine on (with empty tank)
- Run hot water until the pump sounds like it’s struggling
- Open the steam valve briefly
- Turn off machine
- Unplug immediately
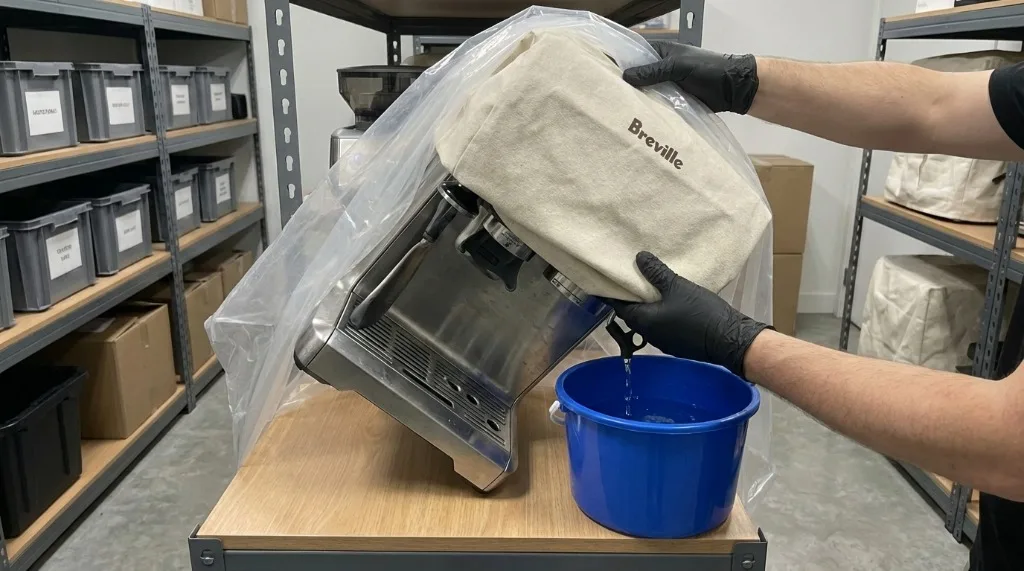
Step 3: Remove residual water
- Remove portafilter
- Tilt the machine slightly (front up)
- Let remaining water drip out into a container
- Repeat for steam side if accessible
Step 4: Dry internal areas
- Leave unplugged 24-48 hours
- In a dry, warm environment
- Allow internal moisture to evaporate completely
Grinder Preparation (Built-in Grinder Models)
Empty the hopper:
- Remove all beans
- Run grinder until empty
- Vacuum out remaining particles
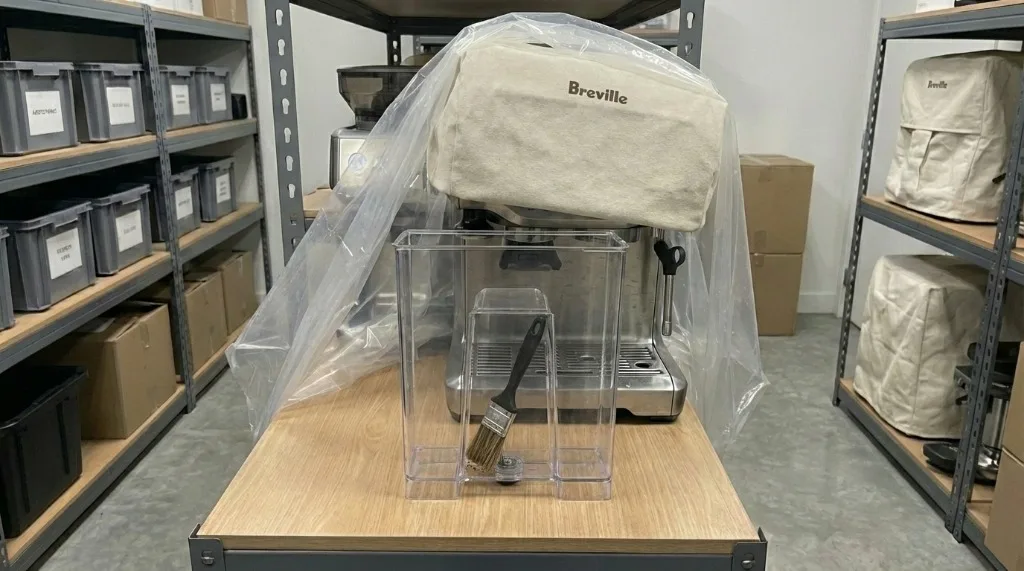
Clean burr area:
- Remove upper burr if accessible
- Brush out old grounds
- Vacuum thoroughly
- Do not use water on the burrs
Leave clean:
- No oils left to go rancid
- No grounds to harden
- Ready for fresh beans on return
Gasket and Seal Care
Rubber components can dry out during storage—this is a real issue:
Grouphead gasket:
- Leave portafilter out (not locked in)
- Consider light food-safe lubricant on the gasket
- This reduces drying and cracking
Steam wand O-rings:
- If accessible, apply light silicone lubricant
- Or just leave clean and dry
- Check on return
Final Preparation
-
Clean exterior:
- Wipe all surfaces
- Polish stainless steel
- Clean drip tray area in the machine
-
Position machine:
- Upright, stable position
- Somewhere it won’t be tipped or bumped
-
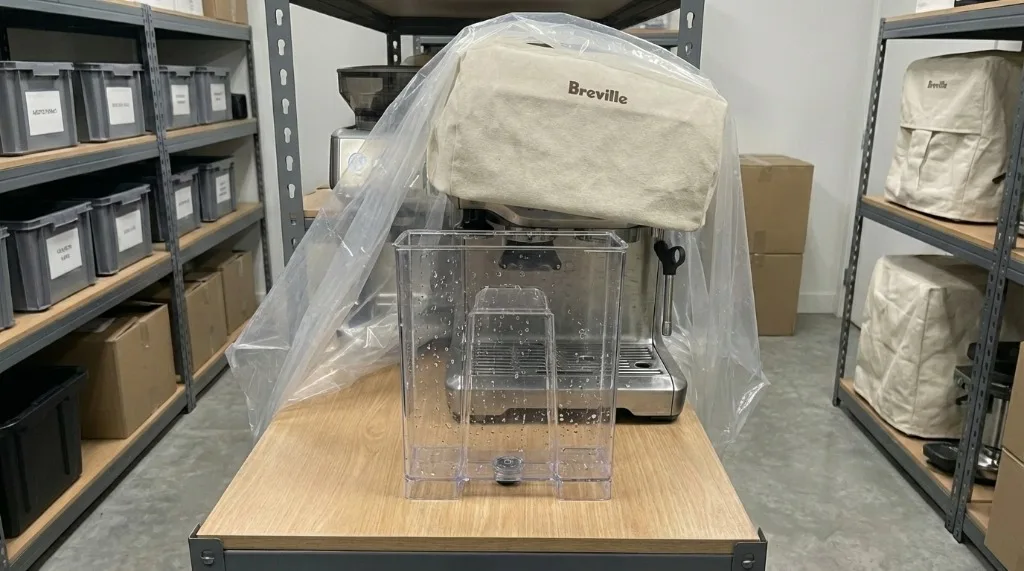
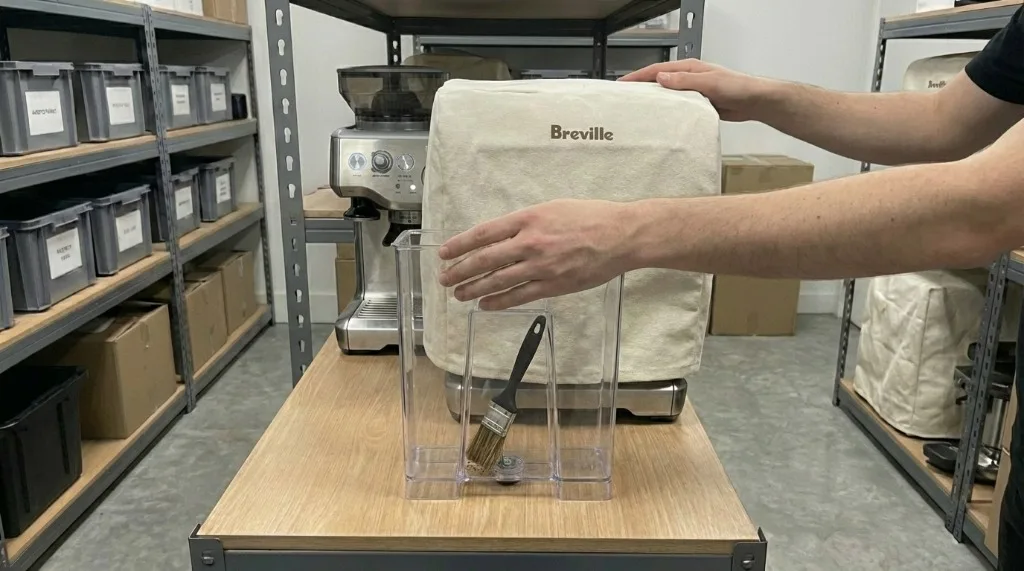
Cover properly:
- Breathable cloth or sheet
- Not airtight plastic (this traps moisture)
- Protects from dust
- Documentation:
- Note the date of storage
- List what you did
- Helpful for when you return
Winterizing for Cold Climates
If storing in a location where temperatures may drop below freezing:
Critical: Prevent Freezing Damage
Water expands when frozen. If water remains in your machine and freezes:
- Boilers can crack (expensive repair)
- Tubing can burst
- Pump can be destroyed
- Repairs cost hundreds of dollars
I’ve seen machines totaled by this. Don’t skip winterizing if there’s any chance of freezing.
Cold Weather Drain Procedure
Complete the long-term storage steps above, plus:
-
Extra thorough draining:
- Tilt the machine in multiple directions
- Open all valves while tilting
- Get water from every pathway
-
Compressed air (optional but effective):
- Use canned air or compressor (low pressure only!)
- Blow through the grouphead opening
- Blow through the water tank inlet
- Clears hidden water from pathways
-
Run pump briefly without water:
- 2-3 seconds only
- Forces air through the lines
- Don’t run dry for long—it can damage the pump
-
Steam boiler attention:
- Open steam valve
- Tilt toward the steam side
- Let all water exit
Temperature Considerations
| Storage Temp | Risk Level | Action |
|---|---|---|
| Above 10°C | Low | Standard storage OK |
| 0-10°C | Medium | Full drain recommended |
| Below 0°C | High | Must winterize completely |
| Below -10°C | Critical | Extra drainage + insulation |
Additional Cold-Weather Tips
Location selection:
- Avoid unheated garages if possible
- Insulated storage is better
- Near interior walls if in a building
Extra protection:
- Wrap the machine in insulating material
- Not plastic (traps moisture)
- Bubble wrap + blanket works well
Desiccants:
- Place silica gel packets near the machine
- Absorbs any remaining moisture
- Replace if already saturated
Storage Environment
Ideal Storage Conditions
| Factor | Ideal Range |
|---|---|
| Temperature | 10-25°C (stable) |
| Humidity | 30-50% |
| Light | Minimal/dark |
| Air flow | Some ventilation |
Avoid These Storage Locations
❌ Unheated garage (temperature extremes) ❌ Damp basement (moisture, mold) ❌ Direct sunlight (heat, UV damage) ❌ Near chemicals (solvents, cleaners) ❌ Dusty workshops (contamination)
Good Storage Locations
✅ Climate-controlled closet ✅ Spare bedroom ✅ Insulated storage room ✅ Kitchen cabinet (if space)
Reactivating After Storage
Short-Term Return (2-4 Weeks)
-
Inspect machine:
- Any visible issues?
- Dust accumulation?
- Pest evidence? (check carefully)
-
Fill and prime:
- Fresh filtered water
- Reset water tank firmly
- Prime pump using the steam valve method
-
Heat and flush:
- Turn on, allow full warm-up
- Run water through grouphead
- Flush steam wand
-
Test shot:
- Pull a water shot (no coffee)
- Verify normal flow
- Pull first real shot and taste
Long-Term Return (1+ Months)
-
Thorough inspection:
- Check all seals and gaskets
- Look for any cracks or damage
- Inspect the power cord
-
Reassemble parts:
- Install water tank
- Replace portafilter basket
- Reconnect any removed components
-
Prime carefully:
- Fill tank completely
- Open steam valve
- Turn on machine
- Let pump fill the system (may take 30+ seconds)
- Close steam valve when water flows
-
Full warm-up:
- Allow 30+ minutes for first use
- Longer than normal to fully stabilize
- Run a flush before first shot
-
Run cleaning cycle:
- Backflush with cleaning tablet
- Even though you cleaned before storage
- Ensures a fresh start
-
Verify all functions:
- Pull test shots
- Check steam function
- Verify pressure gauge
- Listen for unusual sounds
Post-Storage Troubleshooting
Problem: Pump won’t prime
- Air lock is likely
- Keep steam valve open longer
- May need to repeat several times
Problem: Weak pressure
- Descale again (minerals may have settled)
- Check that shower screen isn’t clogged
Problem: Strange taste in shots
- Run more flush cycles
- Pull and discard 3-4 shots
- Residual staleness is normal after storage
Problem: Gasket leaking
- May have dried and cracked during storage
- Inspect and replace if needed
- This is common after long storage
Model-Specific Notes
Barista Express / Pro
- Single boiler, easier to drain
- Grinder must be emptied
- Standard procedure applies
Bambino / Bambino Plus
- Compact, less internal water
- Still must drain completely
- Smaller components—handle carefully
Dual Boiler / Oracle
- Two boilers to drain
- More complex routing
- Consider professional winterizing
- Drain both brew and steam boilers
Oracle Touch
- Most complex machine
- Automatic milk system adds complexity
- Drain the milk system completely
- May need service mode for full drain
Monthly Storage Check (Extended Storage)
If storing for 6+ months, monthly checks are recommended:
Monthly Checklist
- Inspect for pests or damage
- Check for moisture or condensation
- Verify cover is in place
- Turn machine manually if accessible (prevents seizing)
- Replace desiccants if using
Seasonal Considerations
Summer storage:
- Watch for humidity
- Ensure adequate airflow
- Check more frequently
Winter storage:
- Monitor for freezing risk
- Consider bringing inside
- Extra insulation if needed
Key Takeaways
- Short-term (2-4 weeks): Clean, empty drip tray, light cover, done
- Long-term (1-6 months): Full clean, descale, drain all water, protect gaskets
- Winterizing: Complete drain is critical—freezing destroys internal components
- Environment: Stable temperature, low humidity, protected from dust
- Reactivation: Prime carefully, flush thoroughly, verify all functions
- Prevention: Small effort now prevents expensive repairs later
Your Breville is designed to last years, but it needs protection during dormant periods. Take the time to store it properly, and it’ll be ready to brew perfect espresso whenever you return.
Related Guides:
Mikael
Home espresso enthusiast and Breville specialist. Helping you master the art of coffee brewing from your own kitchen.
Learn more about me →