Breville Temperature Settings Guide
Optimize your Breville espresso machine's brew temperature. Step-by-step guide to temperature adjustment, calibration, and troubleshooting for perfect extraction.

Temperature is one of the most critical variables in espresso extraction. Even a 2-3°C difference can dramatically change how your coffee tastes—too hot brings bitterness, too cold results in sourness. Getting your Breville’s temperature dialed in can transform your shots from “good enough” to exceptional.
I spent weeks wondering why my light roast shots kept coming out sour despite grinding progressively finer. Turns out my machine was brewing about 4°C too cold. One temperature adjustment later, and suddenly I was tasting caramel and fruit notes I’d never experienced before. Temperature matters more than most home baristas realize.
This guide shows you how to check your machine’s temperature, adjust it when needed, and troubleshoot common temperature issues.
Why Temperature Matters
The Science of Extraction
Temperature affects extraction rate—how quickly flavor compounds dissolve from coffee grounds:
| Temperature | Extraction Effect | Flavor Result |
|---|---|---|
| Below 88°C | Under-extraction | Sour, thin, acidic |
| 90-94°C | Optimal range | Balanced, sweet, complex |
| Above 96°C | Over-extraction | Bitter, harsh, burnt |
The SCA Standard
The Specialty Coffee Association recommends:
- Brew water temperature: 90.5-96.0°C (195-205°F)
- Optimal sweet spot: 92-94°C (197-201°F)
- Consistency: ±1°C throughout extraction
What You Taste at Different Temps
Too cold (below 90°C):
- Sharp acidity
- Underdeveloped sweetness
- Thin body
- Sour aftertaste
Optimal (92-94°C):
- Balanced acidity and sweetness
- Full body
- Chocolate, caramel, fruit notes
- Clean finish
Too hot (above 96°C):
- Bitter, burnt taste
- Astringent feel
- Muted complexity
- Harsh aftertaste
Measuring Your Machine’s Temperature
Before adjusting, you need to know your baseline:
Tools Needed
Basic option:
- Instant-read digital thermometer
- Cup or shot glass
Better option:
- Scace Thermofilter (professional tool)
- Or any portafilter thermometer
Advanced option:
- k-type thermocouple
- Digital display/logging device
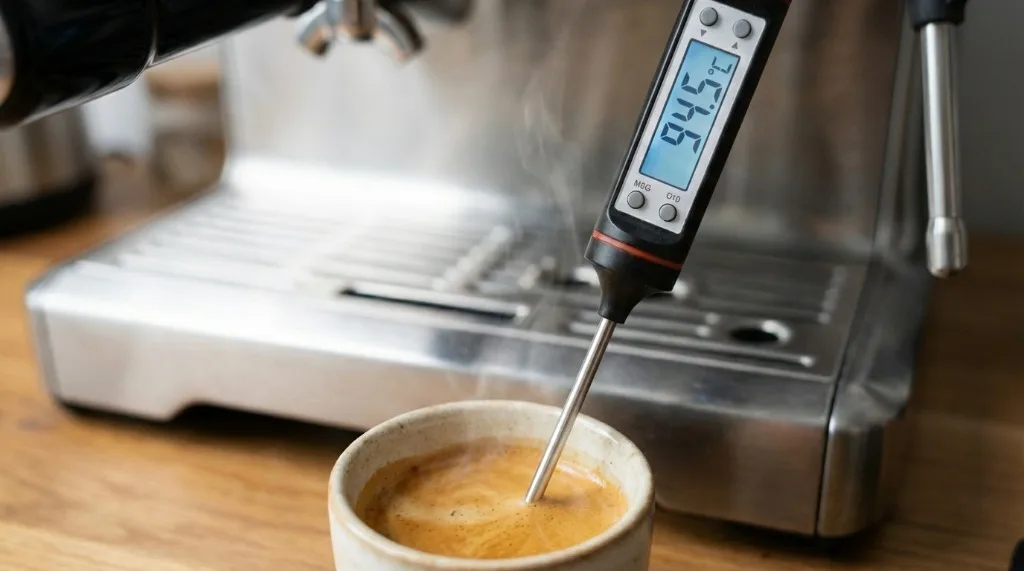
Basic Temperature Test
- Allow full warm-up:
- Wait at least 25 minutes after turning on
- Run a blank shot (no coffee) to stabilize
-
Prepare your test:
- Insert empty portafilter
- Run water for 3 seconds to flush
-
Measure water temperature:
- Place thermometer in empty cup
- Run water directly from grouphead
- Let flow for 5-8 seconds
- Note peak temperature
- Repeat 3 times:
- Temperature should be consistent
- Note any variation
Expected results:
- Should read 88-96°C depending on model/settings
- Variation should be ±1°C between tests
- If wildly inconsistent, indicates issue
Limitations of This Method
This cup method has ~2-3°C margin of error due to:
- Heat loss during pour
- Cup absorbing heat
- Thermometer response time
For precision, invest in a portafilter thermometer or Scace device.
Temperature Settings by Model
Different Breville models have different adjustment capabilities:
Models with Adjustable Temperature
Barista Touch:
- Fully adjustable via LCD menu
- Range: -4 to +4 offset
- Easy to set per program
Barista Pro:
- Settings menu temperature adjustment
- Fine-tuning capability
- LCD-guided
Oracle / Oracle Touch:
- Full PID control
- Exact degree settings
- Both steam and brew boilers adjustable
Dual Boiler (BES920):
- PID-controlled brew boiler
- Adjustable via service menu
- Precise control
Models with Limited Adjustment
Barista Express (BES870/875):
- No direct temperature setting
- Fixed brew temperature
- Some adjustment via timing
Barista Express Impress:
- Limited adjustment
- Preset temperature ranges
Bambino / Bambino Plus:
- Fixed temperature
- No user adjustment
- Factory preset
Infuser:
- Fixed temperature
- No user-accessible settings
How to Adjust Temperature
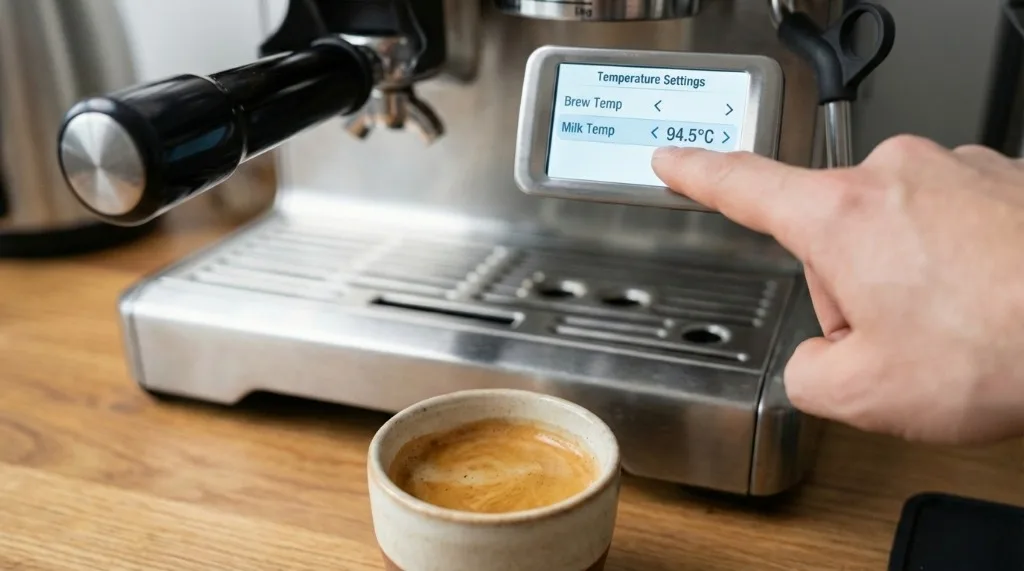
Barista Pro/Touch Temperature Adjustment
-
Access settings:
- Press MENU button
- Navigate to Settings
- Select “Shot Temperature”
-
Adjust offset:
- Default is 0
- Increase (+) for hotter shots
- Decrease (-) for cooler shots
- Range typically -4 to +4
-
Save and test:
- Confirm selection
- Pull test shots
- Adjust again if needed
Recommended starting points:
| Roast Level | Temperature Offset |
|---|---|
| Light roast | +1 to +2 |
| Medium roast | 0 |
| Dark roast | -1 to -2 |
Oracle/Dual Boiler PID Adjustment
-
Access advanced settings:
- Oracle Touch: Settings → Machine Settings → Temperature
- Dual Boiler: Hold specific buttons to enter PID menu
-
Set brew temperature:
- Choose exact degree
- Range typically 86-96°C
- Set in 0.5°C increments
-
Set steam temperature:
- Independent of brew temp
- Higher for drier foam
- Lower for wetter microfoam
-
Save and stabilize:
- Machine will adjust
- Wait 5 minutes for stabilization
- Test and refine
Barista Express “Workarounds”
The Barista Express doesn’t have direct temperature control, but you can influence extraction temperature:
Temperature surfing:
- Wait for machine to fully heat (25+ minutes)
- Run a blank shot before brewing (flush)
- Time between flush and shot affects temp
- Longer wait = hotter shot
Timing technique:
- Flush grouphead, wait 8-10 seconds, brew = optimal temp
- Flush and brew immediately = slightly cooler
- Wait longer after flush = hotter
Using the steam boiler:
- Engaging steam briefly can boost overall temperature
- Machine shares some heating elements
- More art than science
Troubleshooting Temperature Problems
Problem: Shots Consistently Sour
Diagnosis: Likely brewing too cold
Solutions:
- Increase temperature offset (if available)
- Extend warm-up time (30+ minutes)
- Pre-heat portafilter:
- Leave locked in grouphead during warm-up
- Run flush just before brewing
- Check machine:
- Descale if overdue
- Verify heating elements working
- Consider grind:
- Grind finer to compensate
- (but this masks the issue, doesn’t fix it)
Problem: Shots Consistently Bitter
Diagnosis: Likely brewing too hot
Solutions:
- Decrease temperature offset (if available)
- Reduce wait time after flush
- Don’t over-flush:
- Extended flushing can superheat grouphead
- Brief 2-3 second flush is enough
- Check for scale:
- Scale can cause overheating
- Run descale cycle
Problem: Inconsistent Temperature
Symptoms:
- Shots taste different each time
- Some sour, some bitter, unpredictably
- Hard to dial in
Causes:
- Thermostat cycling (normal but significant)
- Scale buildup
- Faulty temperature sensor
- Power supply issues
Solutions:
-
Consistent routine:
- Same warm-up time
- Same flush timing
- Same wait between shots
-
Descale:
- Scale insulates heating elements
- Causes erratic temperature
-
Check power:
- Avoid shared circuits
- Use stable outlet
- No extension cords
-
Allow longer warm-up:
- Temperature stabilizes over time
- Minimum 20 minutes, 30 preferred
Problem: Temperature Won’t Change
Symptoms:
- Adjustment has no effect
- Shots taste same regardless of setting
Possible causes:
- Setting not saved properly
- Display error vs actual temp
- Thermostat overriding PID
- Sensor malfunction
Solutions:
- Factory reset then readjust
- Verify with thermometer that temp actually changes
- Professional service if adjustment truly non-functional
Advanced Temperature Management
Matching Temperature to Roast
Different roasts extract best at different temperatures:
| Roast Level | Ideal Temp | Why |
|---|---|---|
| Light | 93-96°C | Denser beans need more heat to extract properly |
| Medium | 91-94°C | Balanced beans, balanced temp |
| Medium-dark | 89-92°C | Oils developing, need less heat |
| Dark | 88-91°C | Oils abundant, easy extraction |
In practice:
- Start at 93°C for most beans
- Adjust based on taste
- Sour? Increase temp
- Bitter? Decrease temp
Temperature Profiling (Advanced Models)
Some Breville models support temperature profiling:
What it is:
- Different temps at different extraction stages
- Start cooler, end hotter (or vice versa)
- Advanced technique for experienced users
Available on:
- Oracle Touch (limited)
- Third-party controllers (modification)
For most users:
- Fixed temperature is fine
- Profiling is marginal improvement
- Focus on consistency first
Effects of Altitude
Higher altitude affects boiling point:
| Altitude | Boiling Point | Effect |
|---|---|---|
| Sea level | 100°C | Normal reference |
| 1000m | 96.7°C | Slightly lower max temp |
| 2000m | 93.3°C | May affect steam pressure |
For brewing:
- Minor effect on espresso
- Steam/milk frothing affected more
- Most machines compensate automatically
Daily Temperature Routine
For Best Results
Morning startup:
- Turn on machine
- Wait minimum 20 minutes (30 better)
- Lock portafilter in grouphead to warm
- Flush grouphead before first shot
- Allow 8-10 seconds after flush
- Brew your first shot
Between shots:
- Wait 1-2 minutes for temperature recovery
- Quick flush if waiting longer than 5 minutes
- Keep portafilter locked in place
For light roast lovers:
- Consider longer warm-up
- Preheat cups
- Slightly higher offset if available
For dark roast lovers:
- Standard warm-up is fine
- Lower offset if shots are bitter
- Shorter wait after flush
Maintenance for Temperature Stability
Descaling Is Critical
Scale insulates heating elements, causing:
- Longer heat-up times
- Temperature inconsistency
- Eventual element failure
Descale schedule:
- Every 2-3 months (filtered water)
- Monthly (hard water)
- When indicator light appears
Keep Shower Screen Clean
Coffee residue can:
- Act as insulator
- Create channeling that changes extraction
- Affect heat transfer
Clean weekly with backflush and brush.
Replace Worn Gaskets
Worn grouphead gasket:
- Allows heat escape
- Causes temperature loss during extraction
- Replace every 6-12 months
Key Takeaways
- Optimal brew temp is 92-94°C—but adjust based on beans and taste
- Warm-up time matters—minimum 20 minutes, 30 is better
- Light roasts go hotter—they need more heat to extract properly
- Dark roasts go cooler—to avoid adding bitterness
- Consistency is key—same routine every time
- Descale regularly—scale destroys temperature accuracy
- Measure before adjusting—know your baseline
Temperature isn’t everything, but getting it right unlocks flavors that poor temperature hides. Take time to understand your machine and your beans—and you’ll be rewarded with consistently delicious espresso.
Related Guides:
Mikael
Home espresso enthusiast and Breville specialist. Helping you master the art of coffee brewing from your own kitchen.
Learn more about me →